Posts tagged #home staging

Welcome to Our New Home!

Shhh….

I write this as both little man and big man are taking a nap and recovering from a fun stomach bug. But with that said…

We did it!

Not only did we became parents in the last few months, but we also managed to purchase a new place, move, and attempt to settle down. And it has been an incredible adventure (ahem, challenge :)!

The Story of Our Place

We had been on the lookout to purchase a new place for quite some time. As soon as we found our rental space, we knew that we eventually wanted to have our own. What we did not know was what we really wanted. We went back and forth on location (such as East Capitol and Dupont), back and forth on size (2 bedrooms? 3 bedrooms? 5 bedrooms for a rental unit??), back and forth on type (townhome? single-family??), and back and forth on timing (I wanted ASAP, Robert… was more cautious, hehe). Ultimately, what worked for us had nothing to do with what either of us expected.

Location

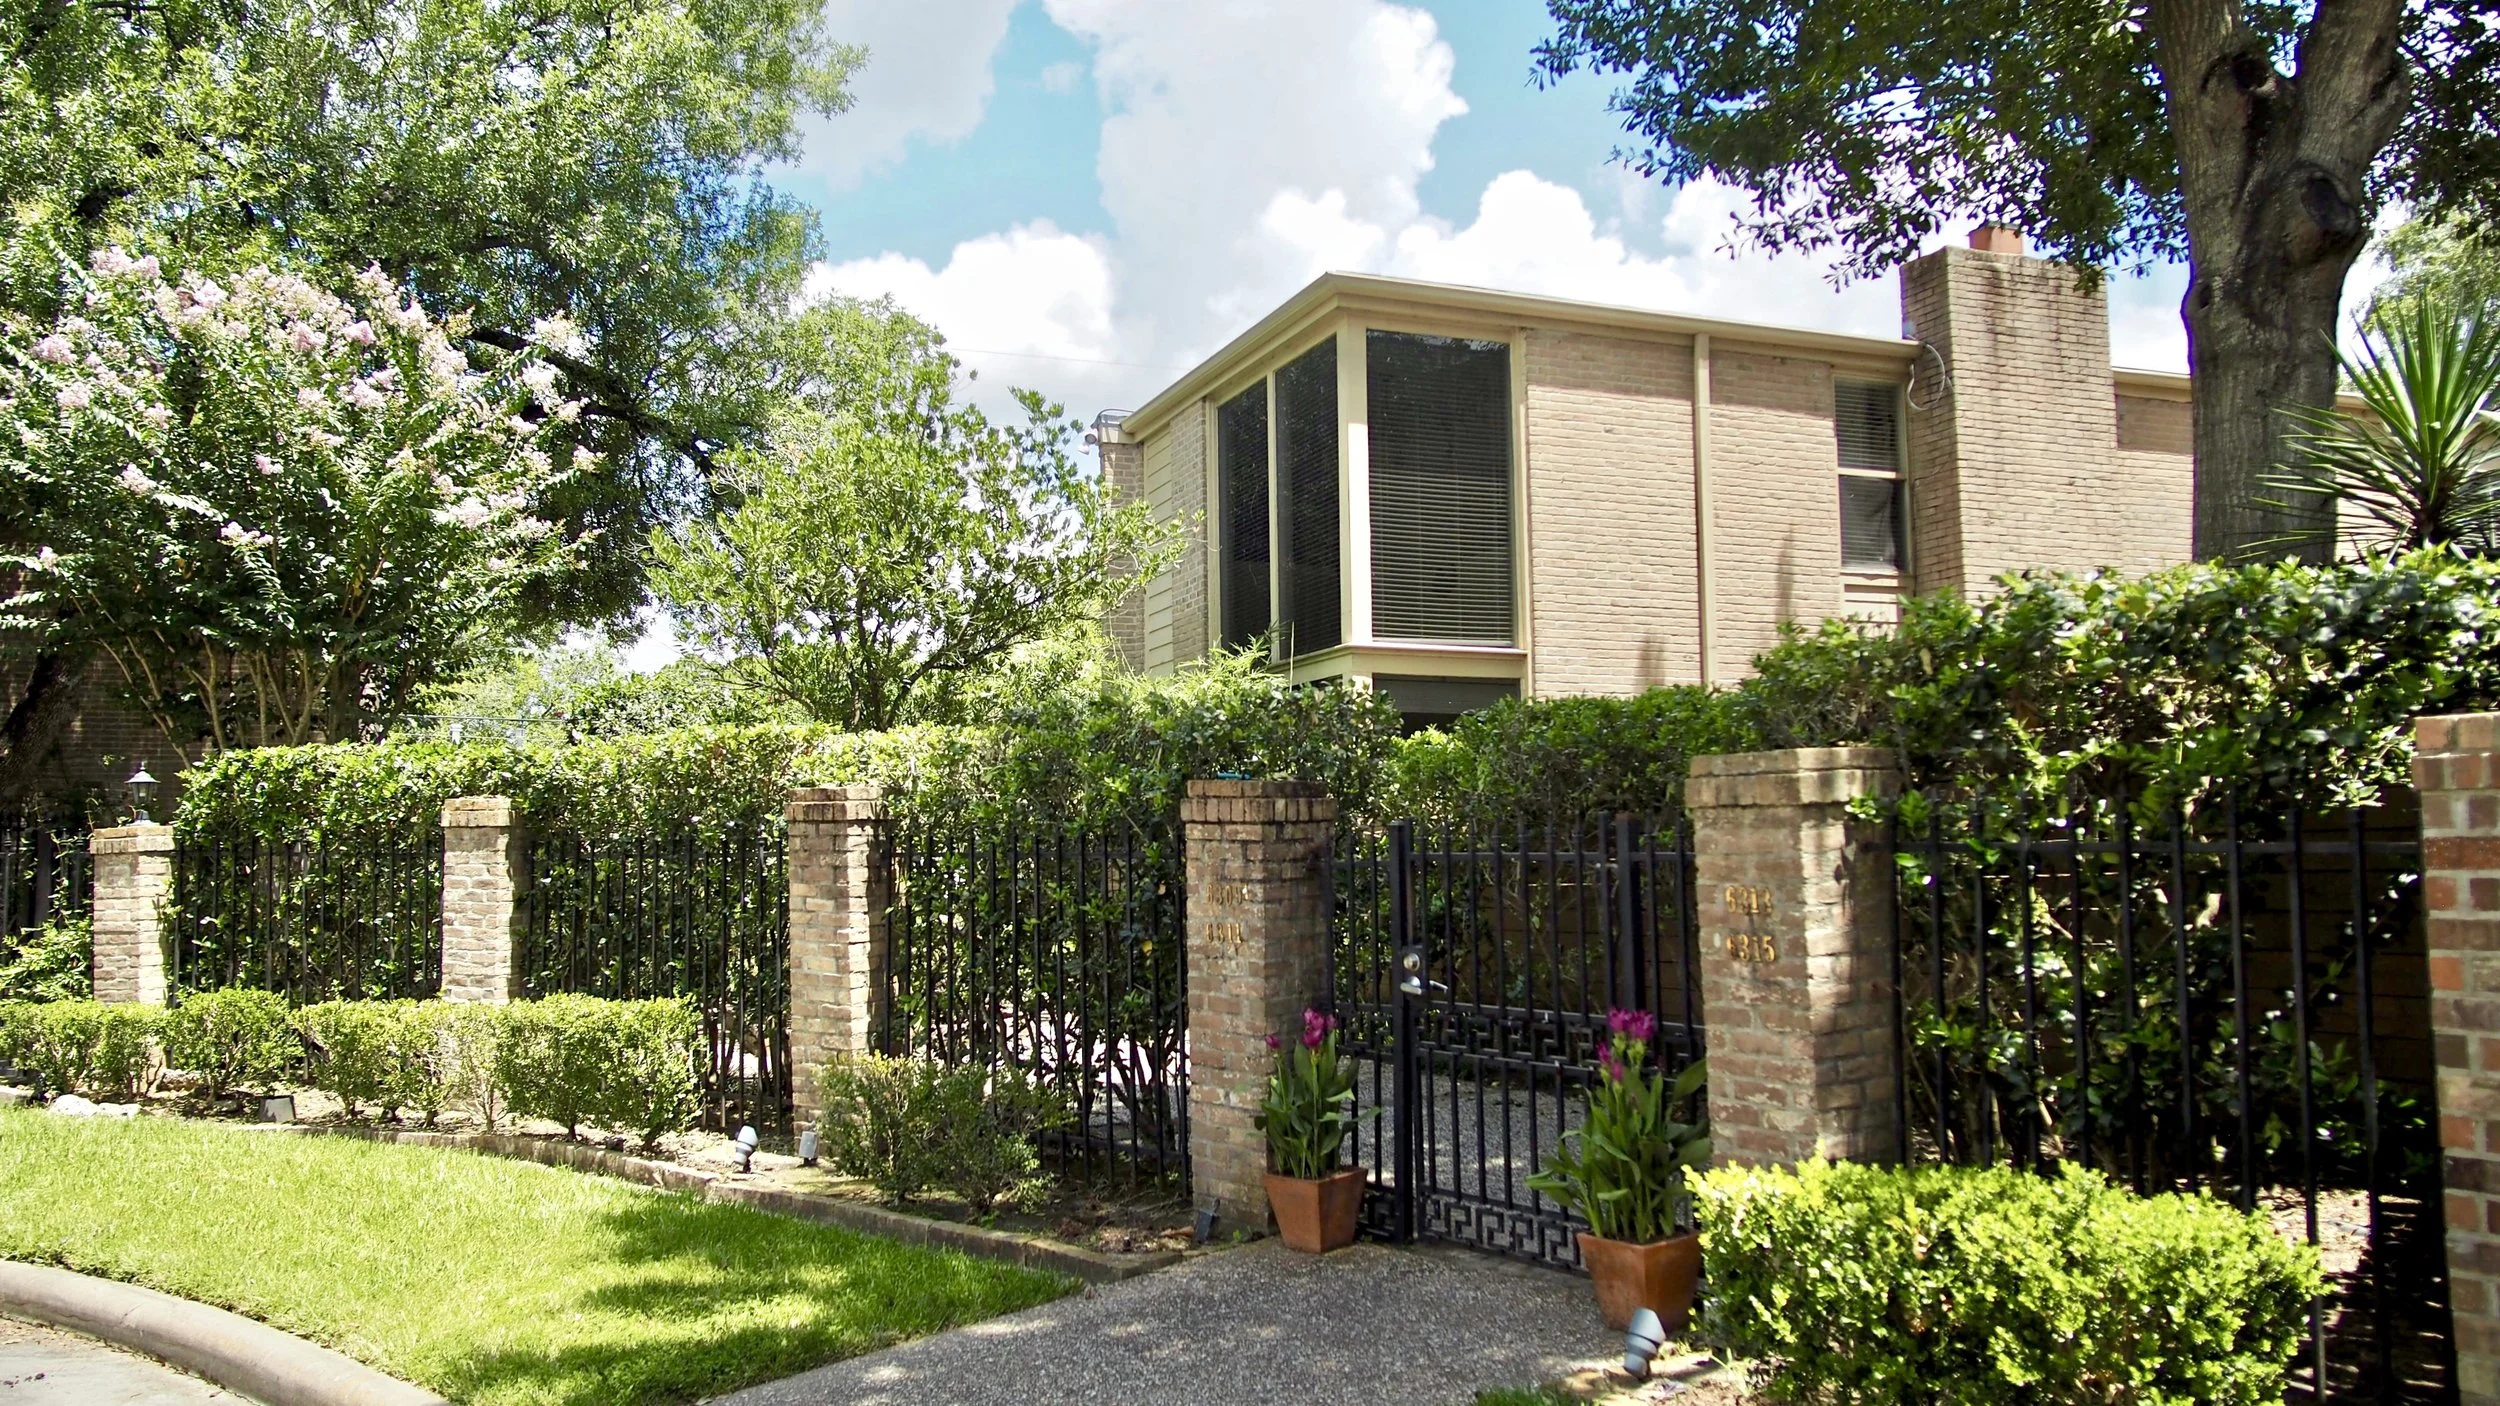
We ended up purchasing our home in Glover Park, happily situated a mere 0.5 miles from both Georgetown and American University. What truly sold us on the location were three key things:

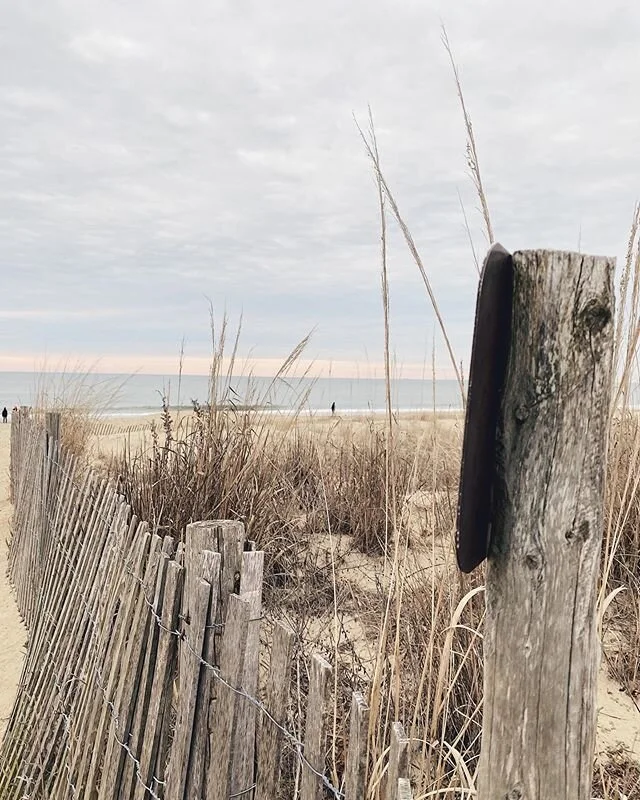
  • We are one block away from one of the best hiking parks in DC, an incredibly appealing thing for these urbanites;

  • We are across the street from one of the best elementary schools in the city;

  • It’s quiet but close to everything.

Size

This was a big one (no pun intended). We really couldn’t quite decide on the size we wanted to purchase. If we wanted to go for three bedrooms or more, we became quite limited in the neighborhoods available and the condition of the homes. Neither of us were ready to tackle a major project with a newborn. So even though we started out looking for a three-bedroom unit, we decided to purchase a two-bedroom unit instead. It gave us enough flexibility to have a kid or two, without slaving away at taking care of a large house.

Type

A surprise here too… we were dead-set on buying a townhome. Until the word of the wise came through in suggesting that we consider a condo instead. Why a condo?

  • Maintenance - it is a breeze compared to owning a house. No roofs to worry about, no stucco to worry about, pretty much there is nothing to worry about other than the occasional appliance trouble (looking at you, dryer).

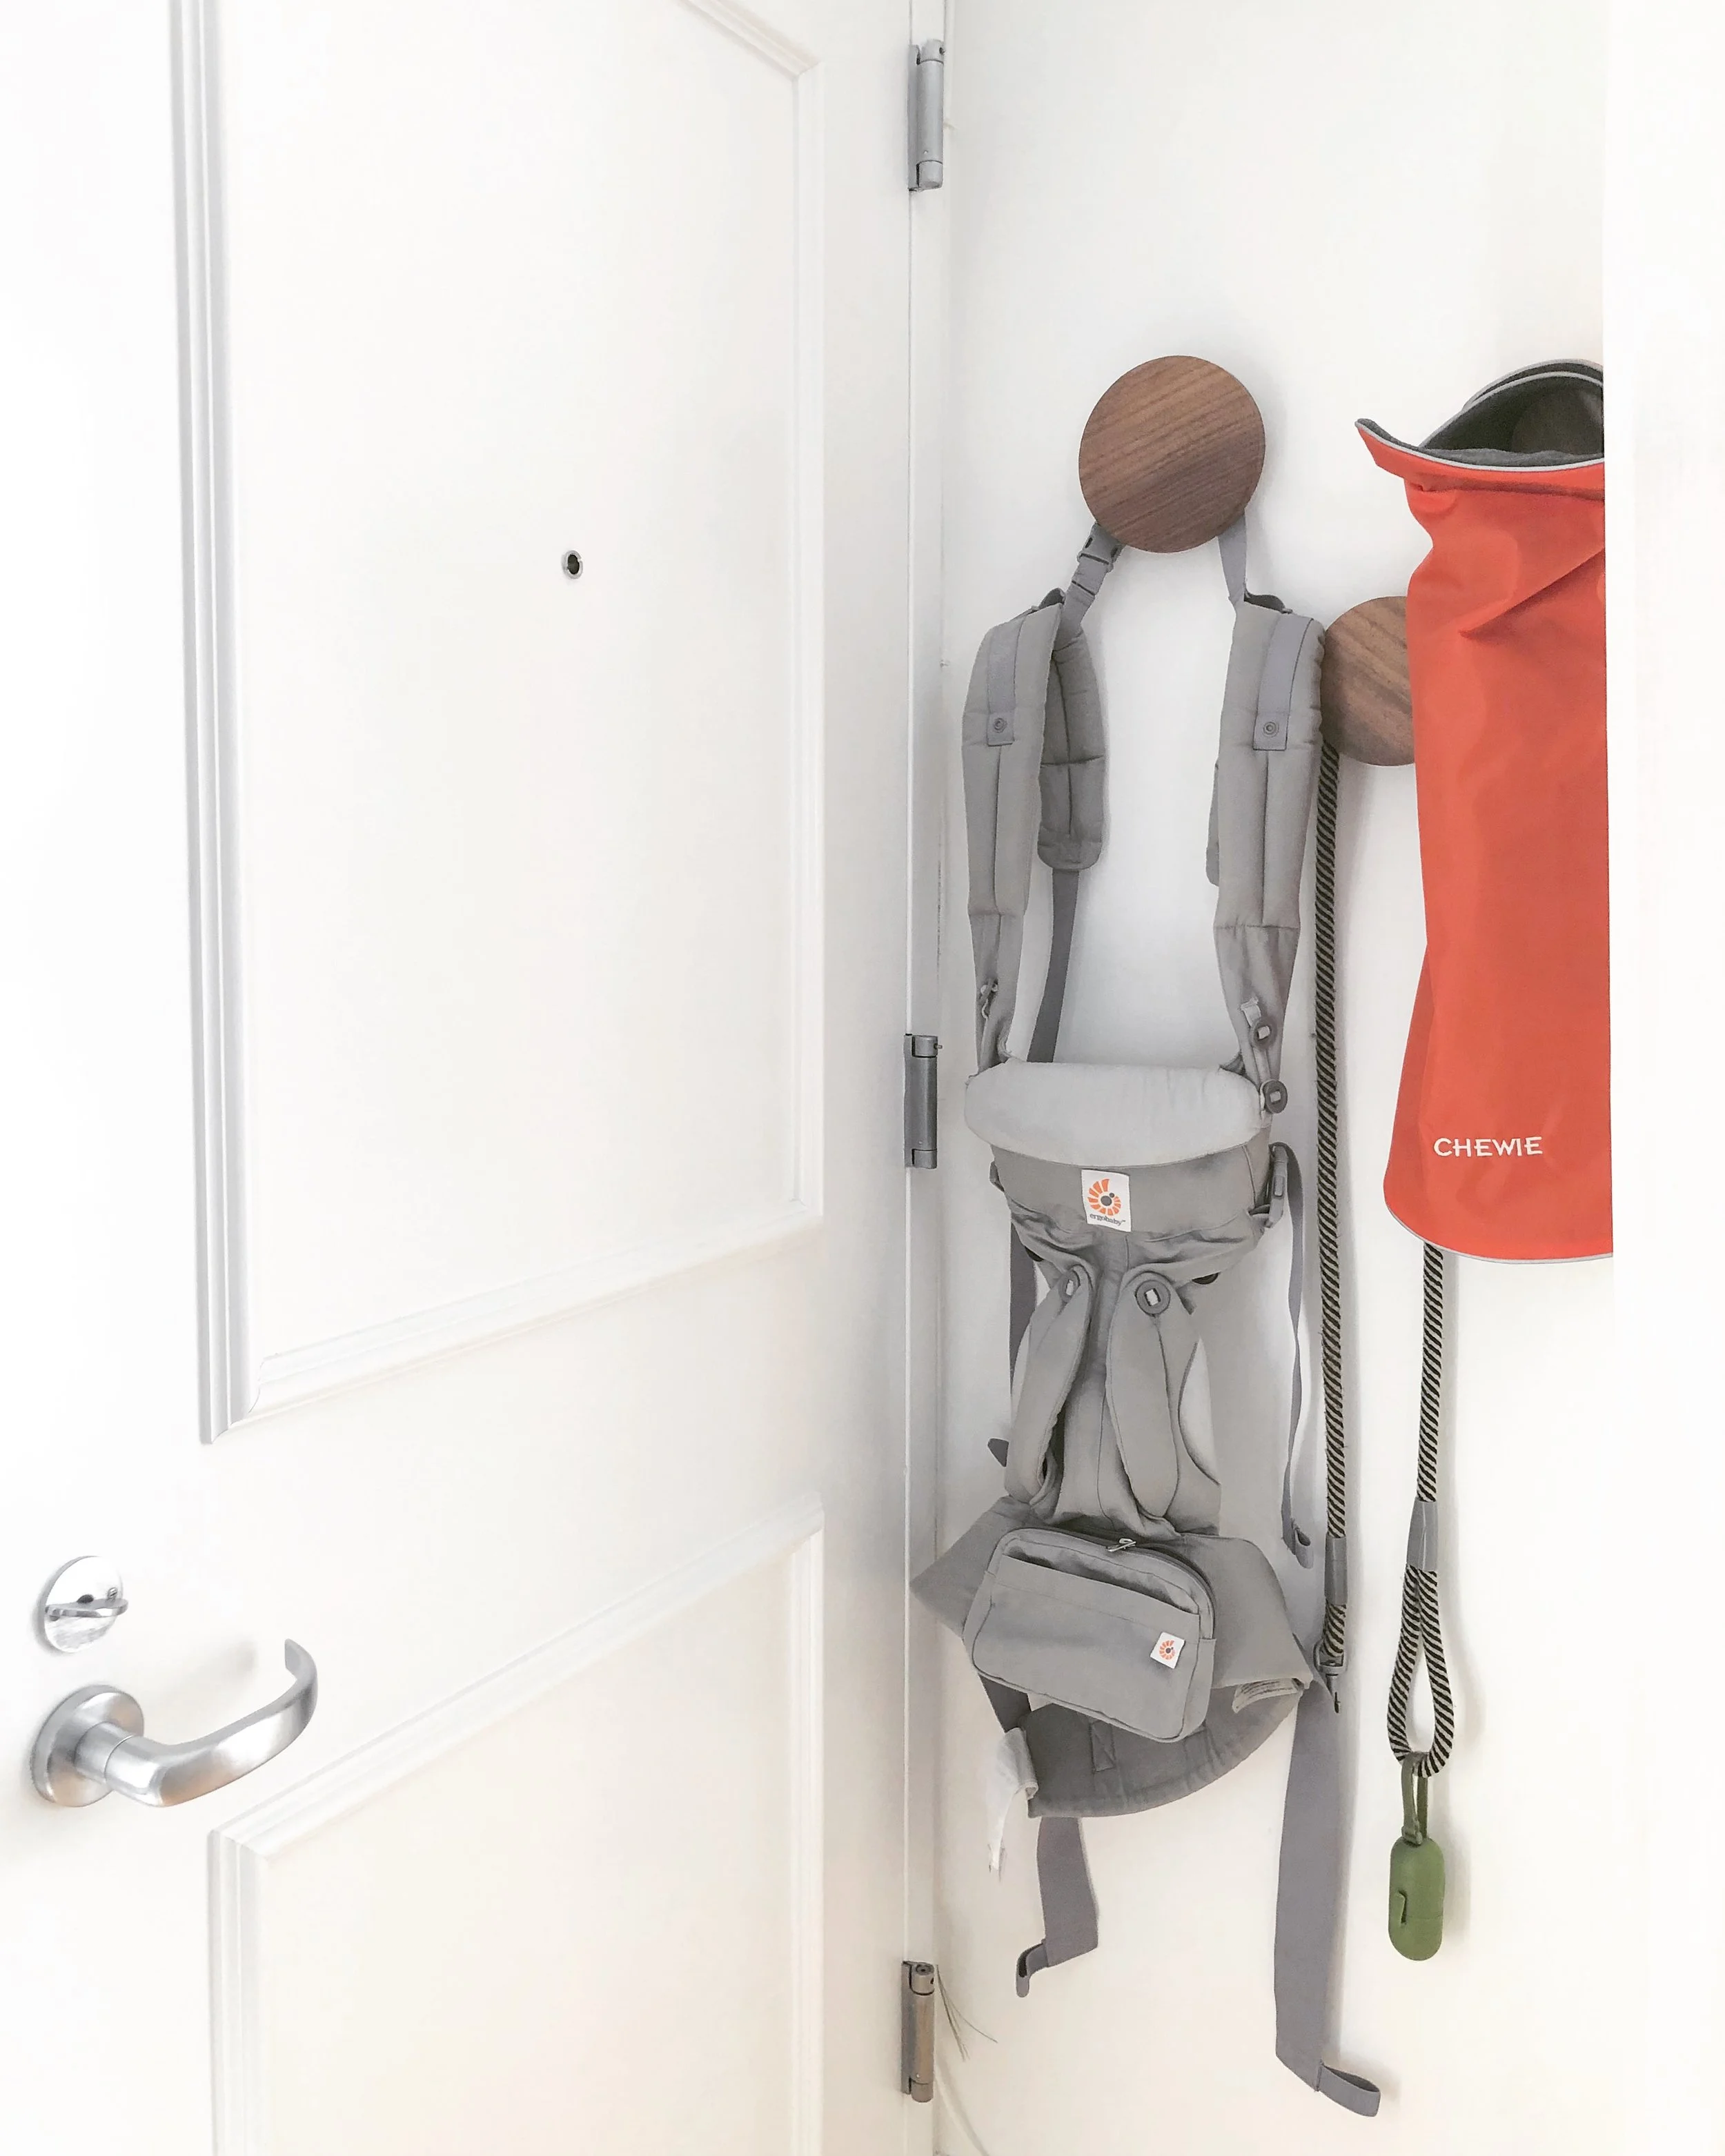
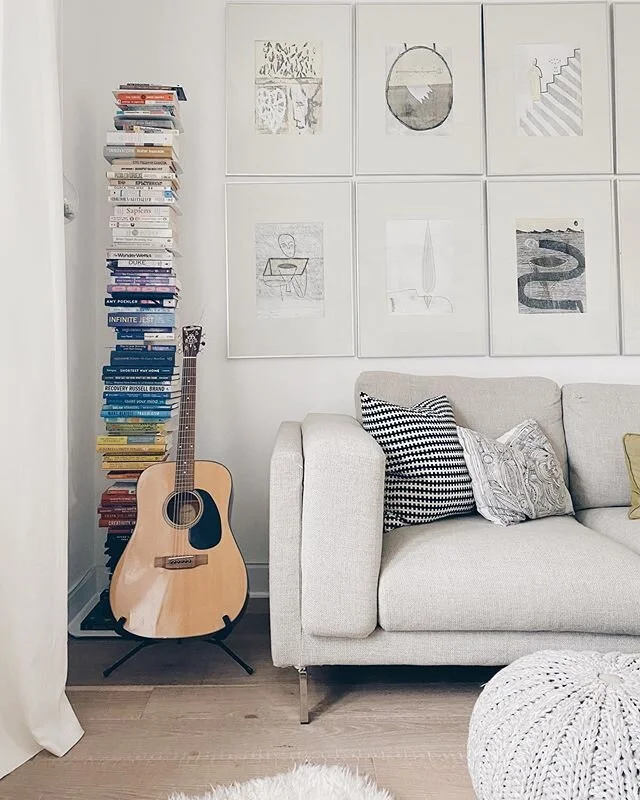
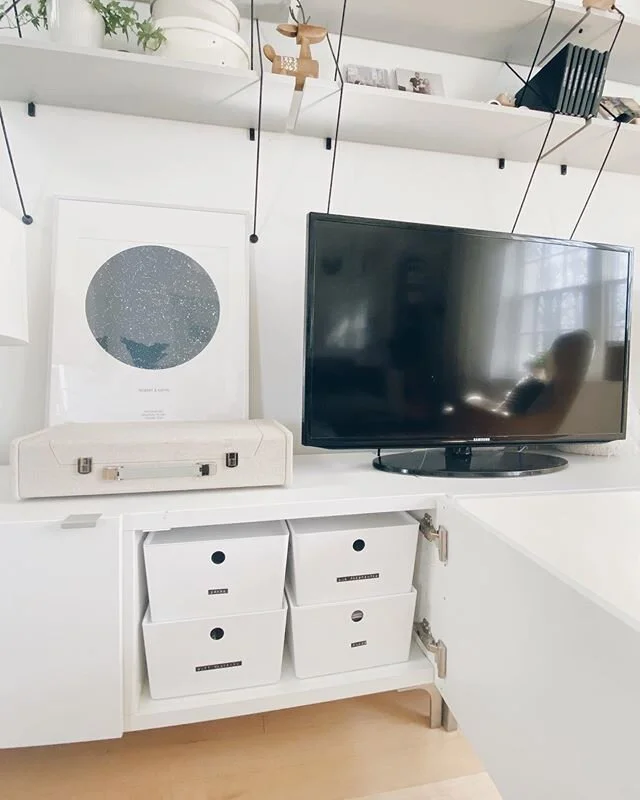
  • Living Small - an aspiration of mine that is finally realizing! I have grown incredibly tired of stuff. Thankfully, Robert is on board with this one. So we have methodically been getting rid of stuff we do not need or use and have become exceedingly picky with acquiring new stuff (baby stuff included).

Timing

That one we did not control too much… In fact, once we saw our condo, we fell in love with it so much, that we were signing the offer and papers while I was in labor… Yup, you read that right! You could say this place is indeed labor of love! :)

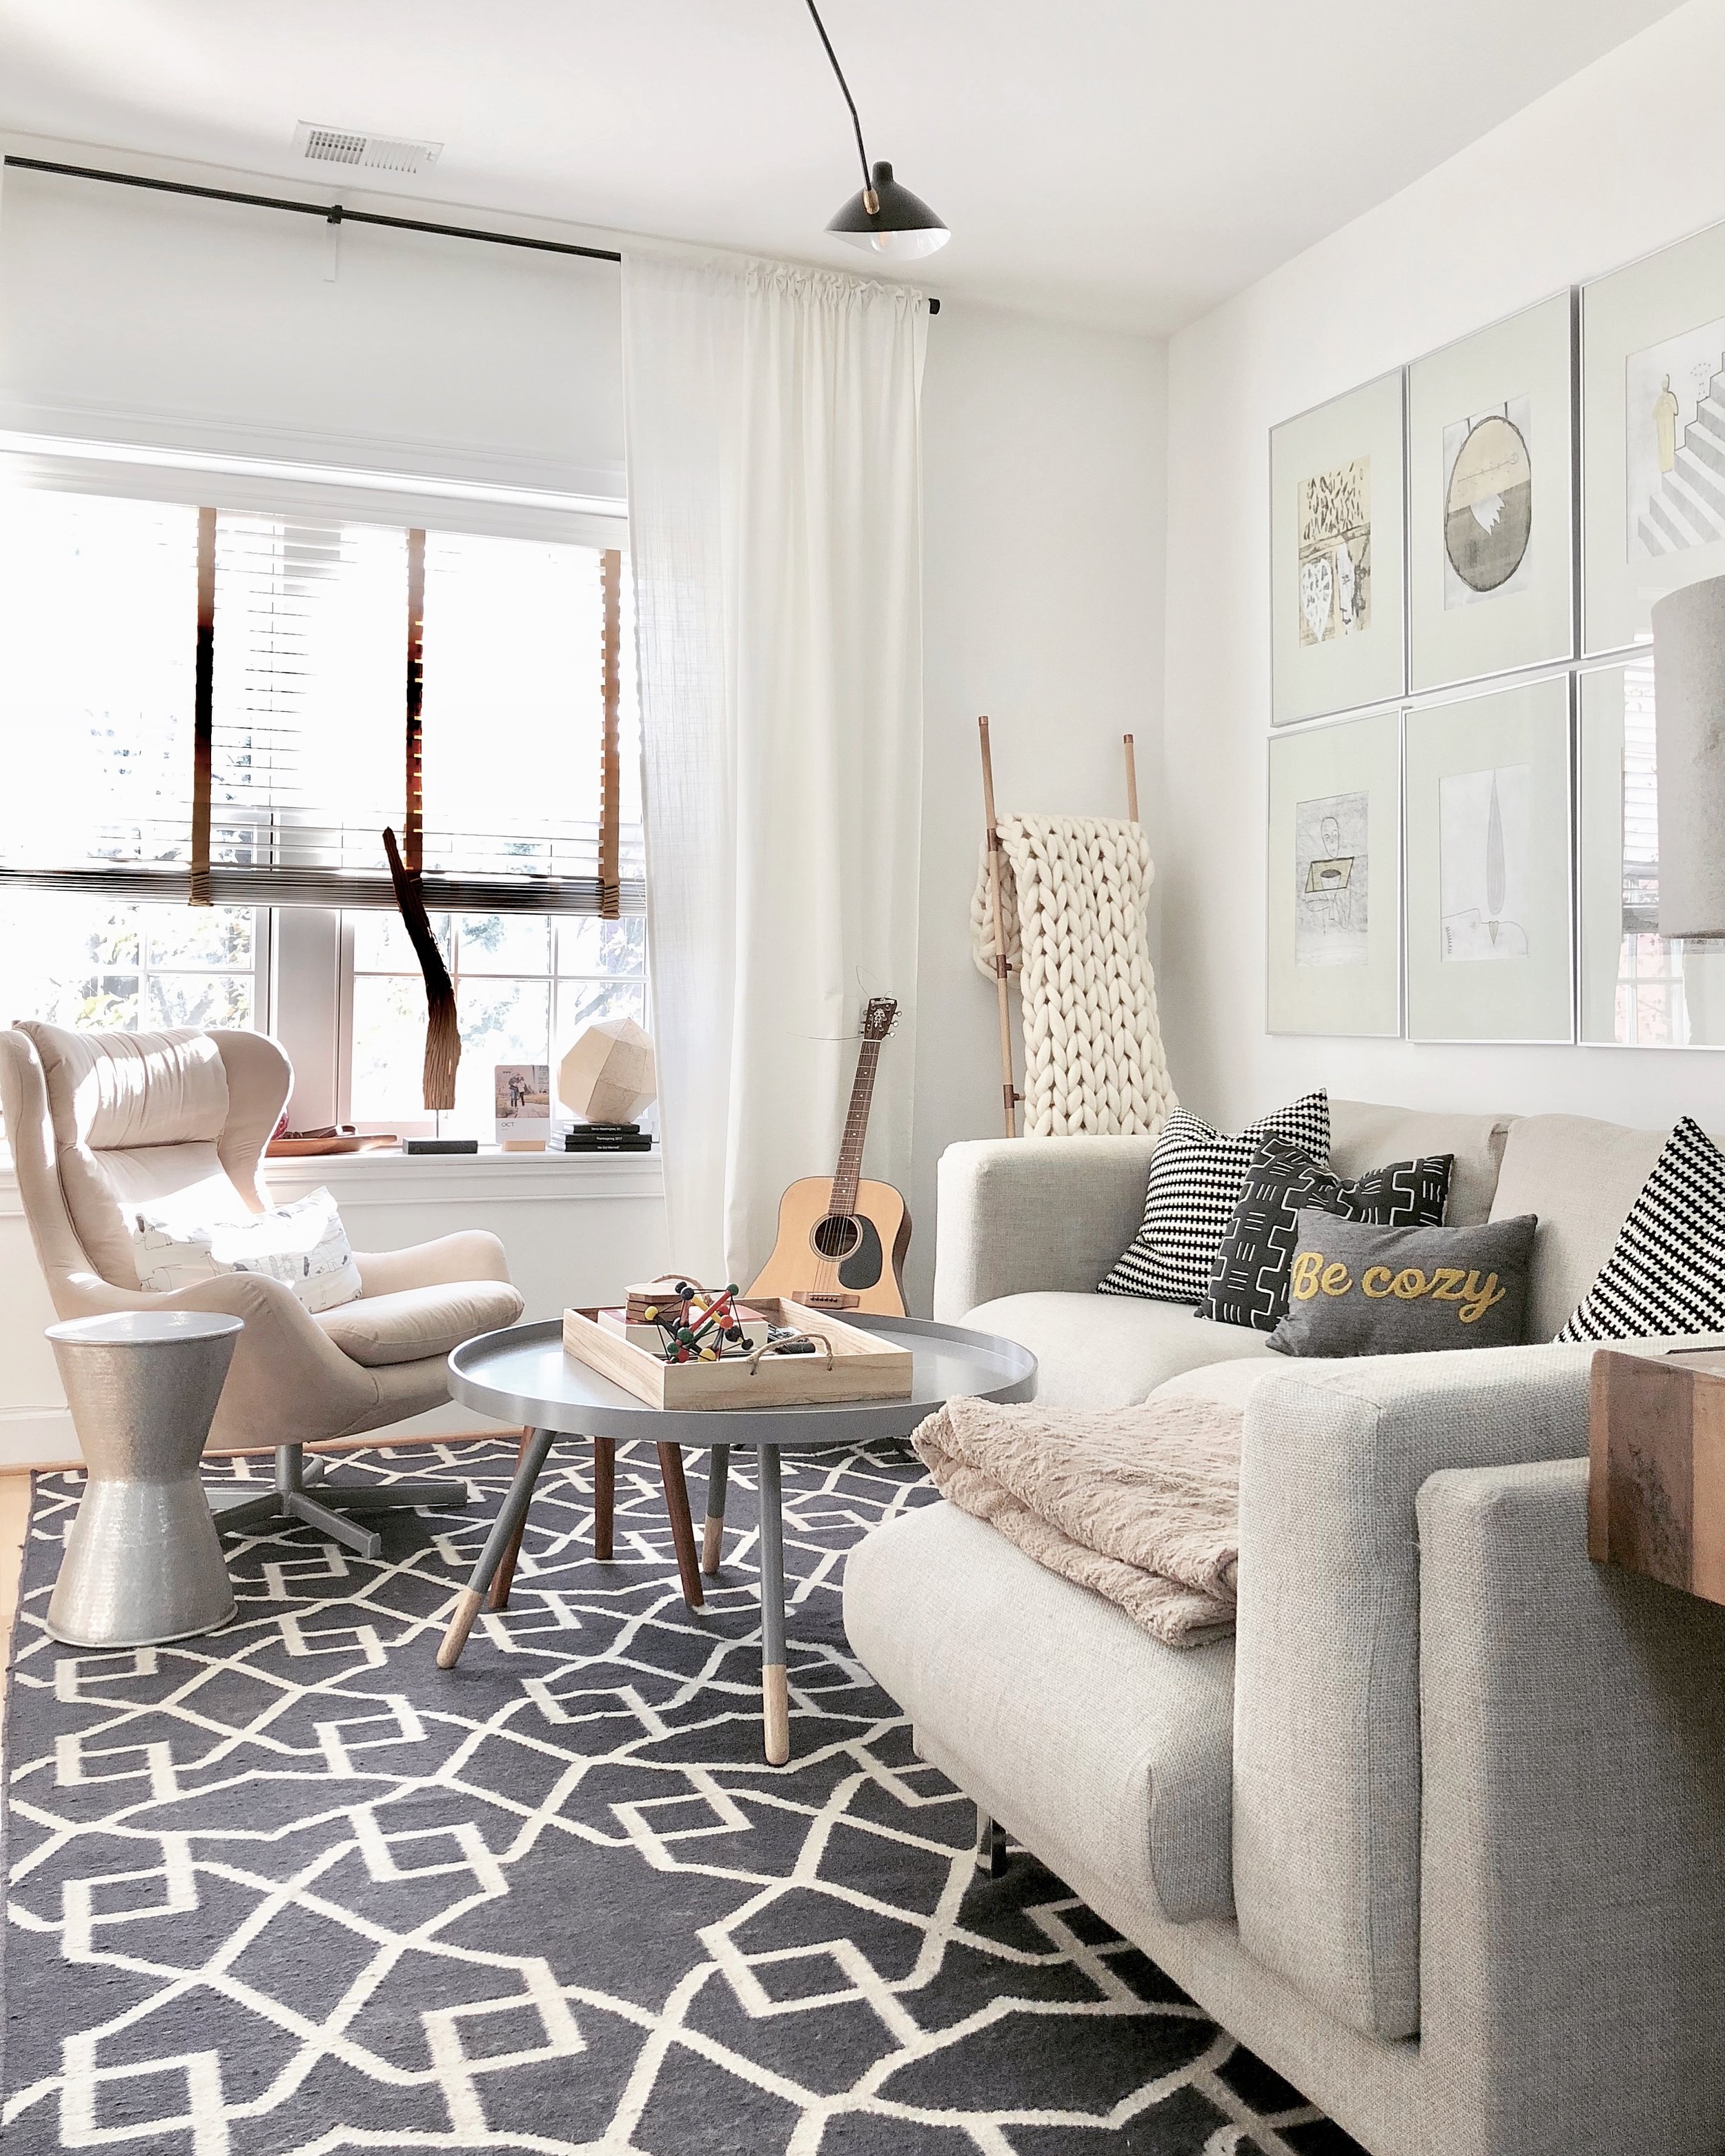
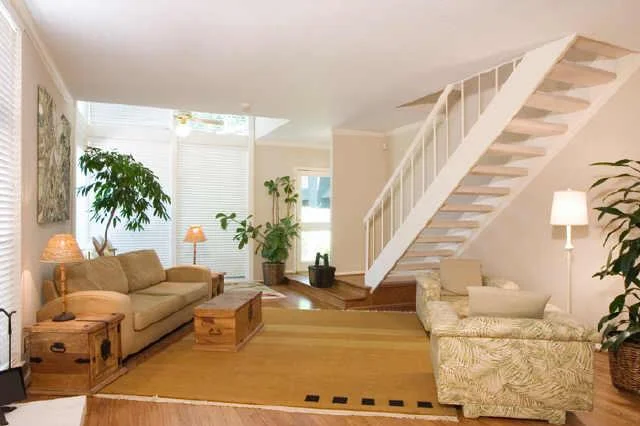
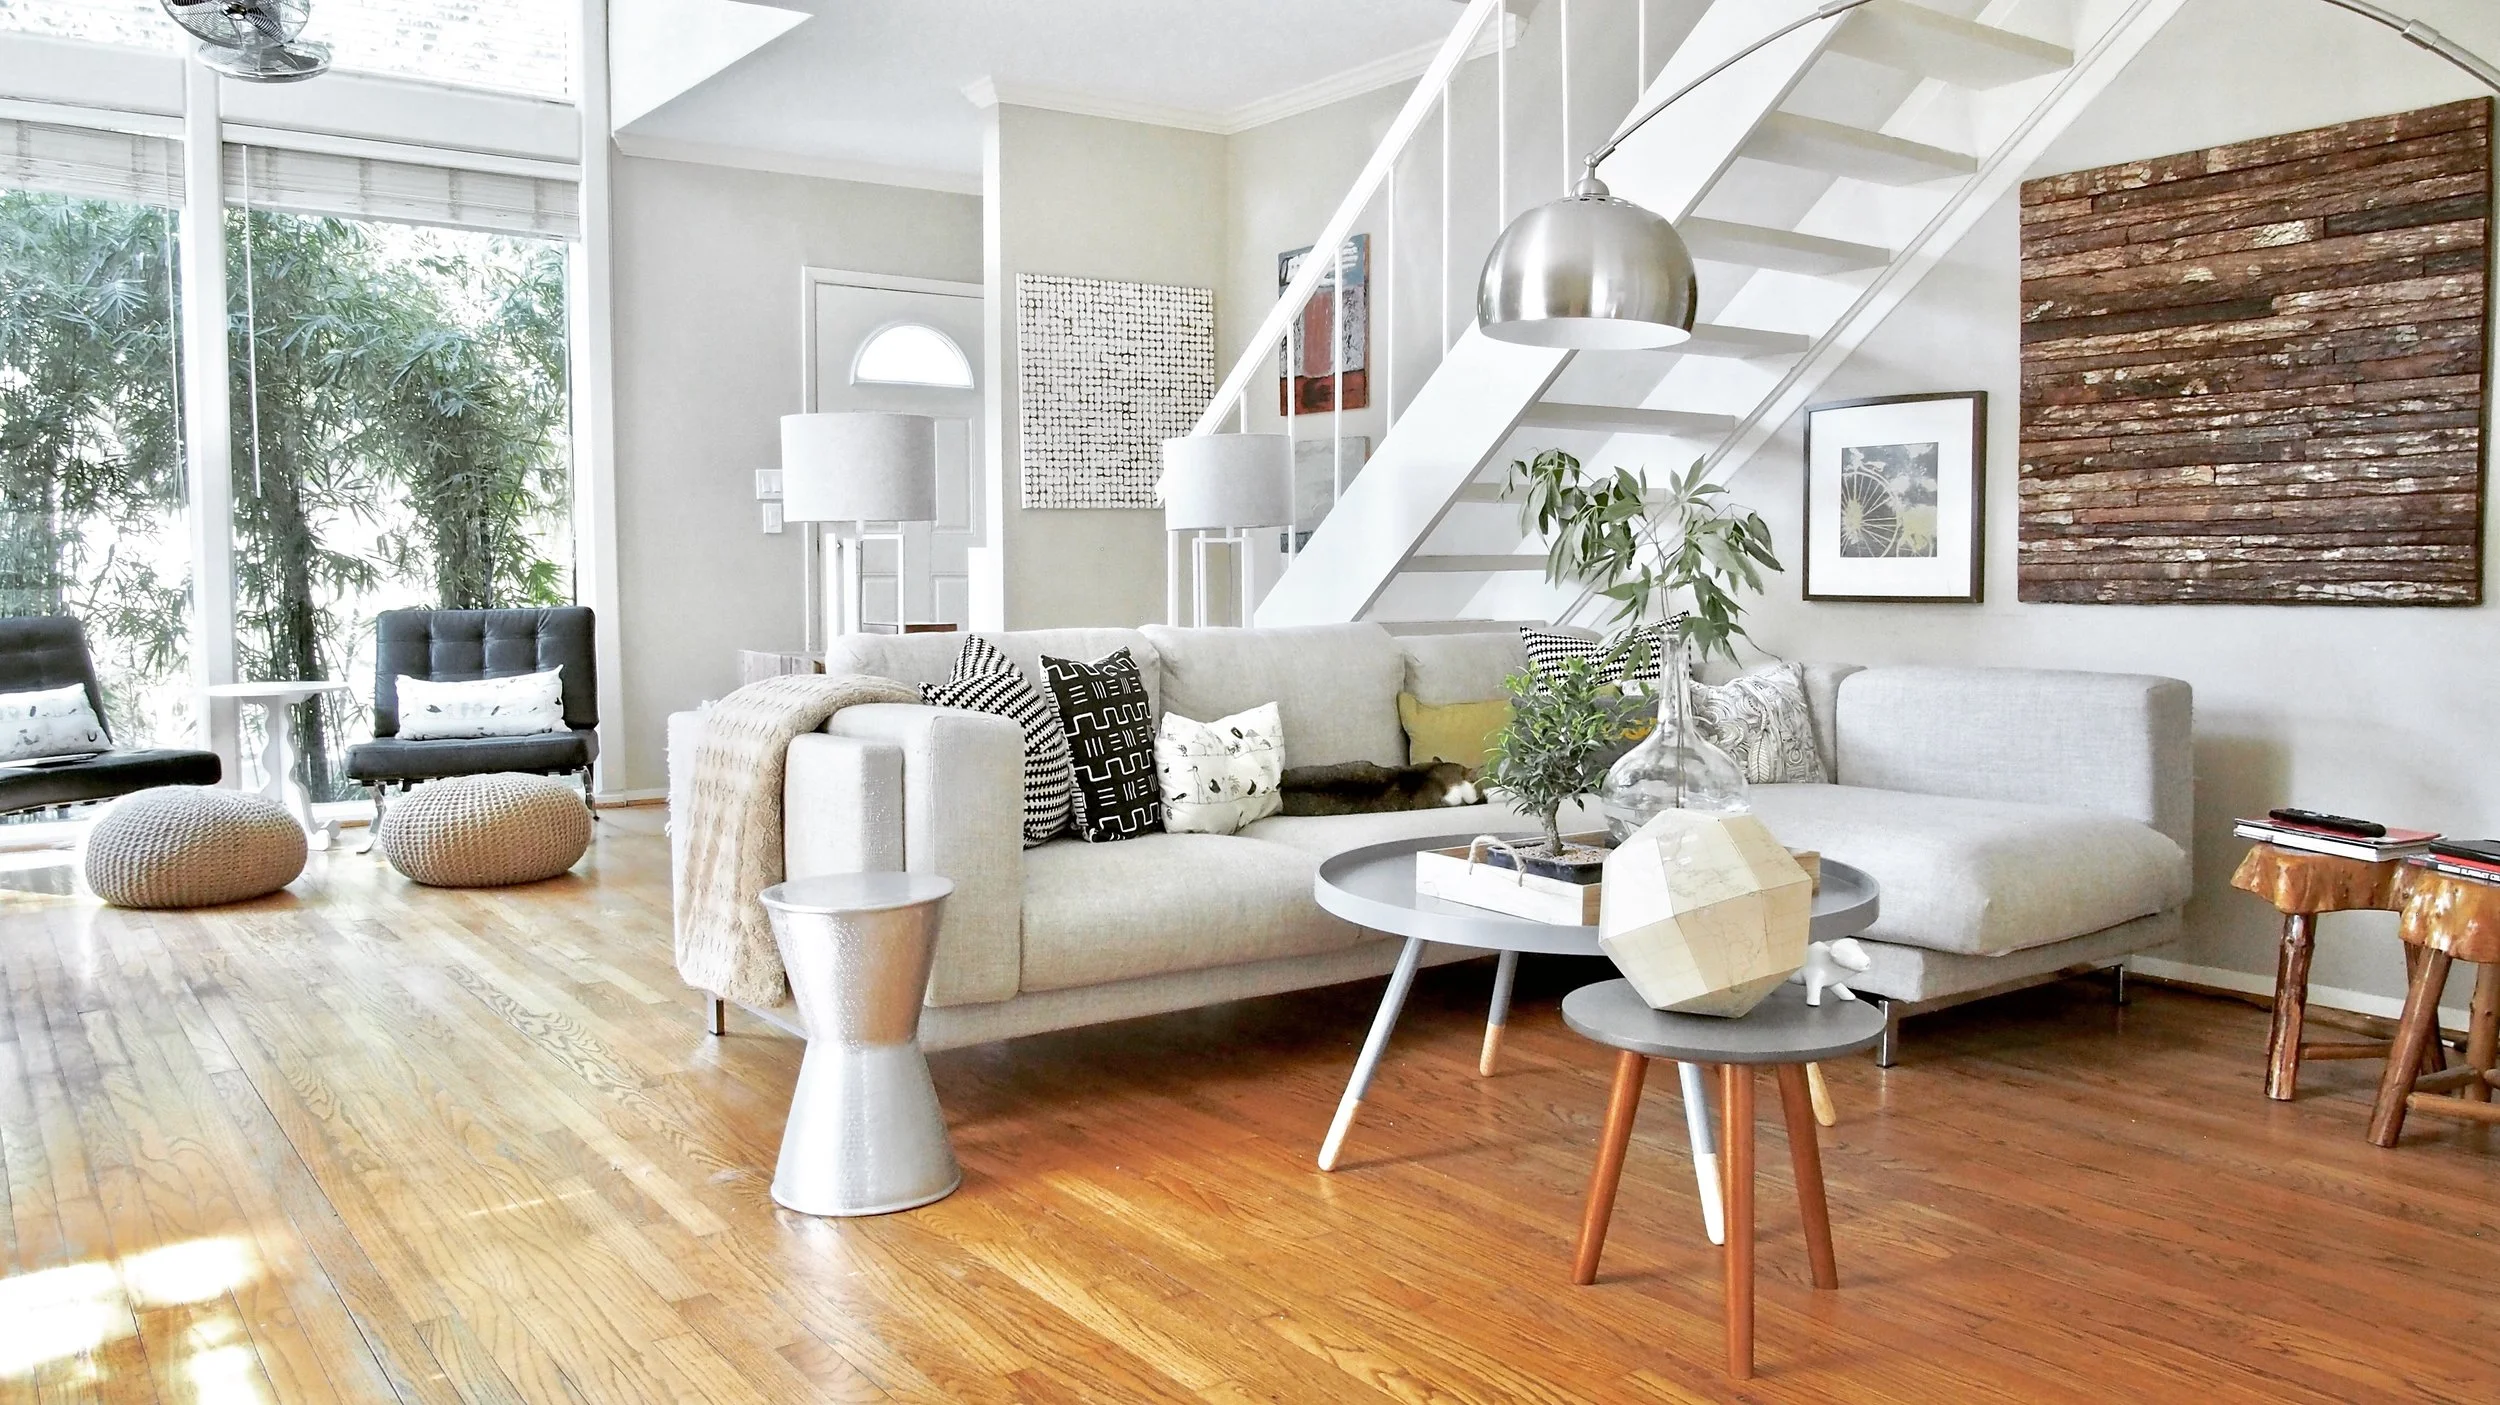
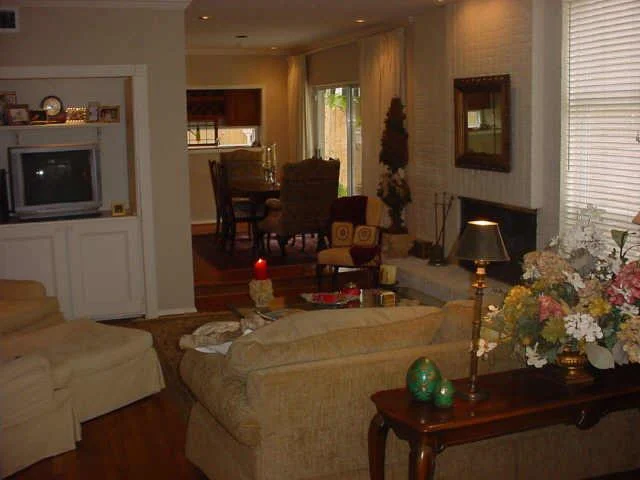
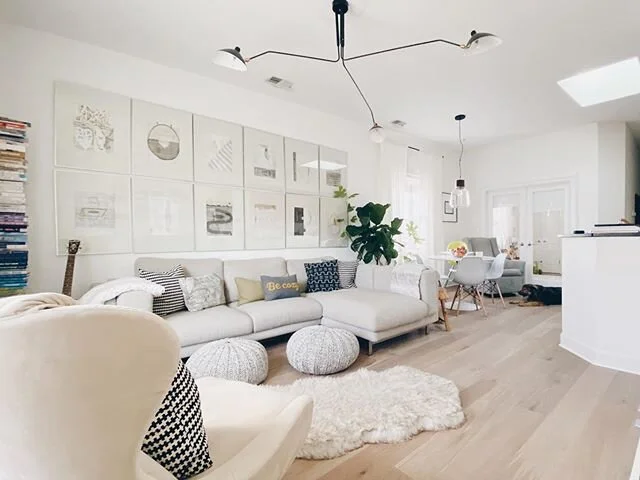
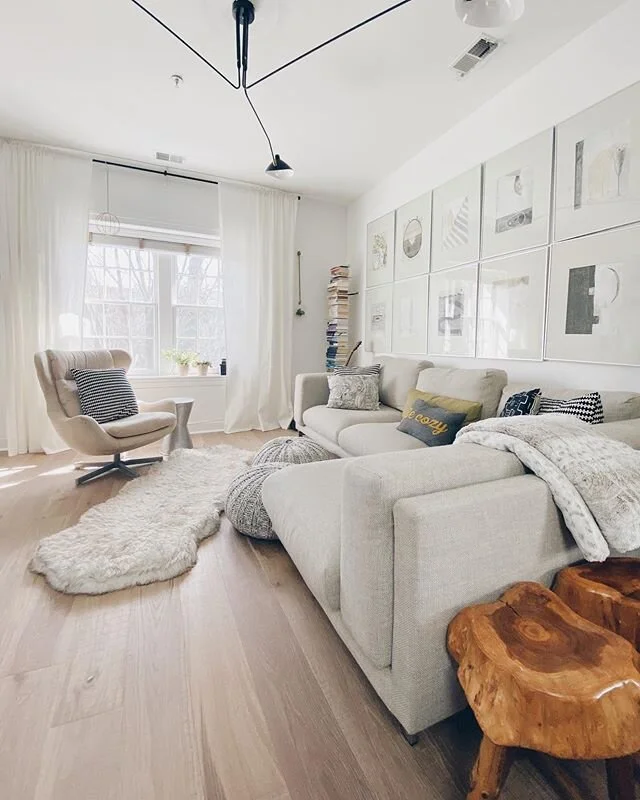
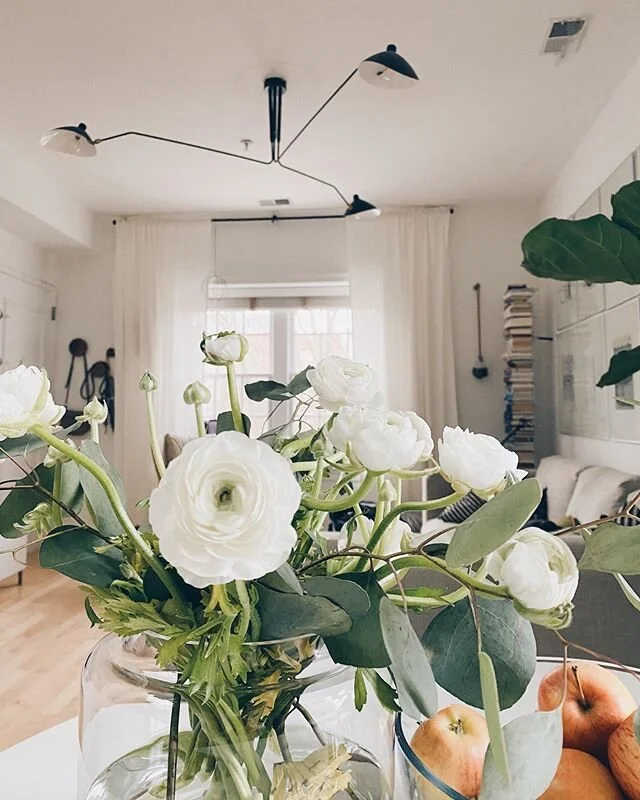
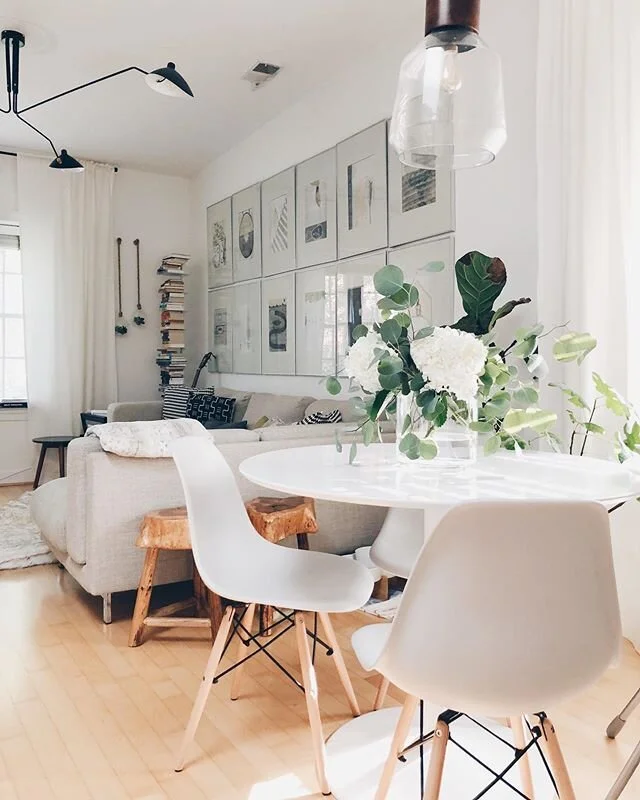
There are so many things that make this place special: the views, the layout, the fact that this is Stefan’s first home! But I think I will save that for another time.

In the meantime, I should probably introduce you to our little, perfect Stefan:

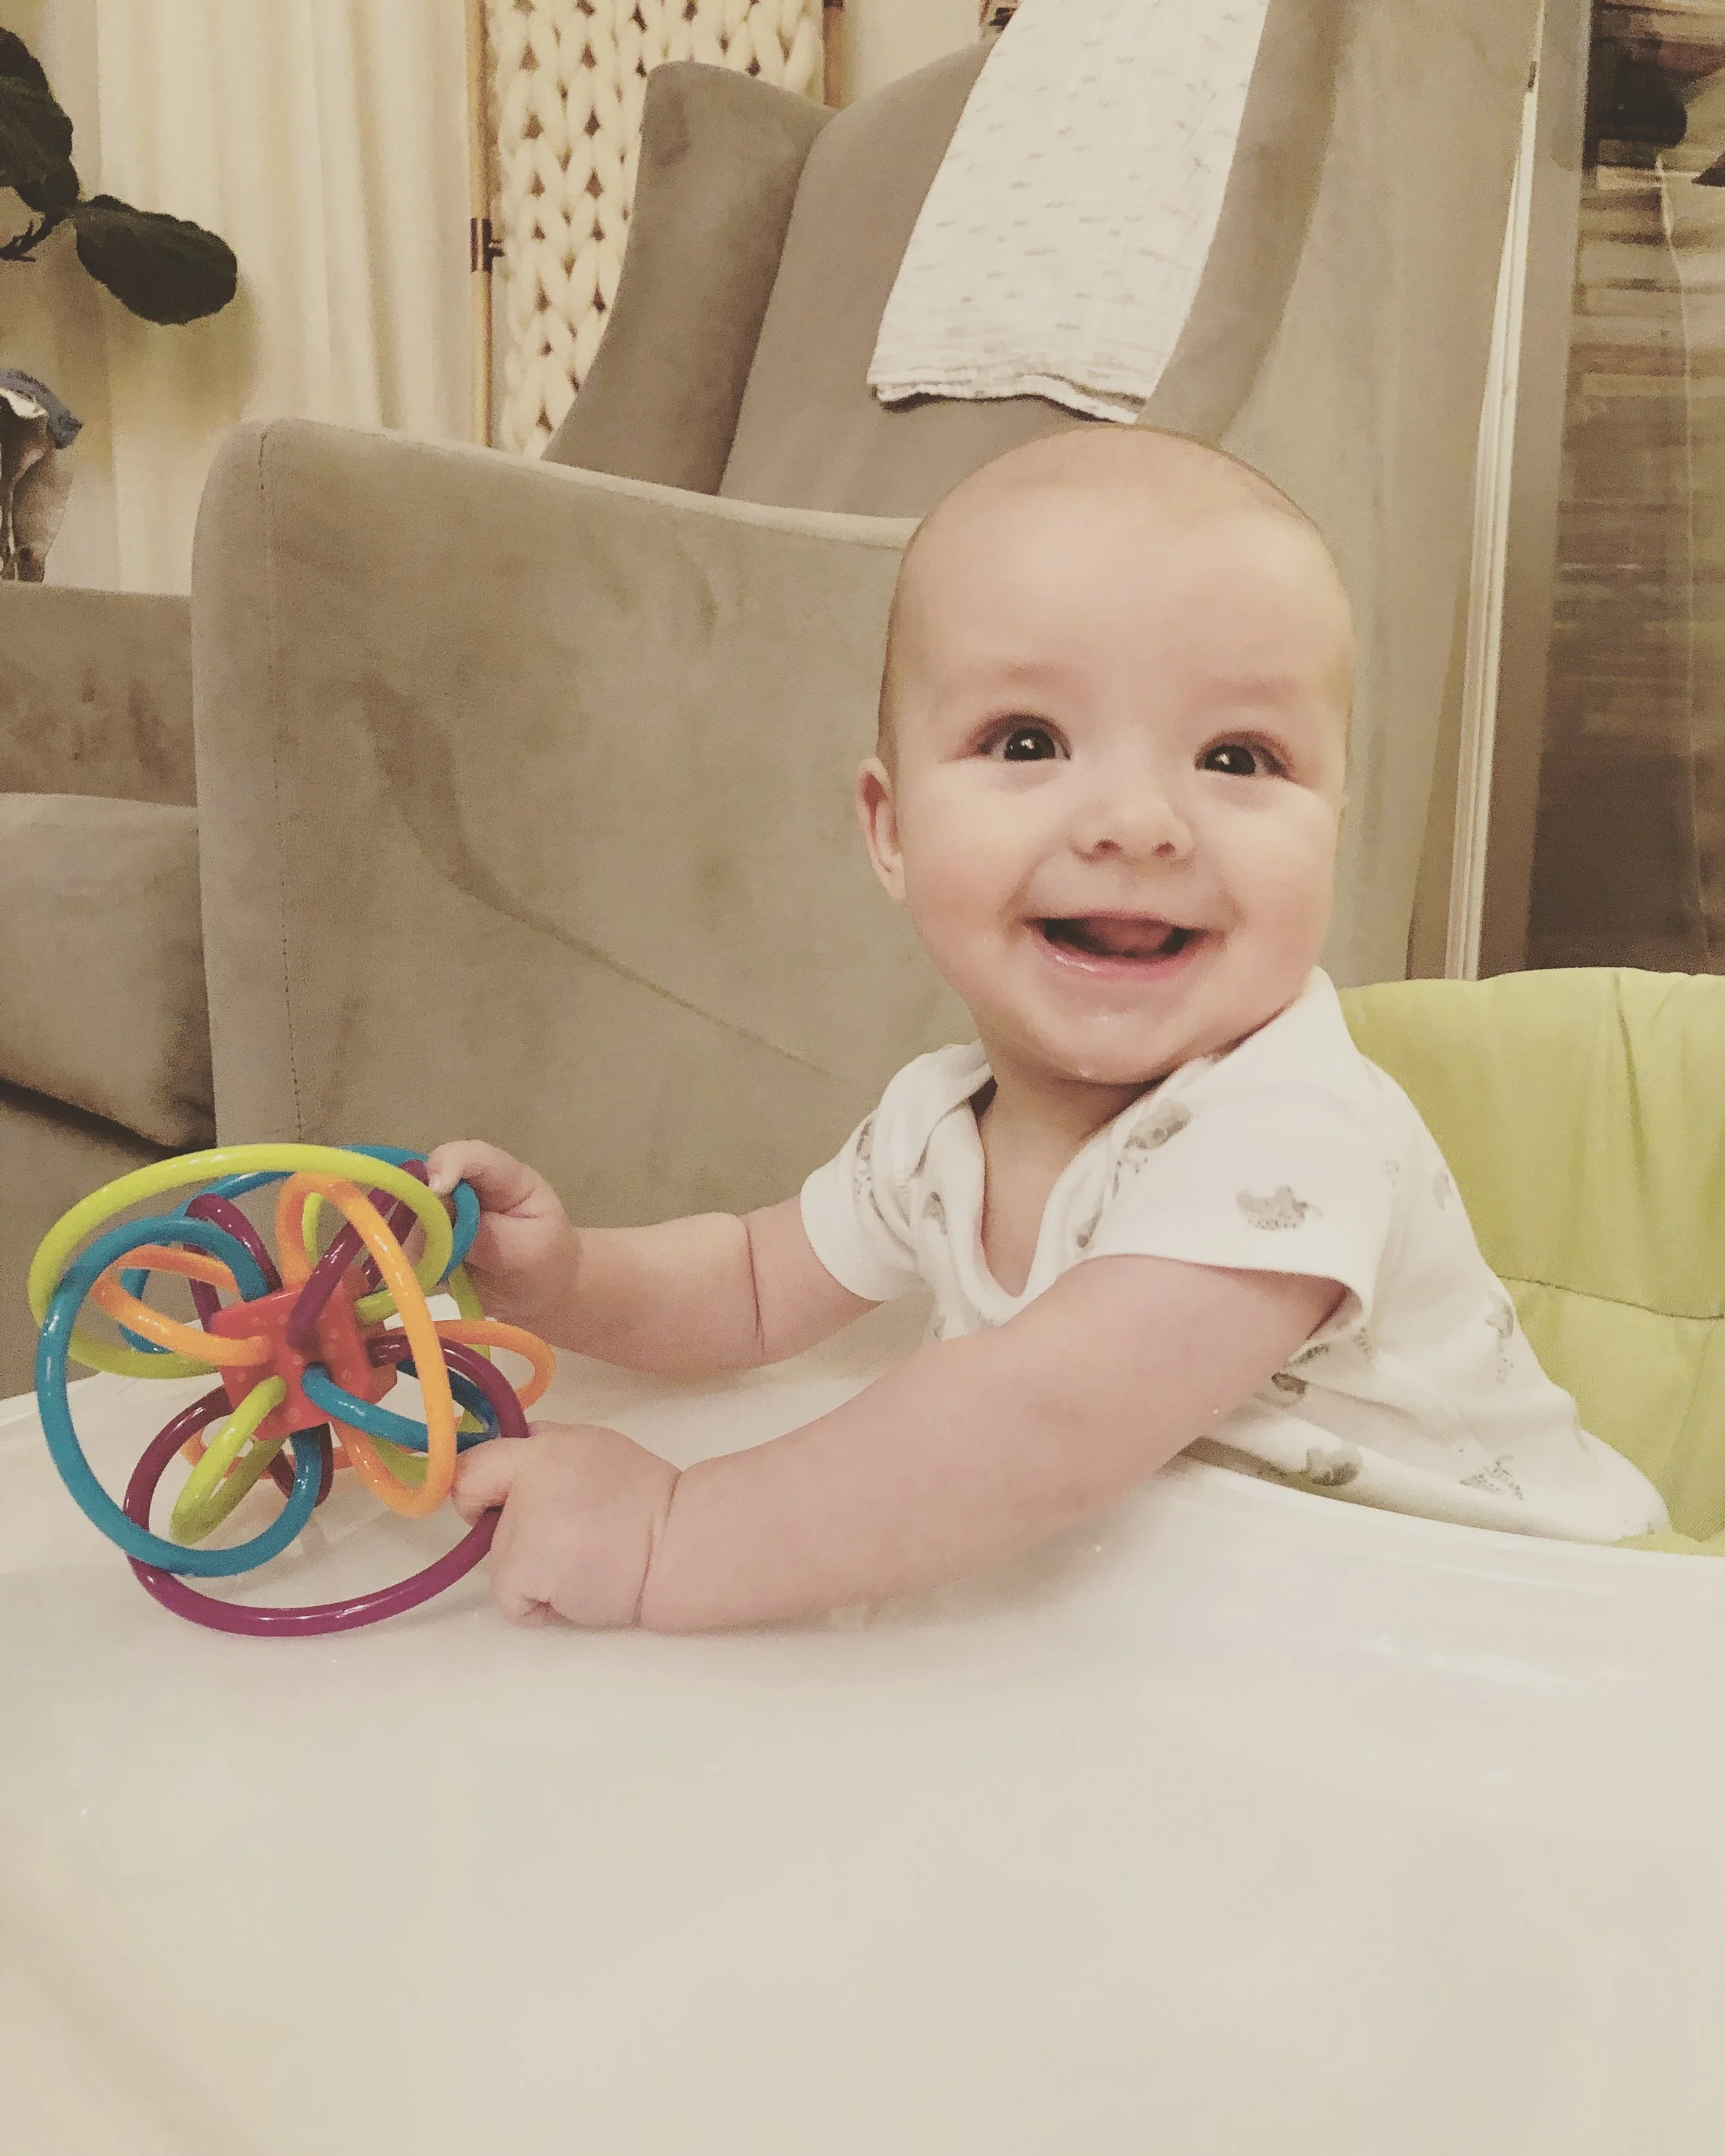
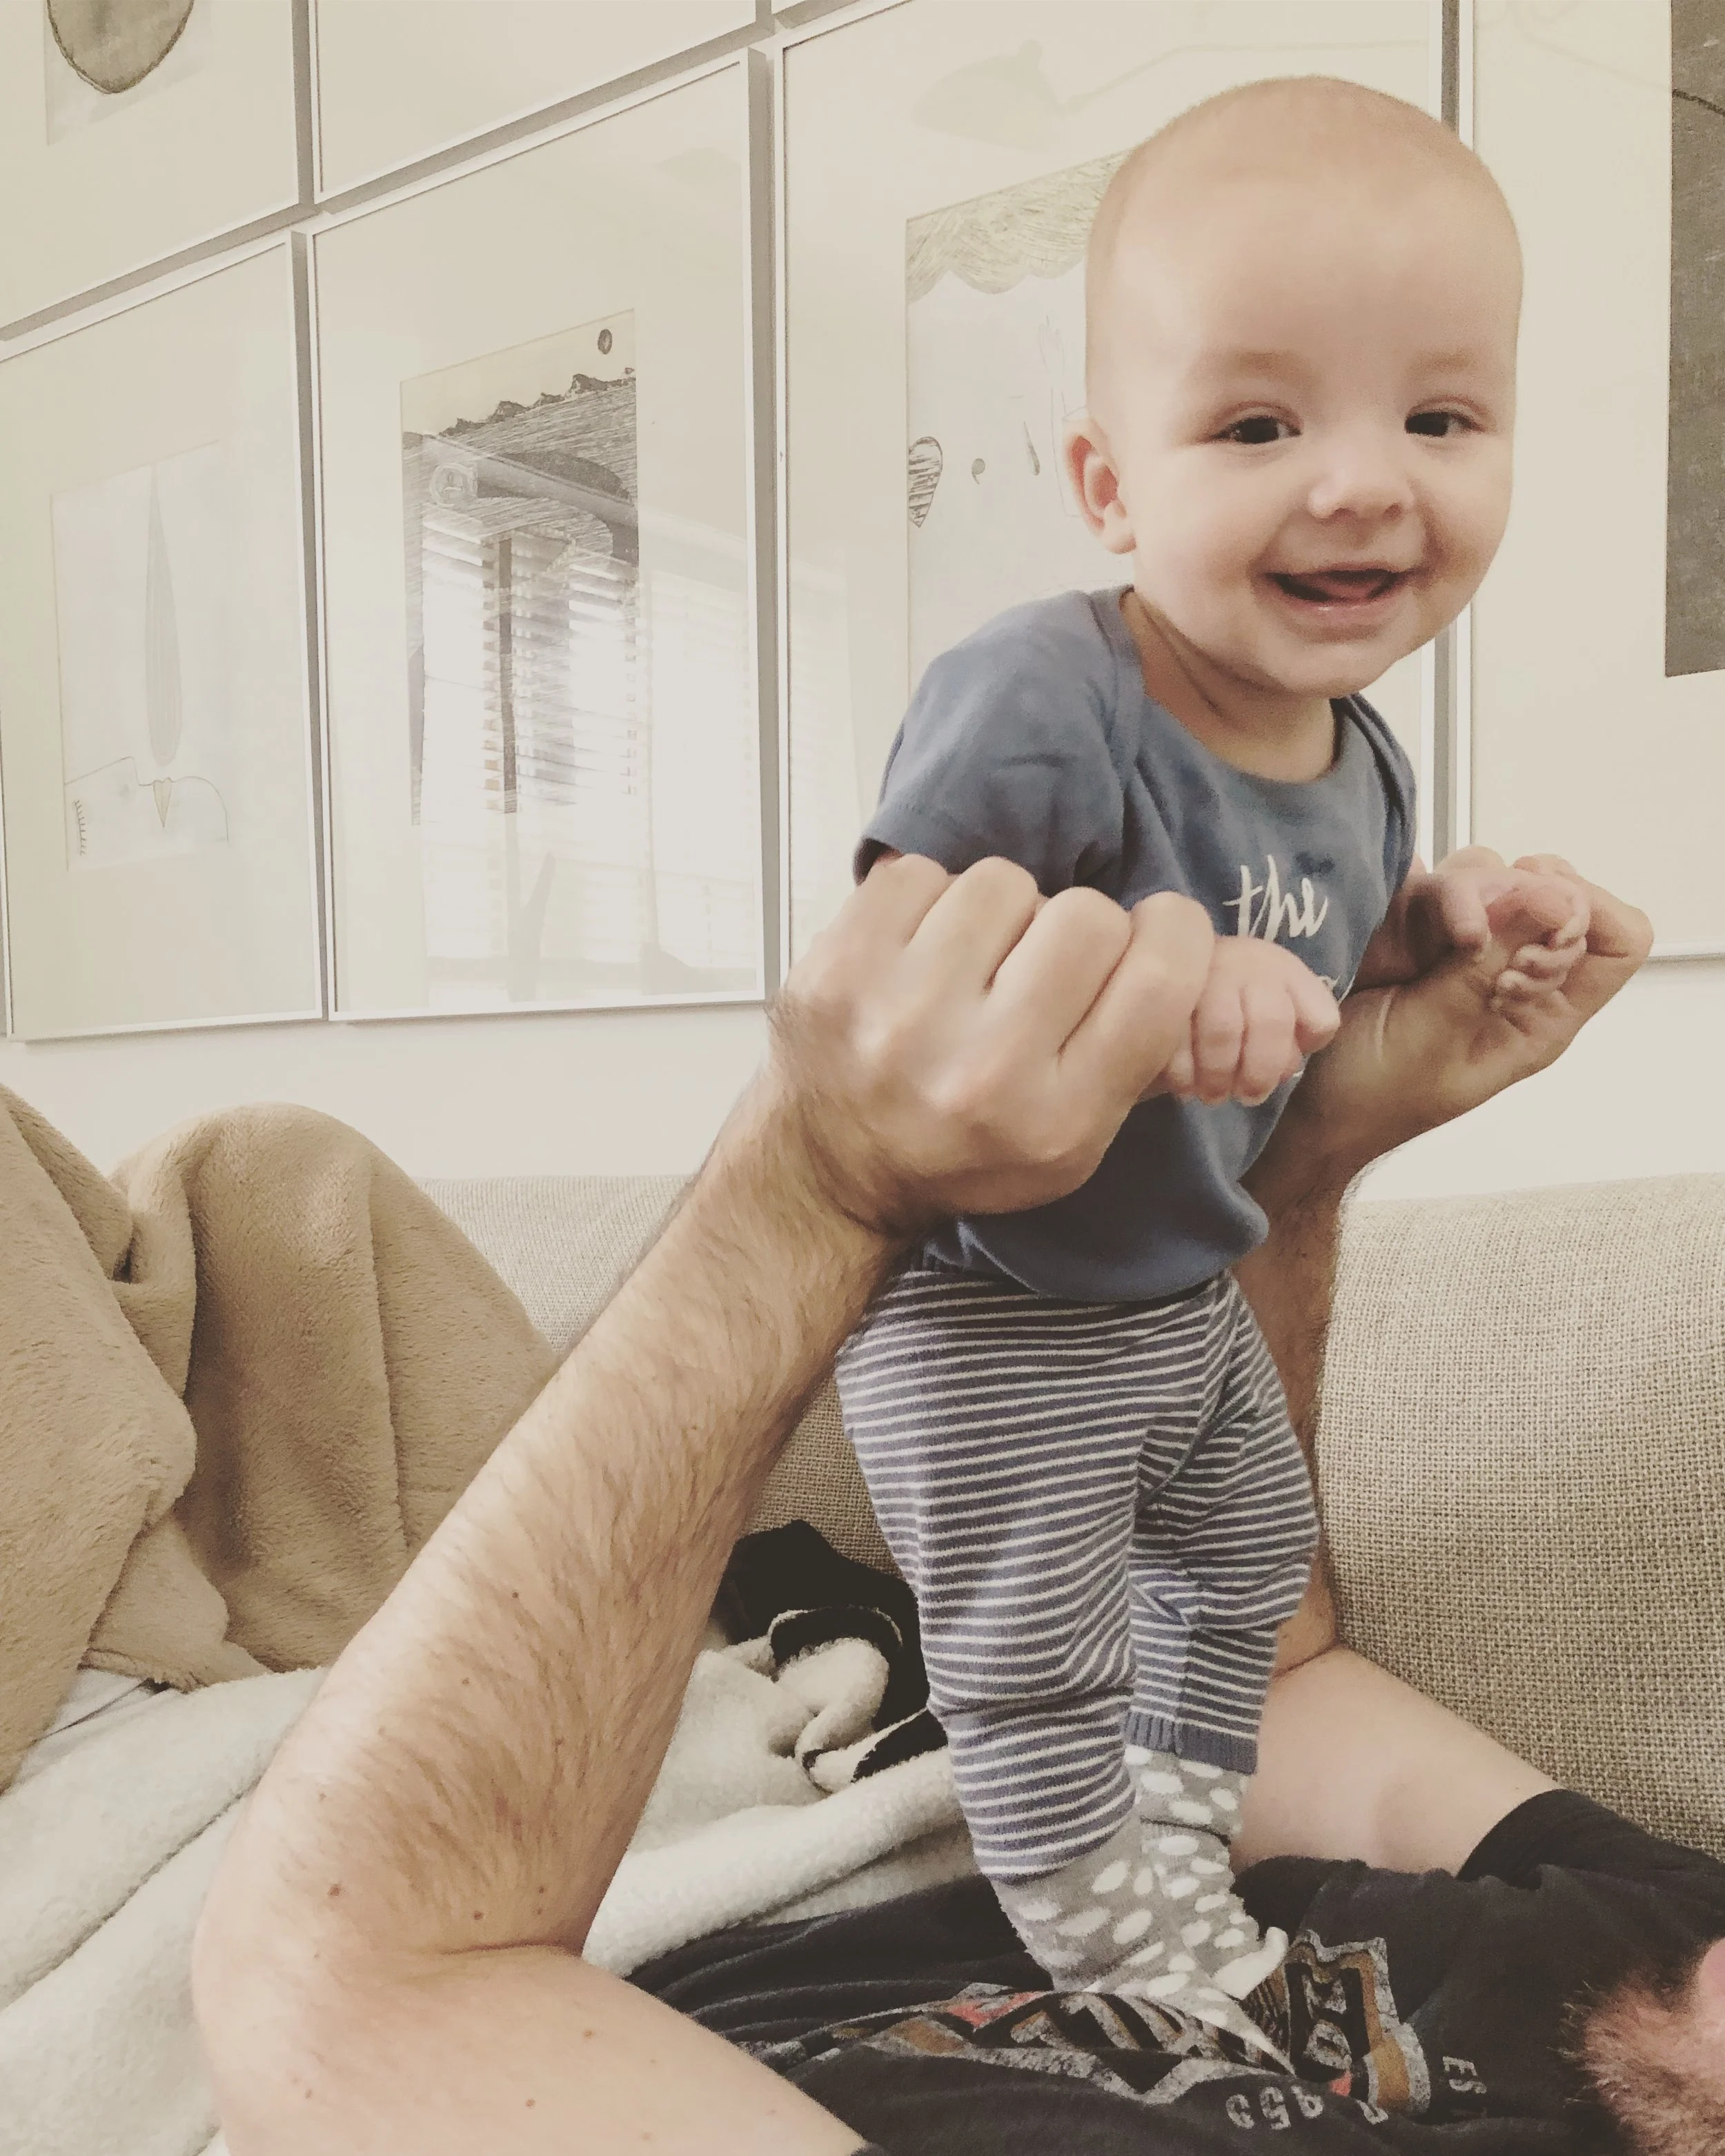
After a good 36 hours of labor, I would say that he was well worth it! Pictured here, at about 5 months :). <3

Posted on December 20, 2018 and filed under Design + DIY.

LIFE UPDATE: Five lessons for first-time home sellers and how we got six offers on our first day on the market

Dear friends,

It's official! We are no longer Houstonians, and I guess we are now Washingtonians? I think that's what it's called. They do have a magazine named Washingtonian around here, so I am taking my cues from that (such a rookie move). 

But this post isn't about our new digs (that shall come too!). It's about how we sold the old ones. And, as you might expect, there were plenty of interesting lessons learned through the process. I have tried to synthesize them into a digestible 5.

Disclaimer: I am not a real estate agent. Also, this may not be true for every market. Houston (at the time of selling) was, more or less, a buyer's market. And, I will be the first to admit, we may have just gotten lucky. Which would make the below 5 lessons completely baseless. =)

GetMedia.jpeg

LESSON 1: STAGING MAKES A BIG DIFFERENCE

Granted, interior design is clearly a hobby for this blogger and not everyone has the time or desire to decorate their space, but I imagine the staging of our house helped us A LOT. Beyond de-cluttering, I tried to make everything look as photogenic as possible. I spend a lot of time on Pinterest (certainly more than necessary) and that has taught me how to mimic styling that photographs well. My advice is to research what is popular there and try to mimic the photographic angles and styling that best fit your house decor. 

As an example, below are some images from previous listings. Compare those to our listing:

PREVIOUS LISTINGS:
OUR LISTING:

Which takes us to lesson two:

P7162249.jpg

LESSON 2:


ONCE STAGED, INVEST IN PHOTOGRAPHY


Whether you hire a photographer or take the images yourself, make sure you show off your home's best assets. You are best qualified to control this process - after all, you know every inch of your space - so don't be shy about requesting specific angles and views if you work with someone else. I chose to do the photography on my own. It required a small investment in a wide angle lens (you can find mine here) that cost about $320. 

What were our perceived best assets? For the living room, I wanted to show that it is 1) big (hence no rugs on the floor and the removal of some extra furniture) and 2) bright (I pulled up the blinds and used high exposure on the camera settings). For the bedroom, I wanted to show its 1) size (big enough) and 2) incredible organizational prowess (an Elfa closet system). For the master bathroom, I focused on the fact that it is 1) freshly remodeled and 2) funkily designed. For the kitchen, the selling points were the 1) miles-long granite countertops and 2) brand new appliances. 

Identify your top two selling points per space and make sure your photographs really show those off.


GetMedia (5).jpeg

LESSON 3:


YES, DO THAT REMODEL, BUT...

...be smart about it.

When the house was originally purchased, the kitchen was in a rather pitiful shape: the floor tiles were cracked and poorly installed, the appliances were paying homage to the 1980's, the countertops were cracked and poorly installed tiles as well, and so on. Since we have more than 70 sq. ft. of countertops and cabinets to support them, the sheer size of this project was so intimidating that it held us off of ever tackling it.

After speaking with our realtor and researching the competition, it became obvious that something had to be done. The "a-ha" moment was when we realized that not EVERYTHING had to be done. So instead of demolishing the entire kitchen, we decided to simply upgrade its not-so-great parts - the floors, the counters and the few appliances that had not been upgraded yet. After we were done, we were stunned at what a huge difference it made. And sad that we hadn't done it earlier. Altogether, we were able to pull that off with less than $4,000. Money well spent!

OUR LISTING:
PREVIOUS LISTING:

Screen Shot 2017-09-21 at 9.48.28 AM.png

LESSON 4: RESEARCH YOUR COMPETITION

DO NOT SKIP THIS STEP! Use your local real estate website and see what you are up against. Your realtor should also help you with some further analysis on what has sold around you and for how long it was on the market. But being informed is a must - do not just rely on your realtor. This research should help you identify a two important things:

  • What to upgrade/renovate (as it did with our kitchen)
  • The price range that would be acceptable in the market

Always remember that your real estate agent is, yes, there to help and guide you along. But they also only get 3% of the selling price. $10,000 more or less in selling a house results in a mere $300 difference for their commission, but for you, the difference would be $9,700 more or less in your bank account. So, their incentive is to sell your house as fast as possible, which may sometimes result in a price suggestion that may be too low. For example, our realtor suggested that $229,000 will be the maximum we can ask for with our kitchen situation. After investing the above-mentioned $4,000 in our kitchen, I set the selling price at $249,000.

We had six offers (five of which were above asking price) in one day with us ultimately accepting $265,000. This tells us we still underpriced it! Always do your homework and look after your own interests.


P7041881.jpg

LESSON 5:


YOU ONLY GET ONE CHANCE AT A FIRST IMPRESSION


So you have to make the best of it! The first week of a listing is critical for its success. If you have priced it well and your place stays on the market for more than a week, people will simply assume that there is something wrong with it. For that reason, if you can afford it, be patient. Only list your place after you have reviewed and approved ALL photos and ALL descriptions. Adding those later will simply deflate your ability to appear that you are in demand.

Also, chose your BEST image as your headliner. We had the option of using the outside shot (from above) or the living room. Most listings show the outside as it is the most logical first image - that's what you see first. We chose the living room instead because we knew that it has the power to capture attention. And the more people open your online listing, the more people are likely to show up, and the more offers you are likely to receive. It's purely a function of math. And it goes straight to the bottom line. 


And this is it, friends! I hope this was at least somewhat helpful to anyone who is about to embark on the scary process of selling their house for the first time. Good luck and let me know how things go in the comments!