
Well, well, hello, there!
It’s been pretty much more than a year since I last wrote anything here… Is there anyone out there? Do you still care to read this blog? Can I entice you to keep coming back if I cannot promise to give you regular updates? Hmm…
So here’s the thing. This new “normal” of isolating yourself in your house has presented a rare opportunity for reflection. It has given me enough head space to pause and listen to my inner monologue with curiosity and no distractions. And this monologue is reminding me of what truly feeds my soul—my love for creating, my desire to share and hopefully inspire, and my own seeking of inspiration in others.
Don’t get me wrong, I absolutely love what I do every day at work. It’s work that matters, it’s work that makes a difference, and it’s work that pays the bills. But it’s also tough work and work that stresses me out a lot. It’s work that keeps me moving through every day without much time to pause and be patiently present. So this unintended “pause” is serving a refreshingly good purpose. It’s forcing me to recognize my priorities and rethink how I reengage with the world once our hermit phase is over (and I sure hope that’s sooner rather than later for everyone’s sake).
So here I am, resurrecting an old outlet that gave me immense pleasure before embarking on the journey of motherhood and professional busyhood. As I contemplated coming back here, I was actually shocked to find out my domain had expired… can you believe it? So, first things first, I made sure that works again :).
Next though, in these uncertain times, I will certainly have more time at home. And this blog can present the best place to have some form of a normalcy, right?
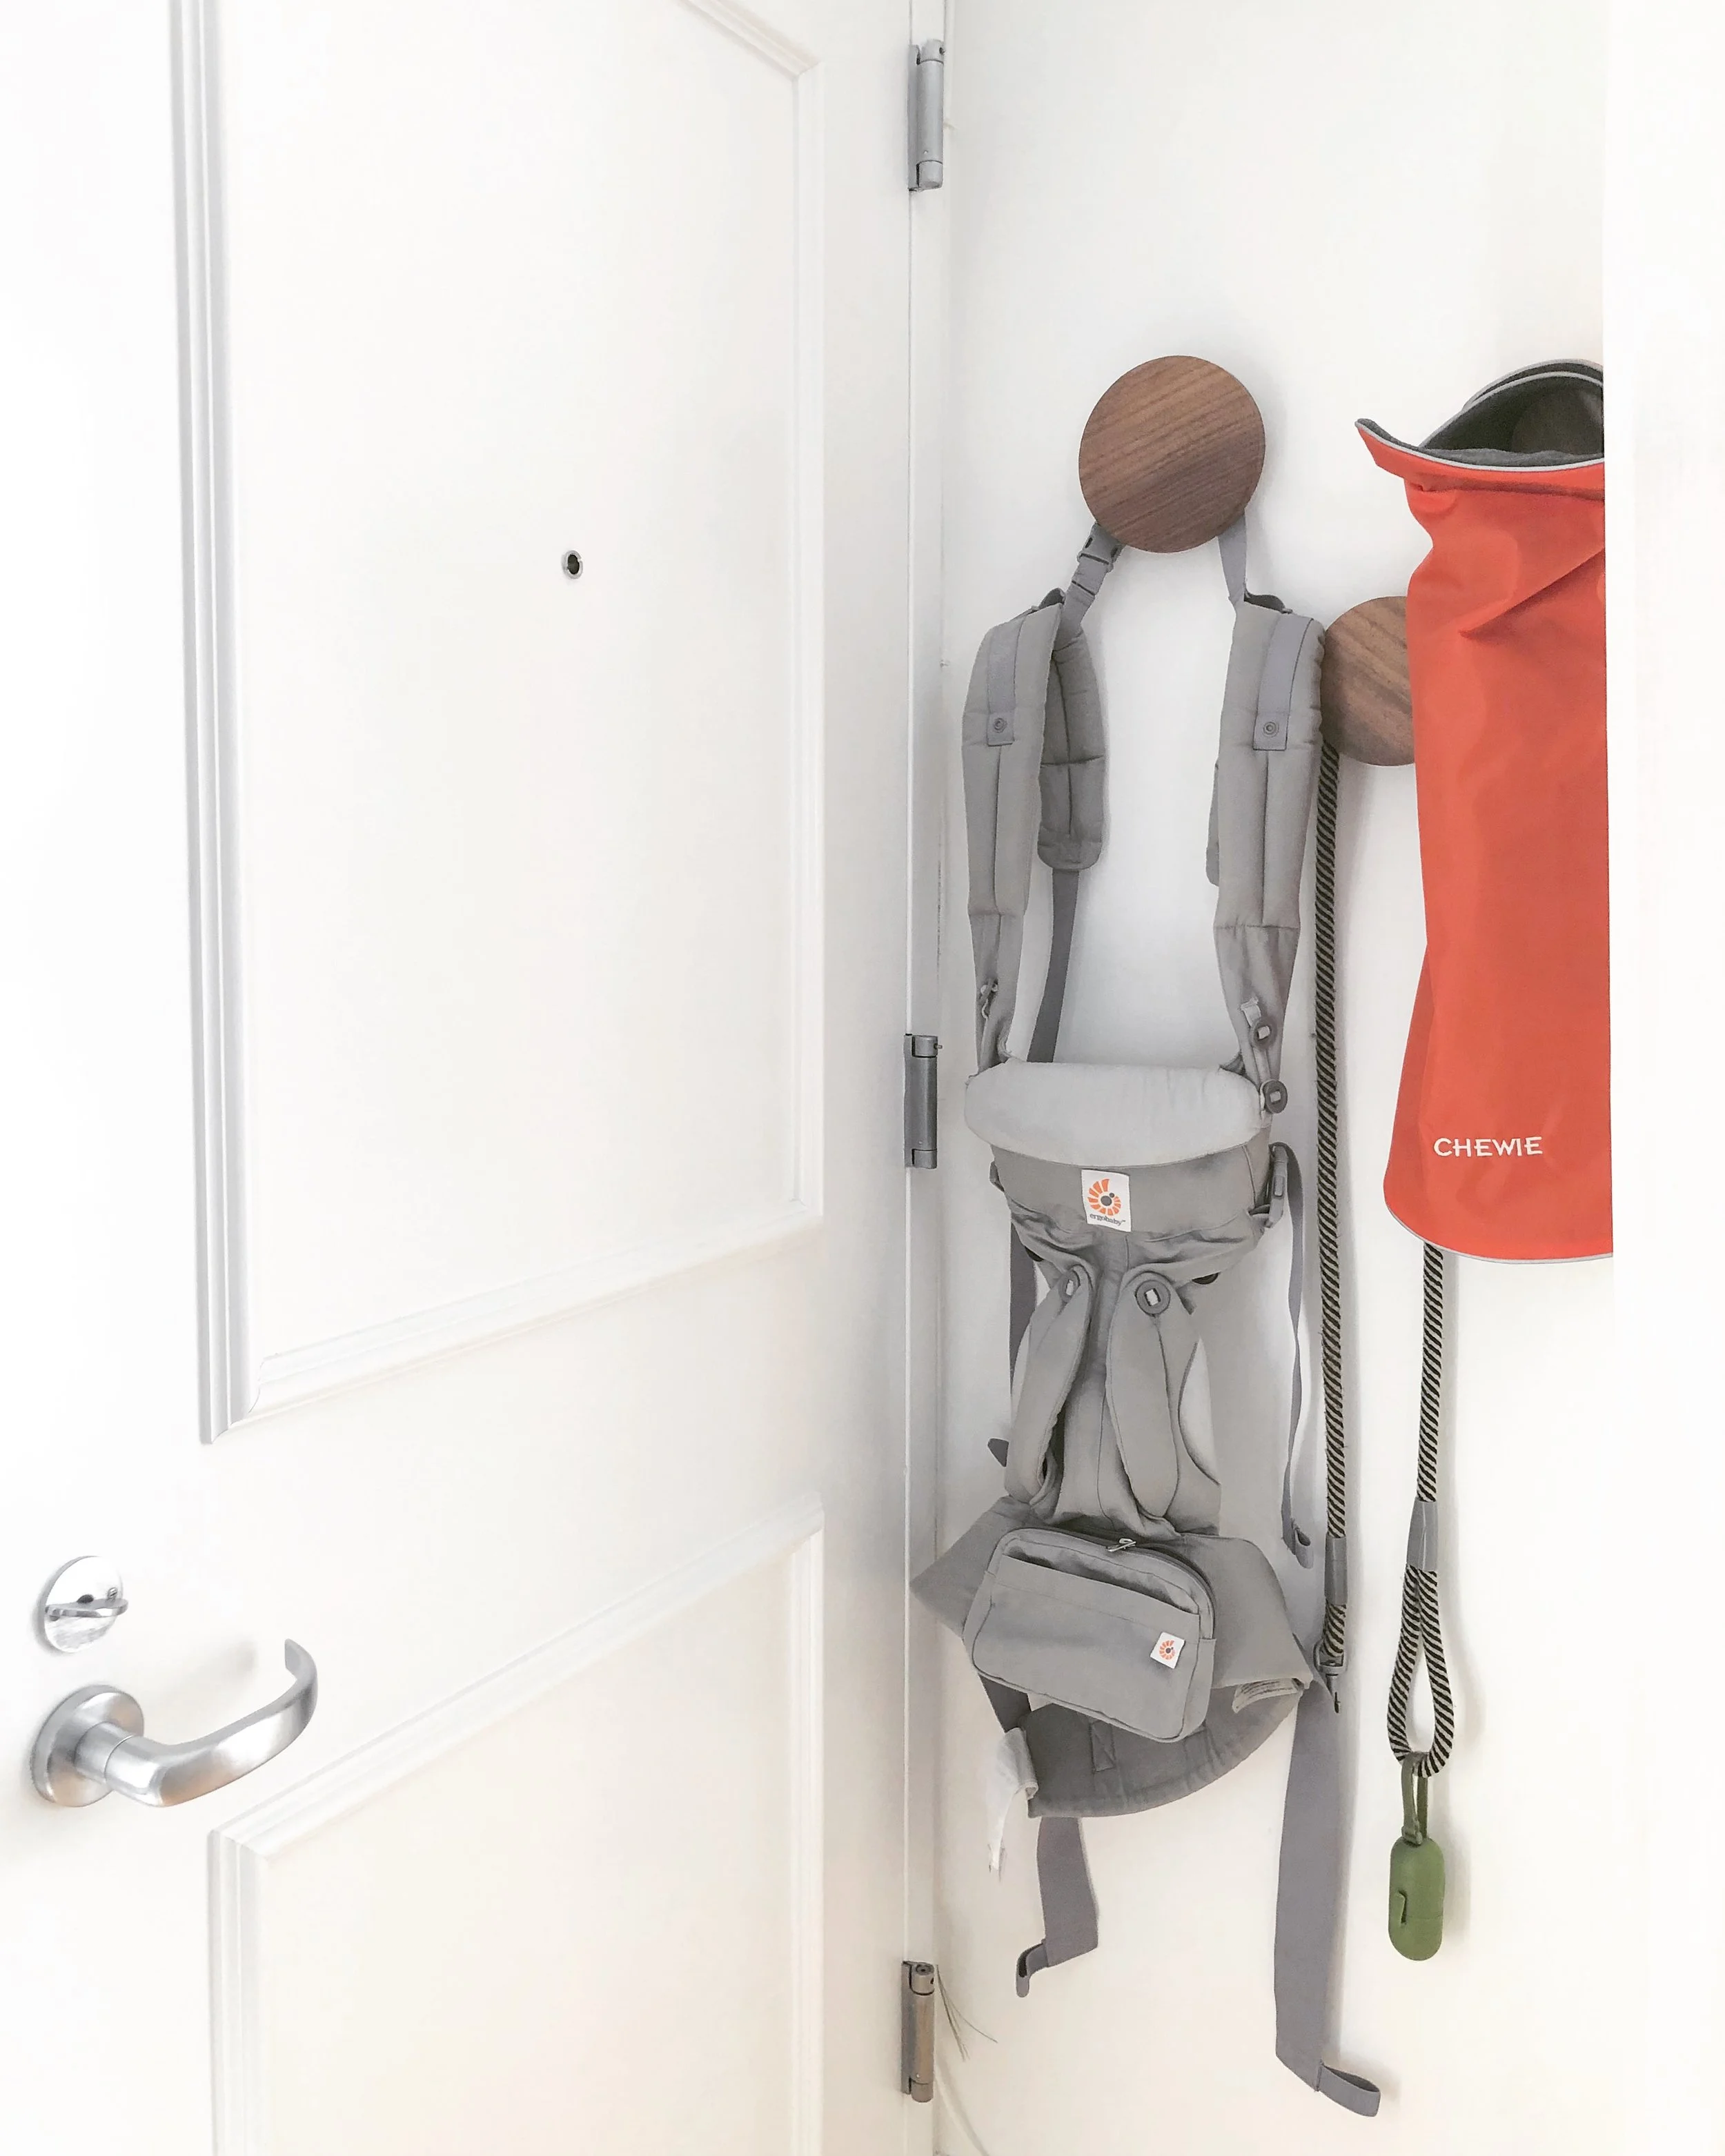
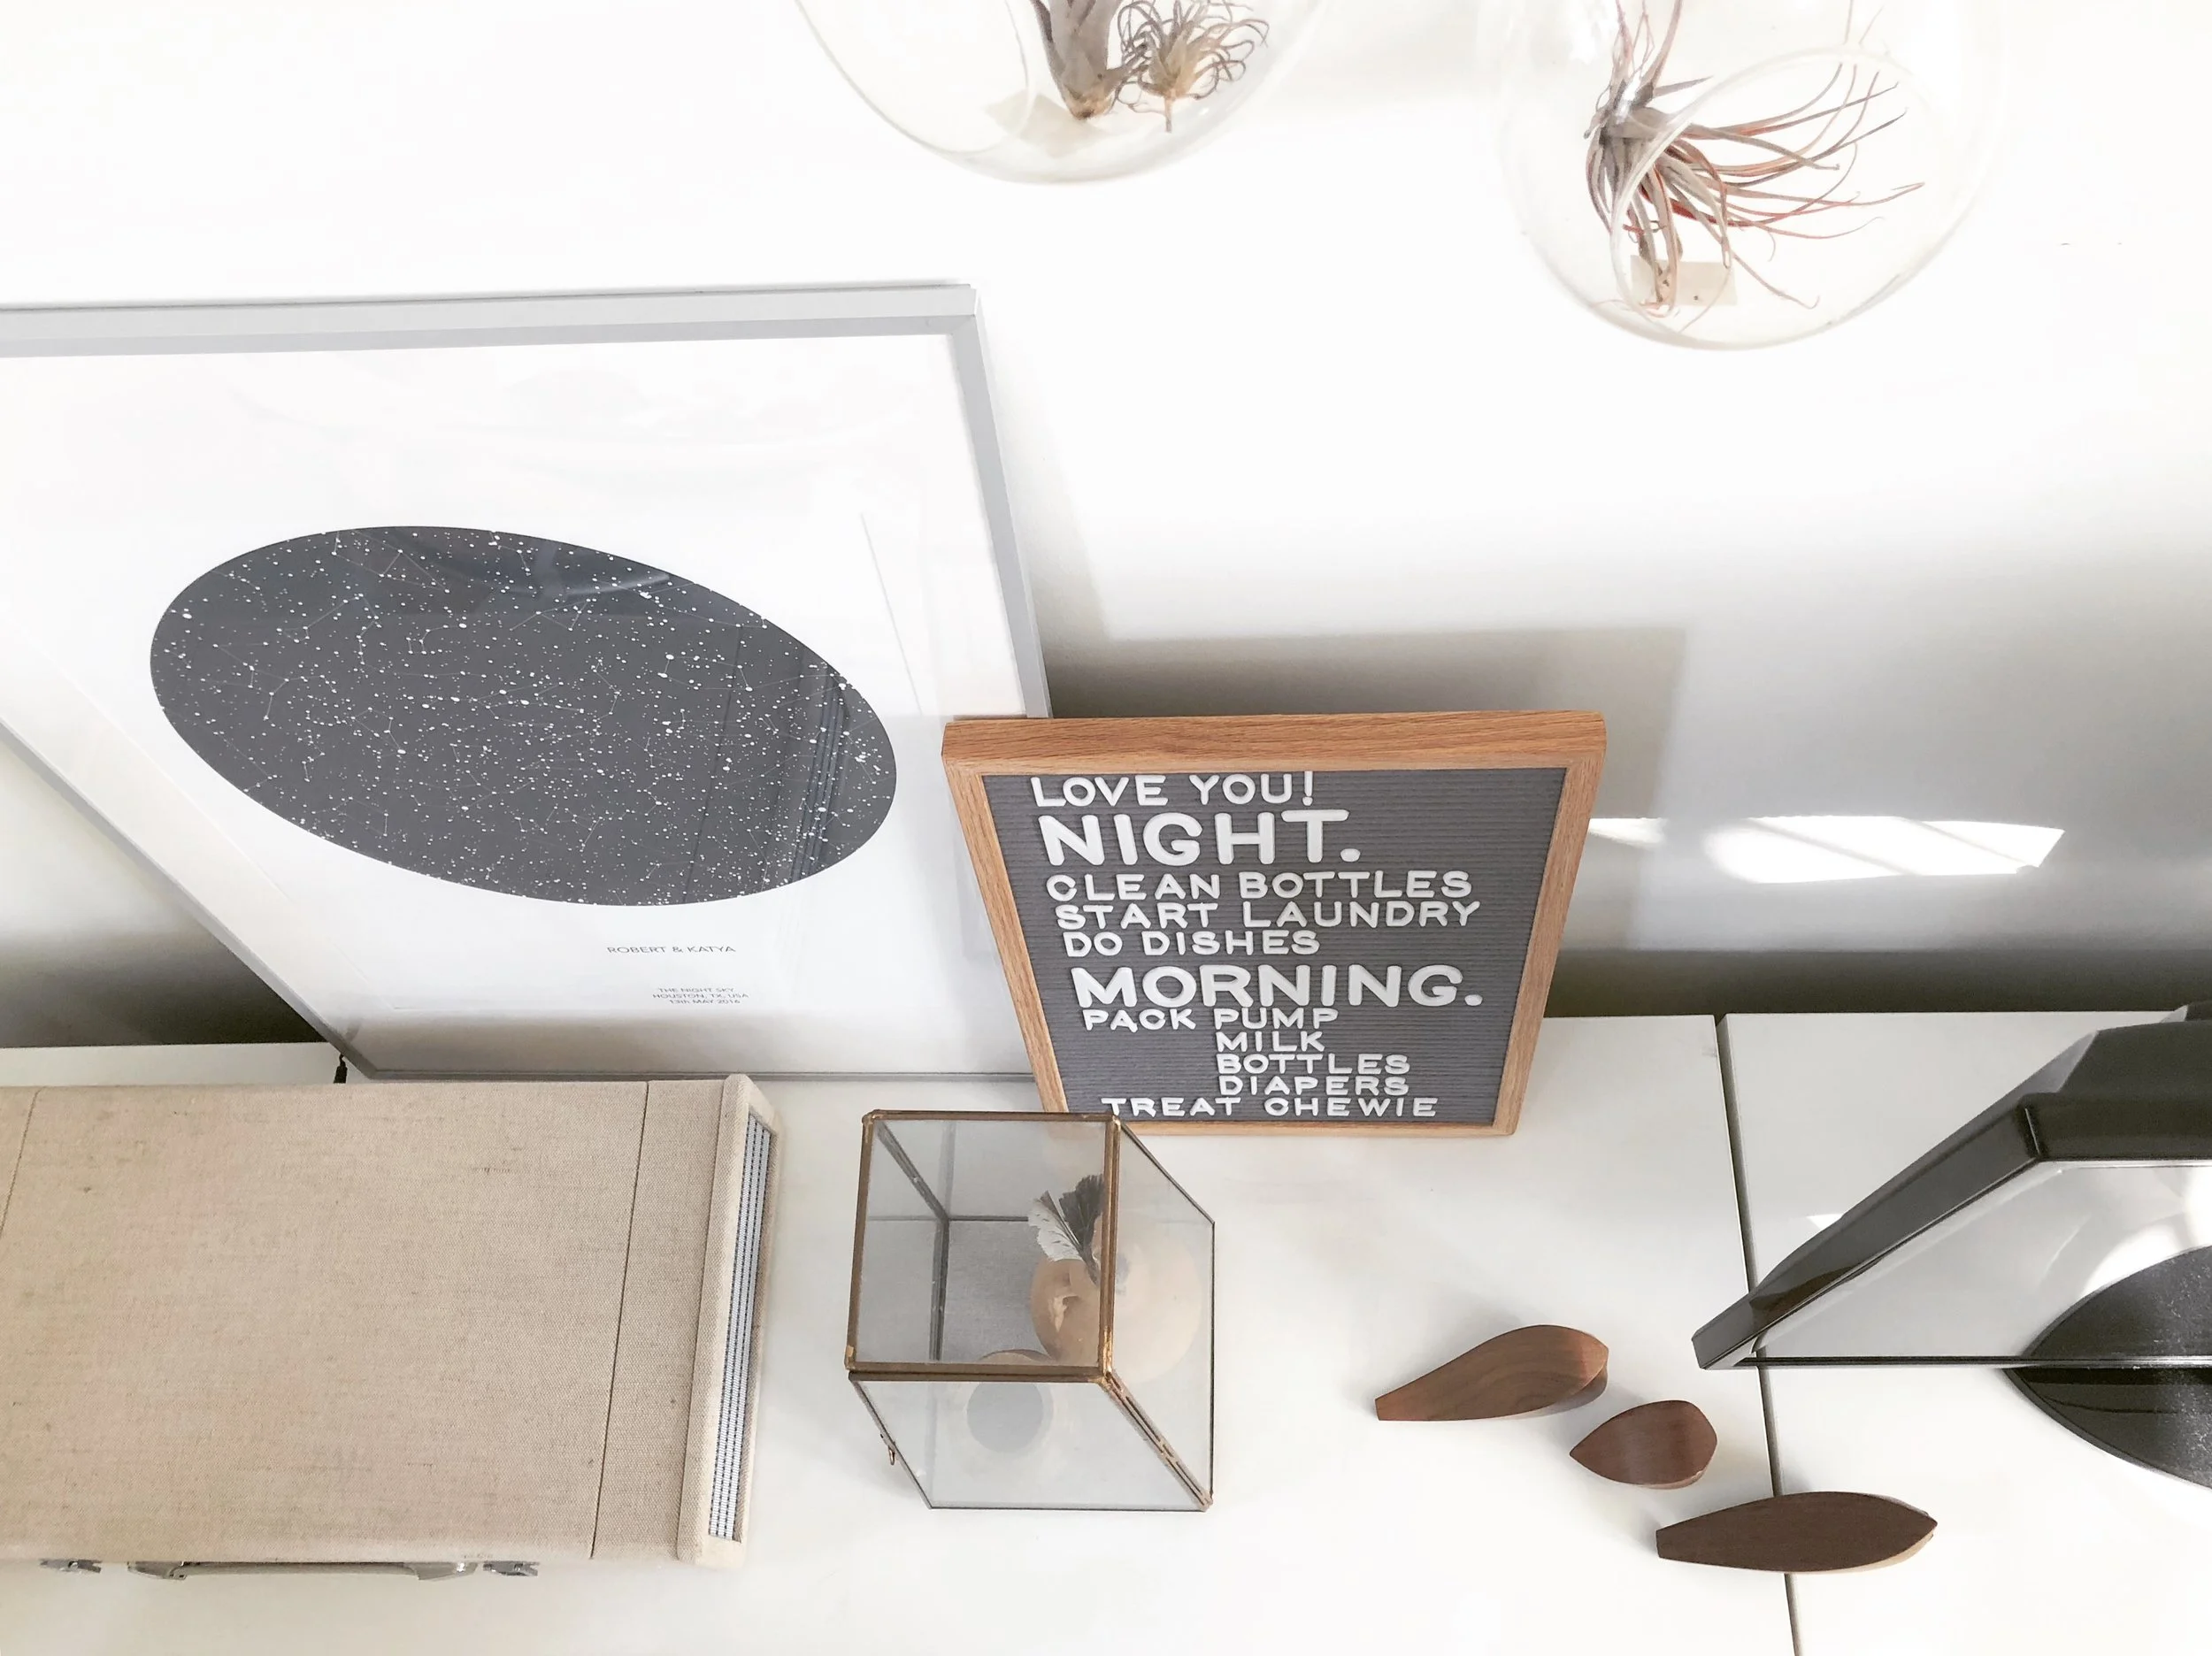
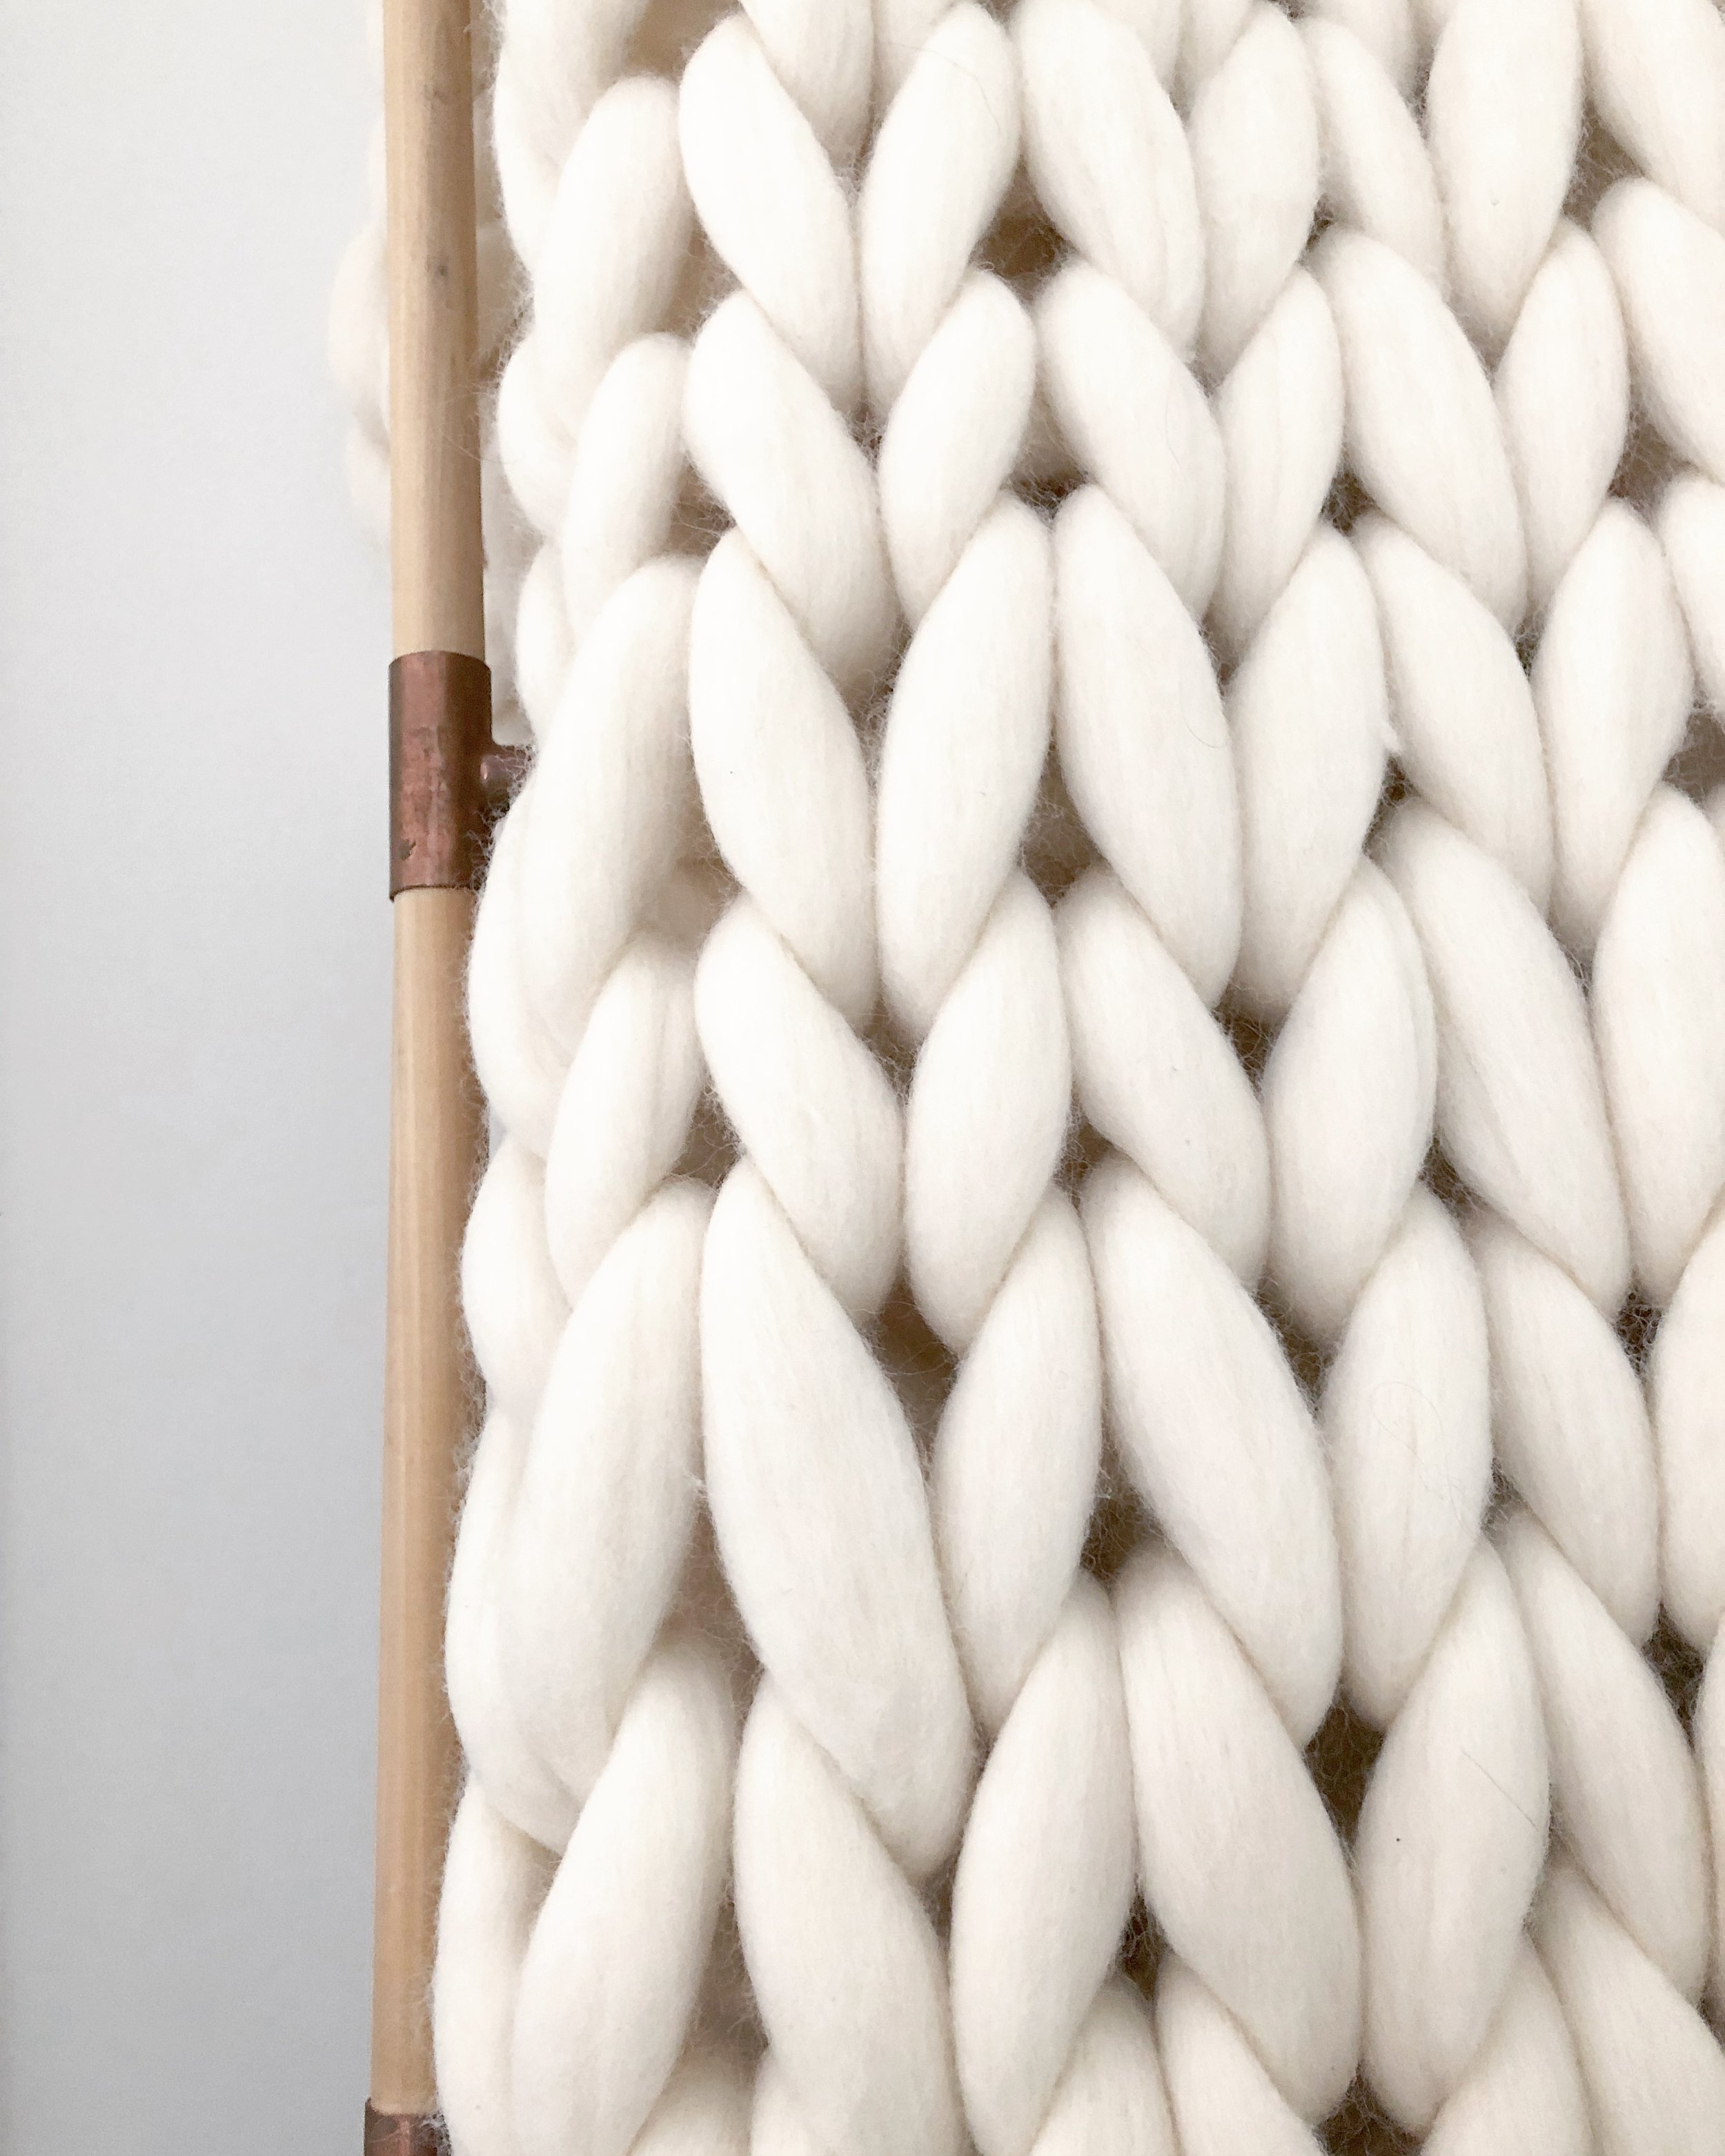
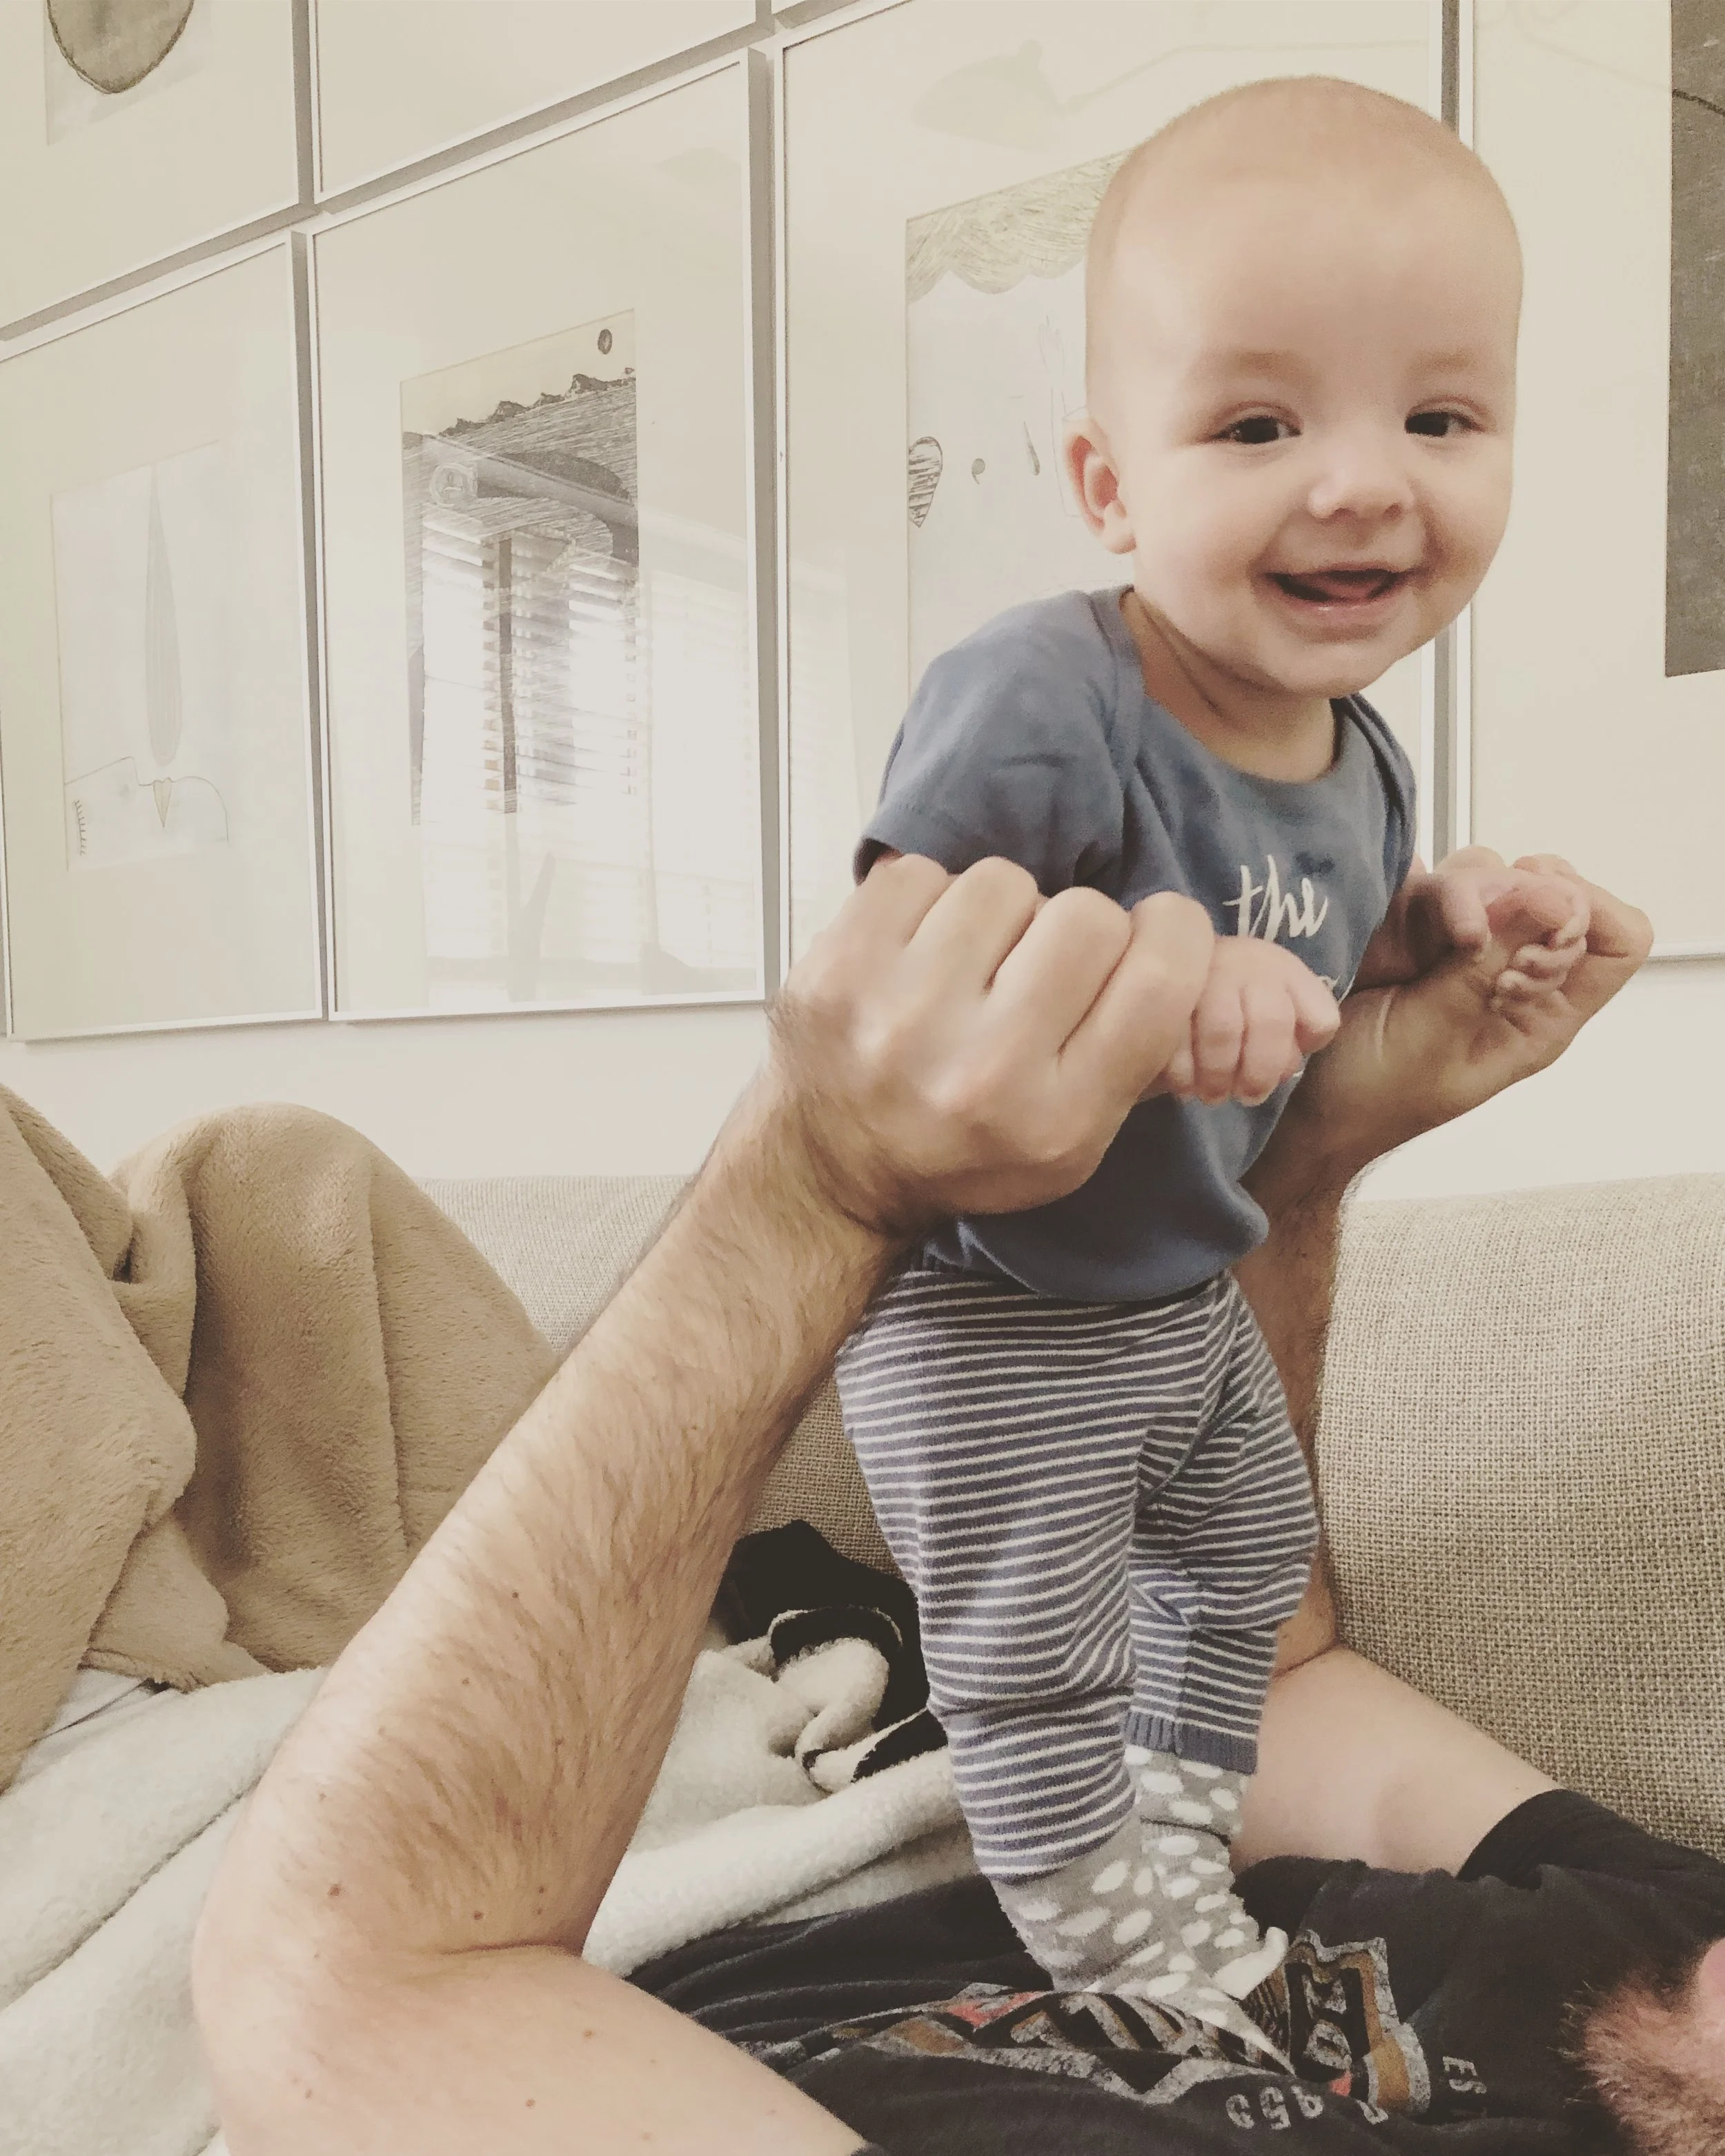
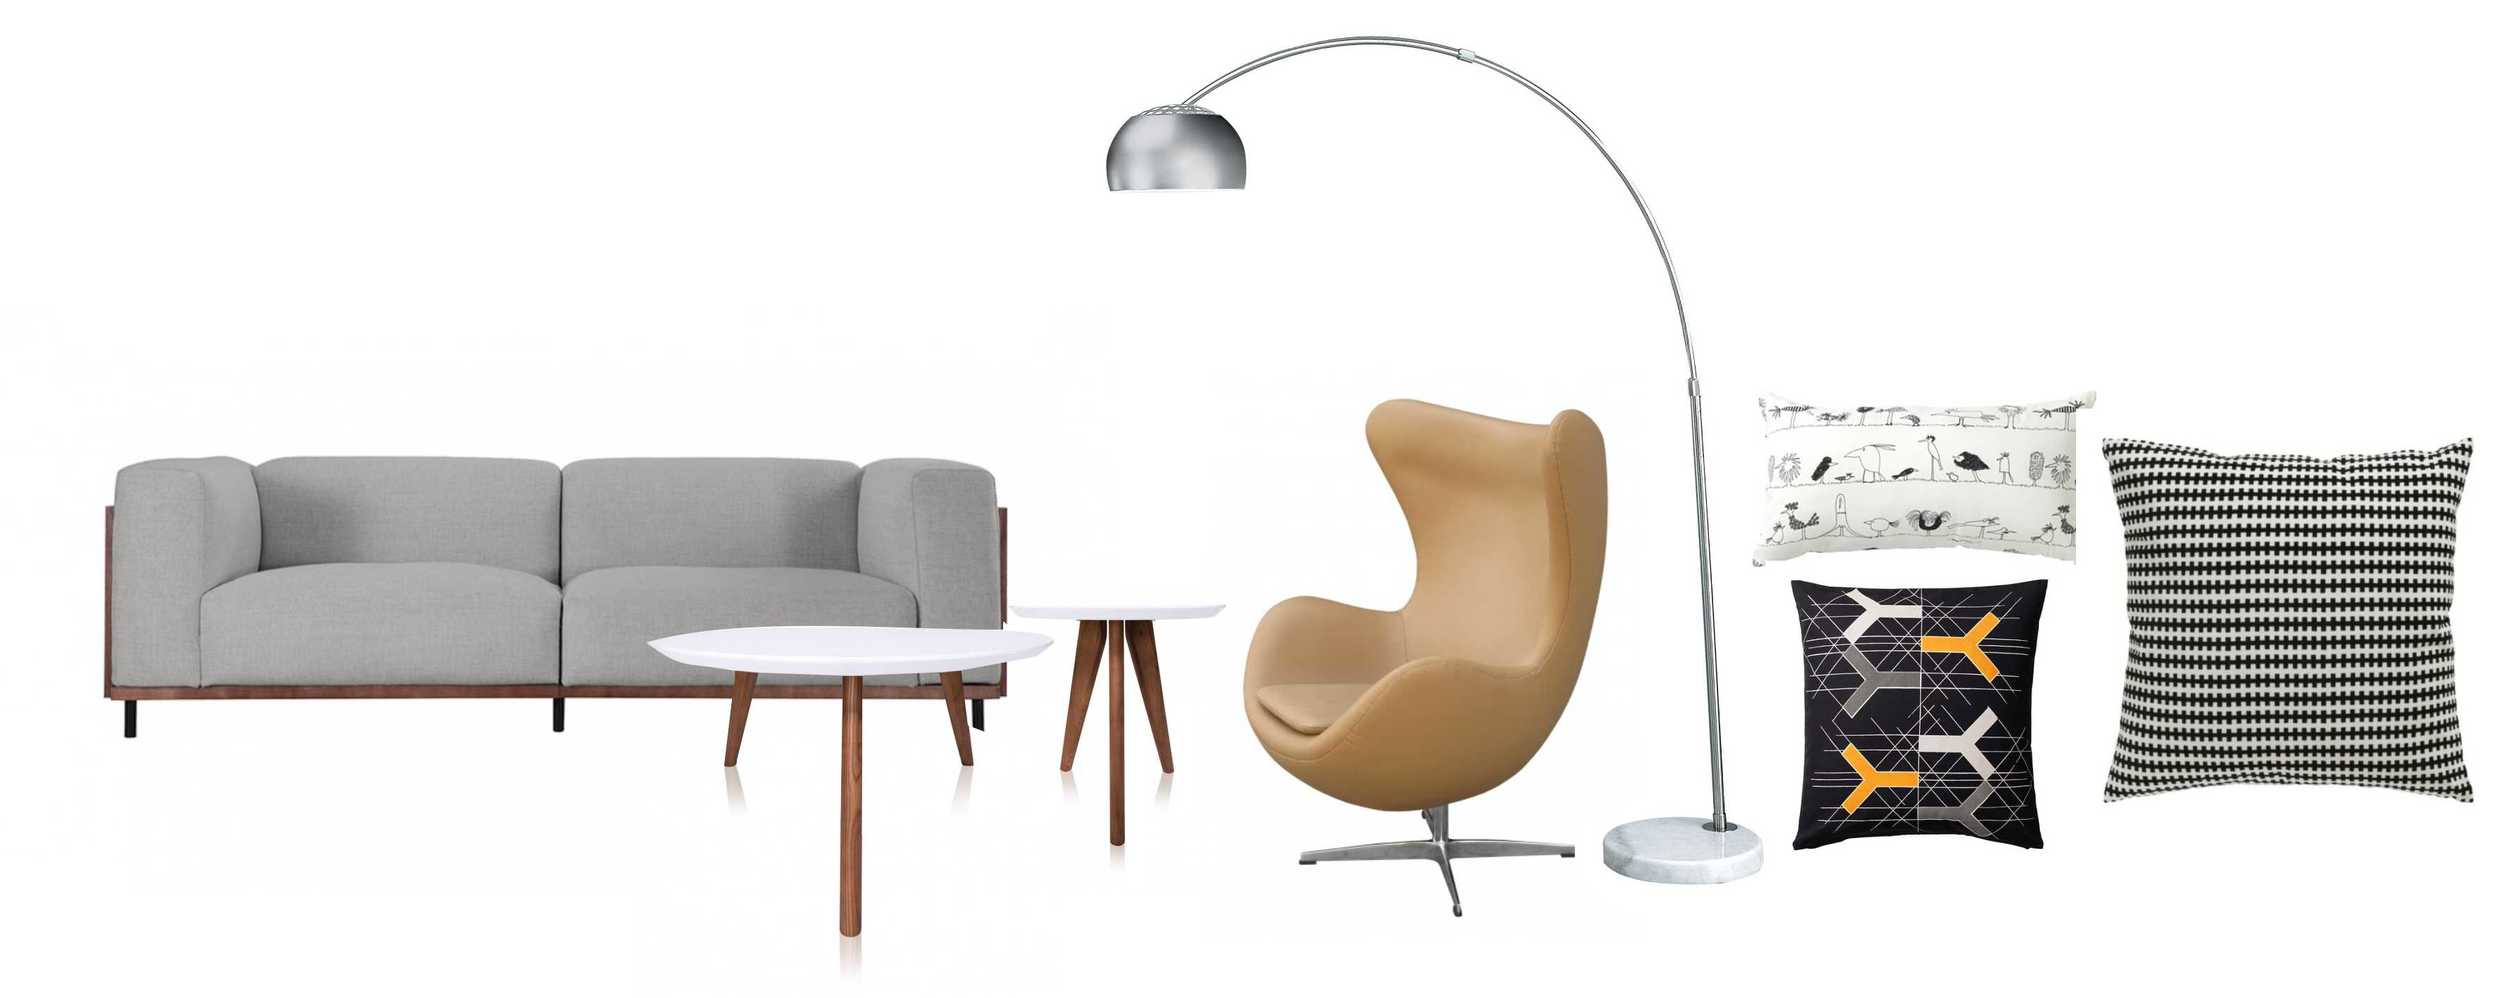
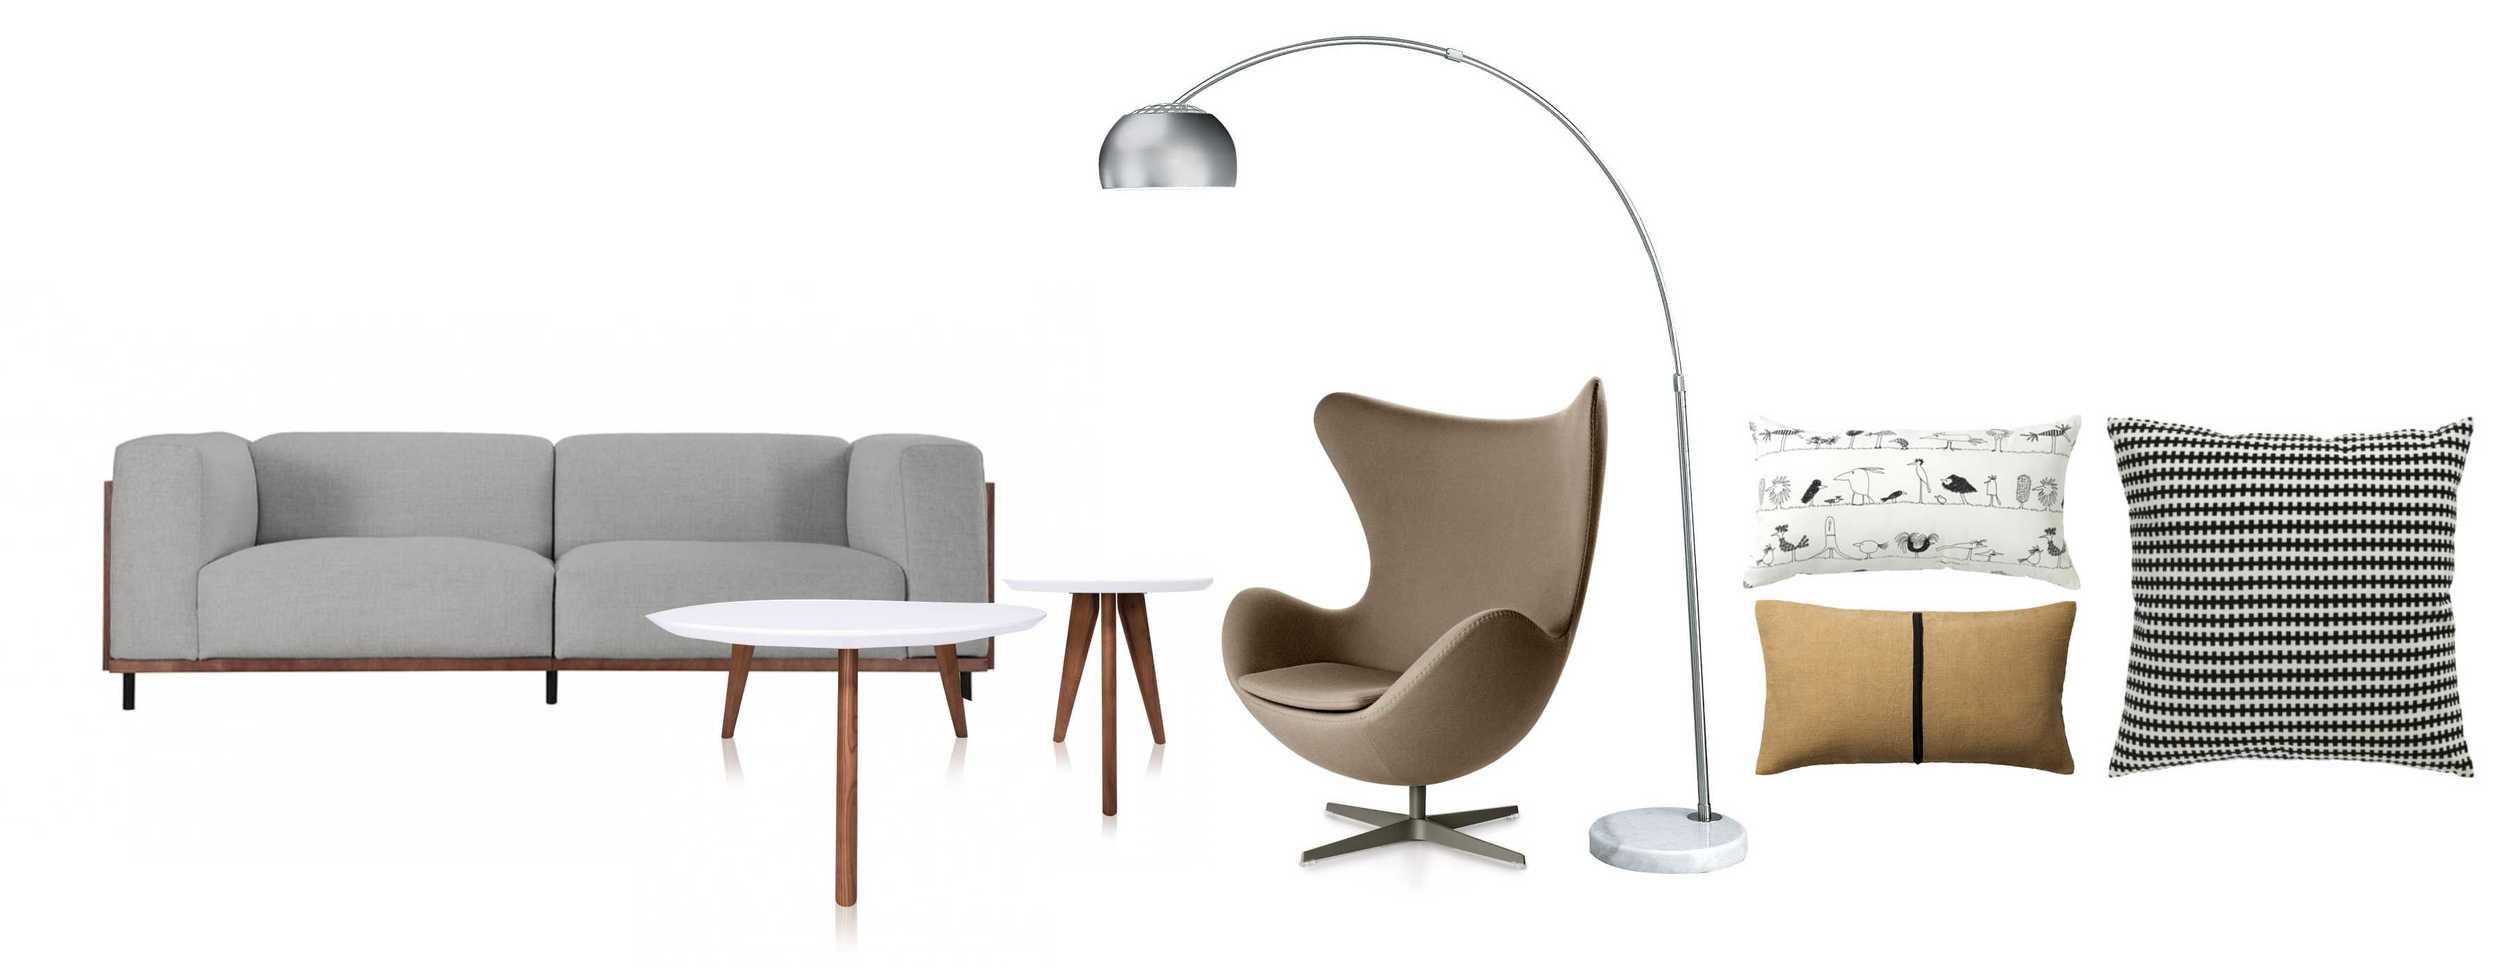
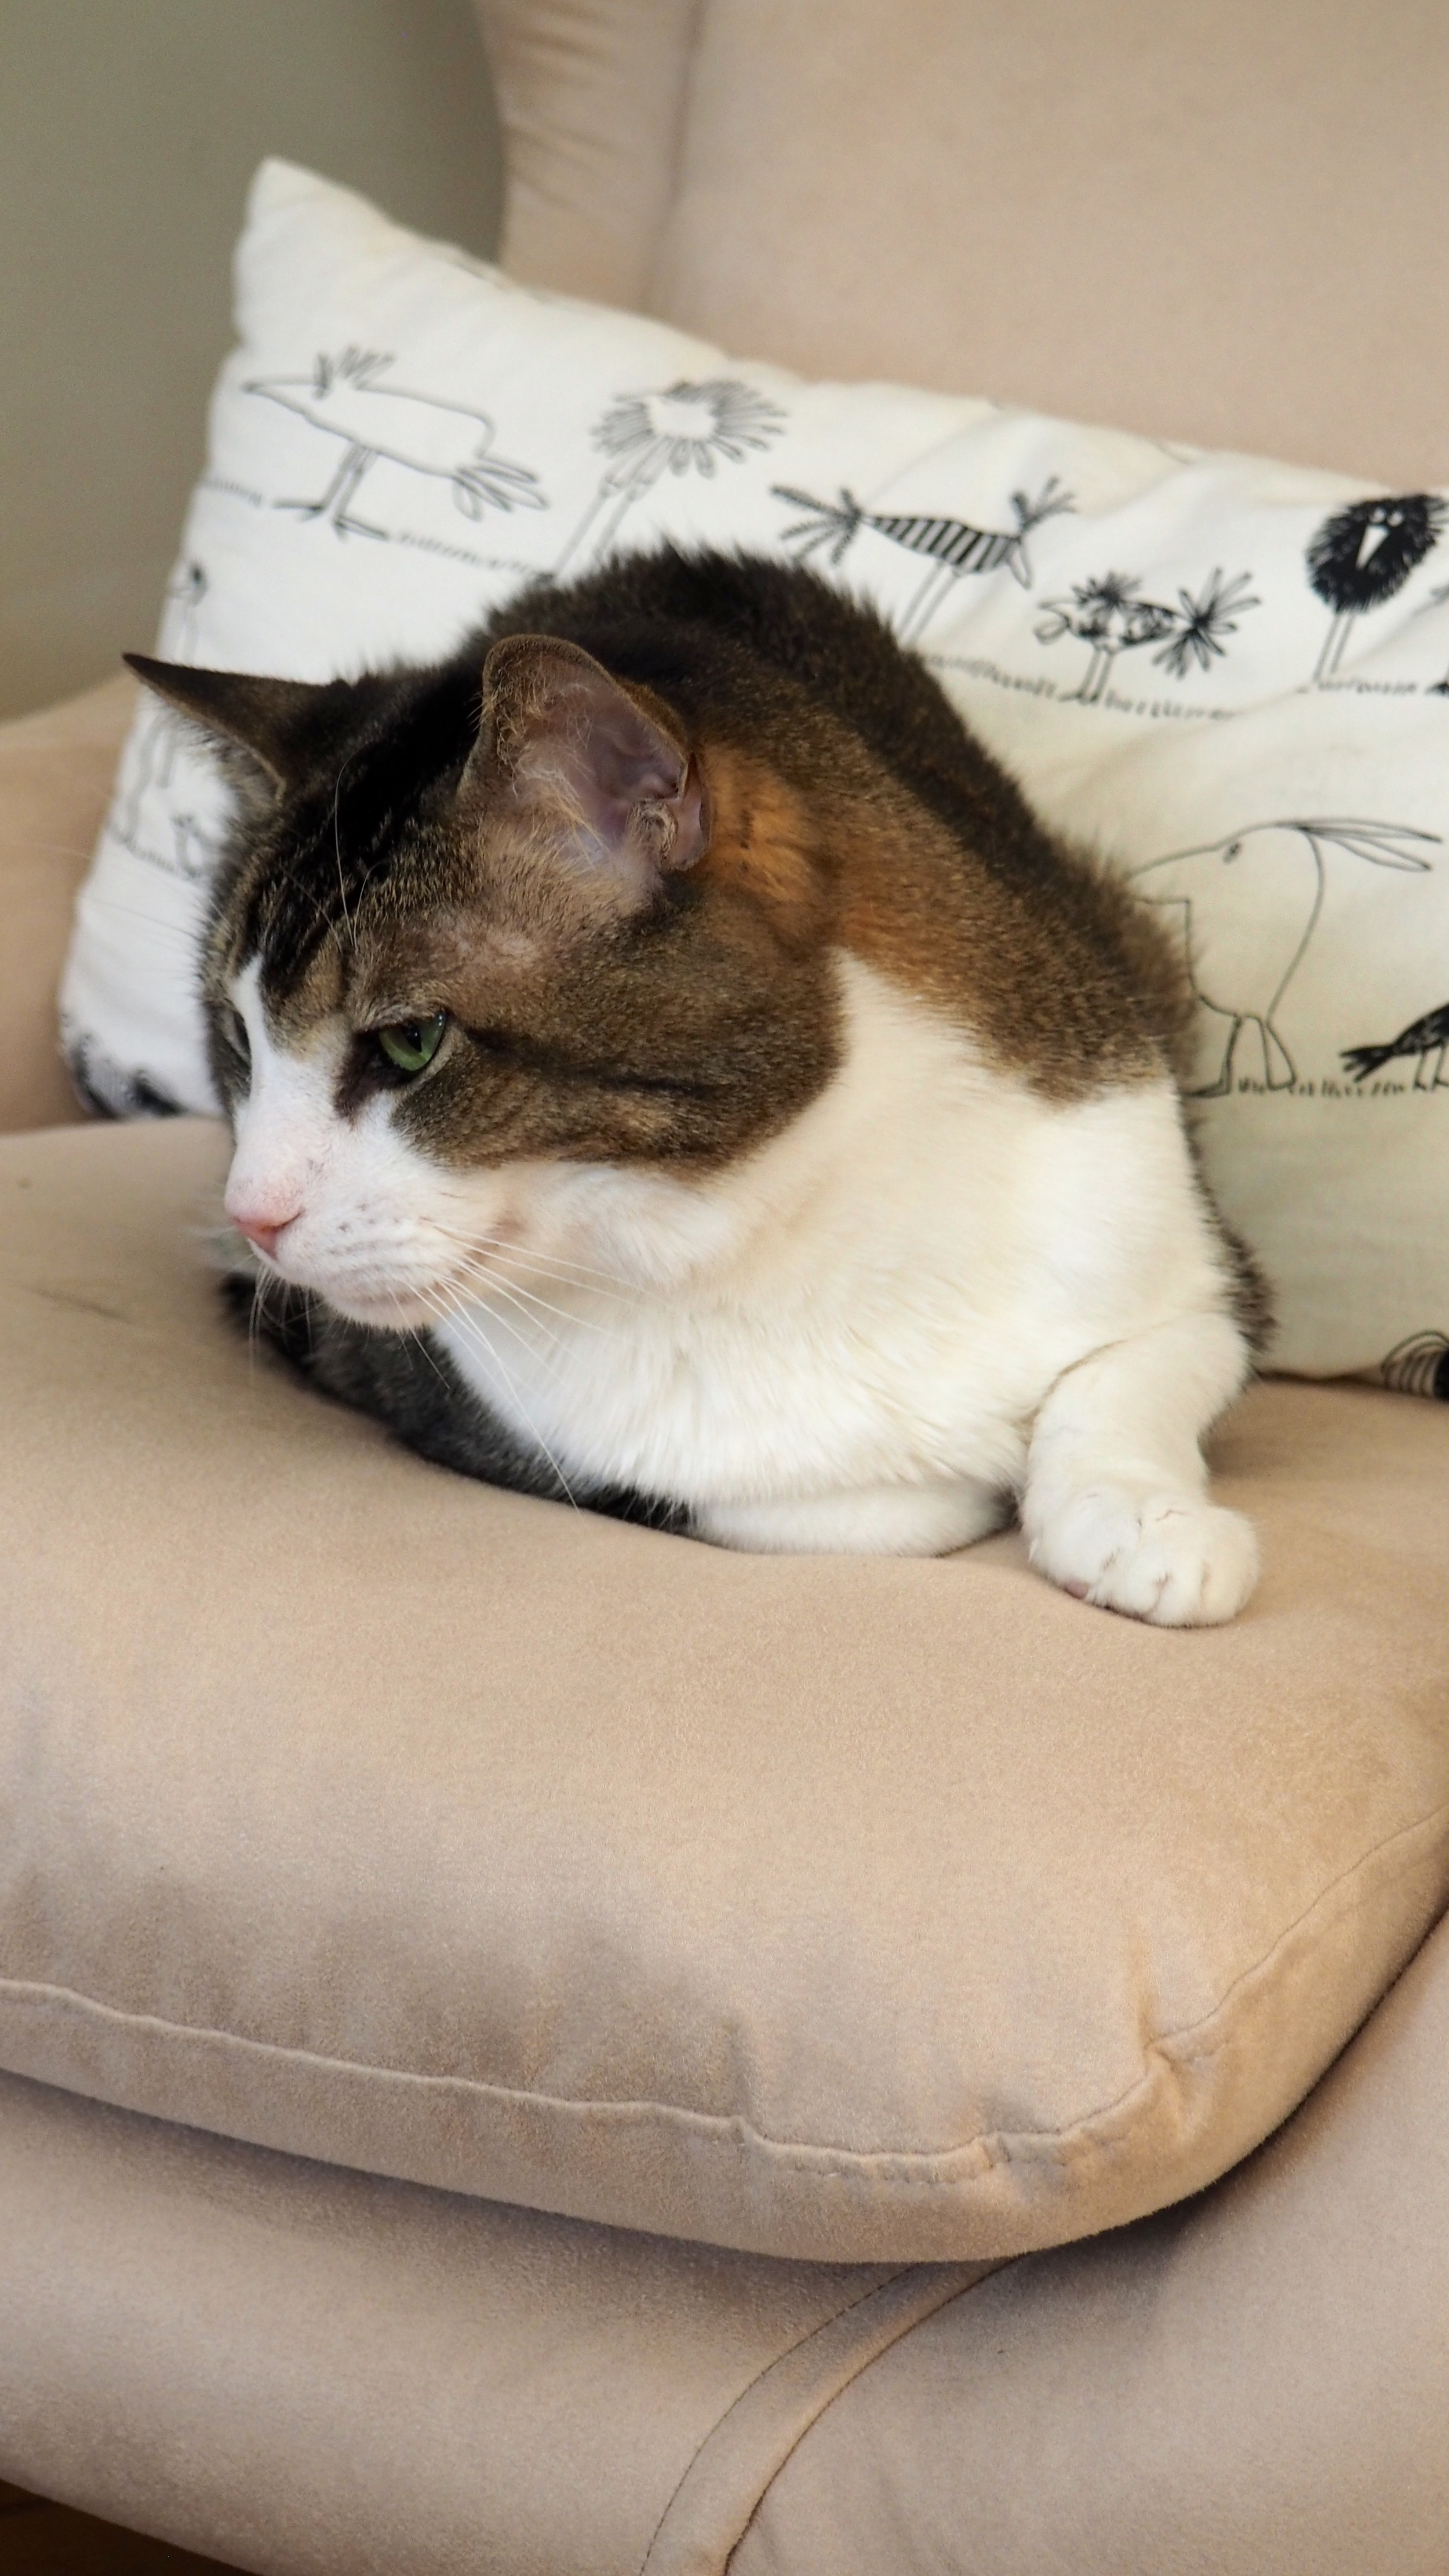
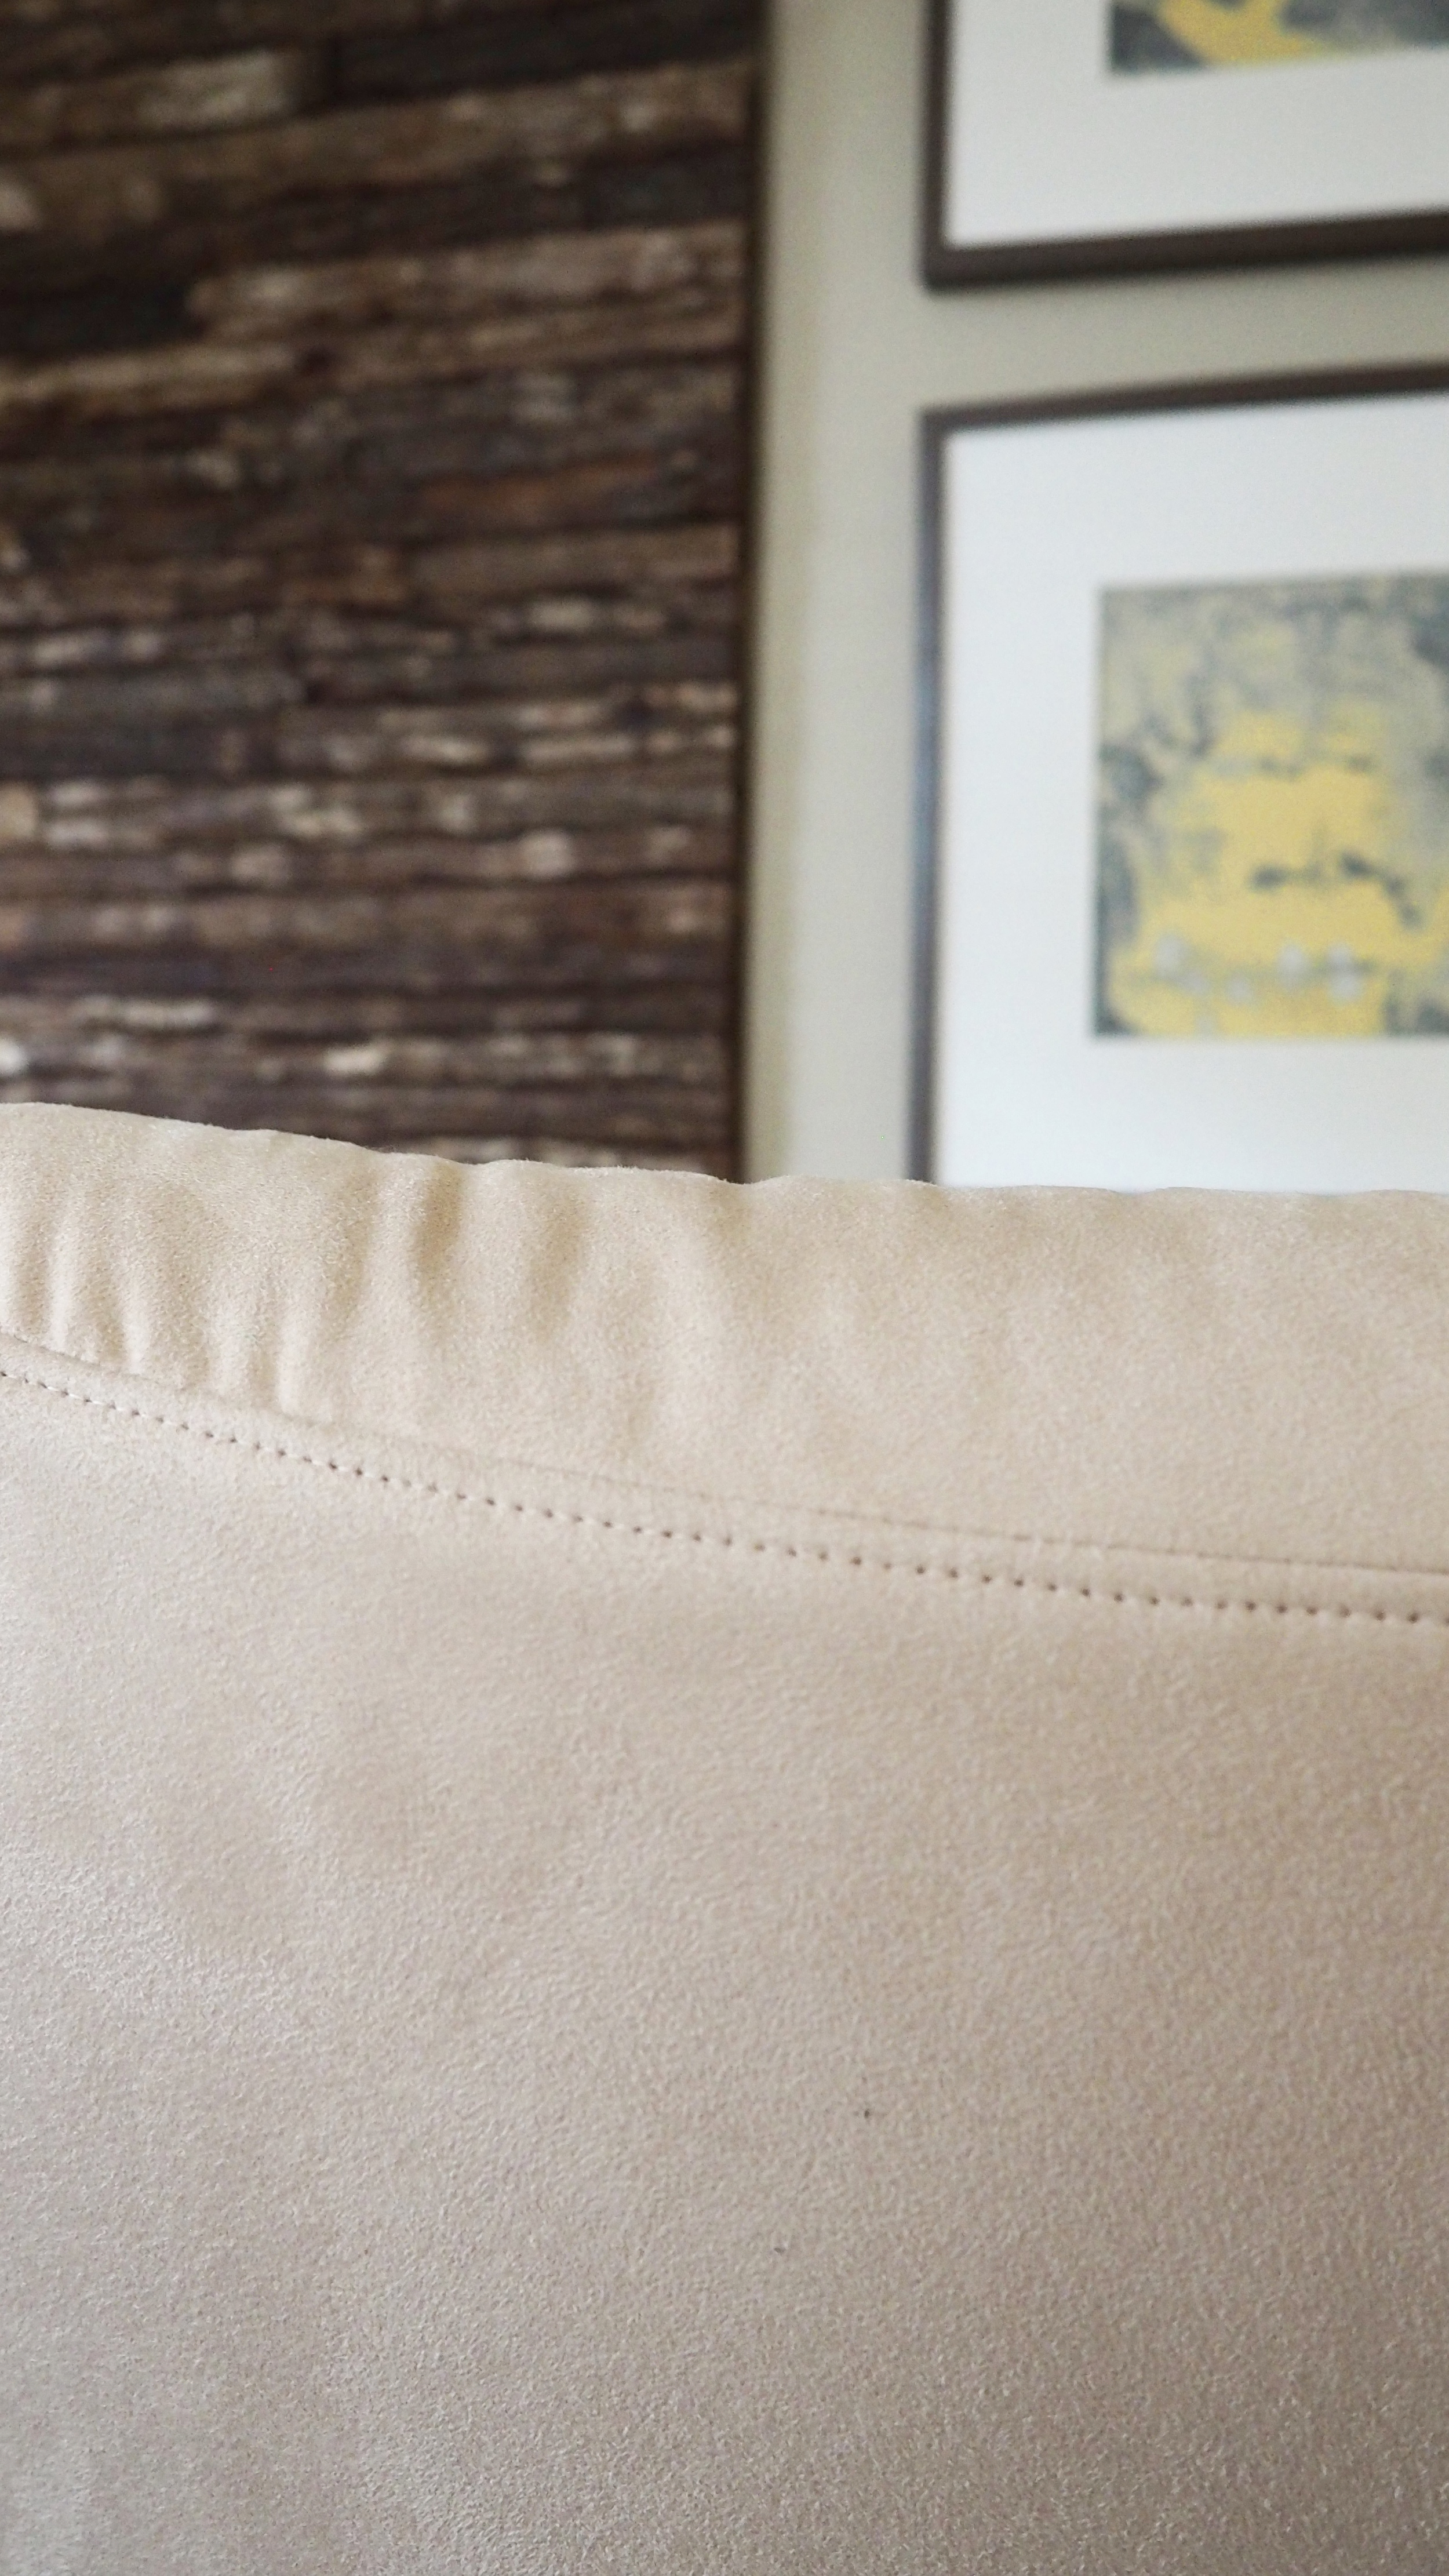
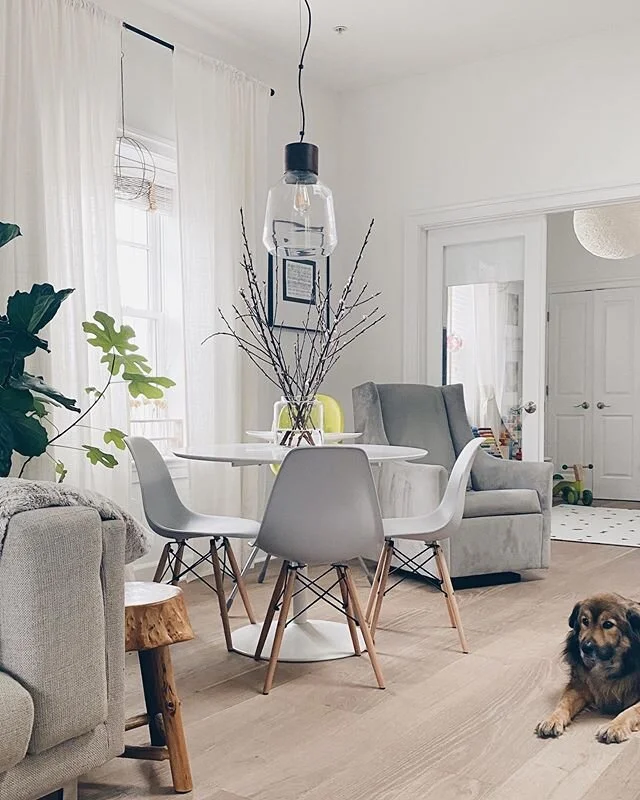
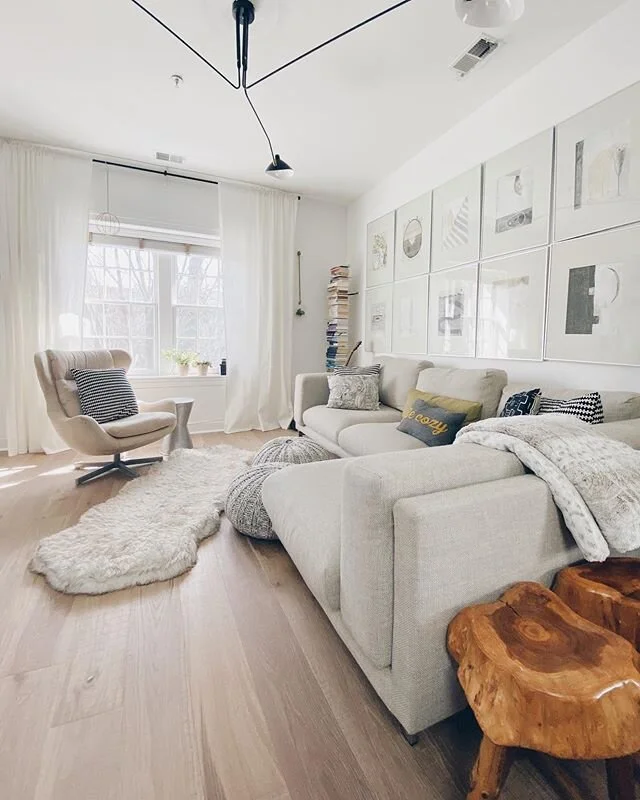
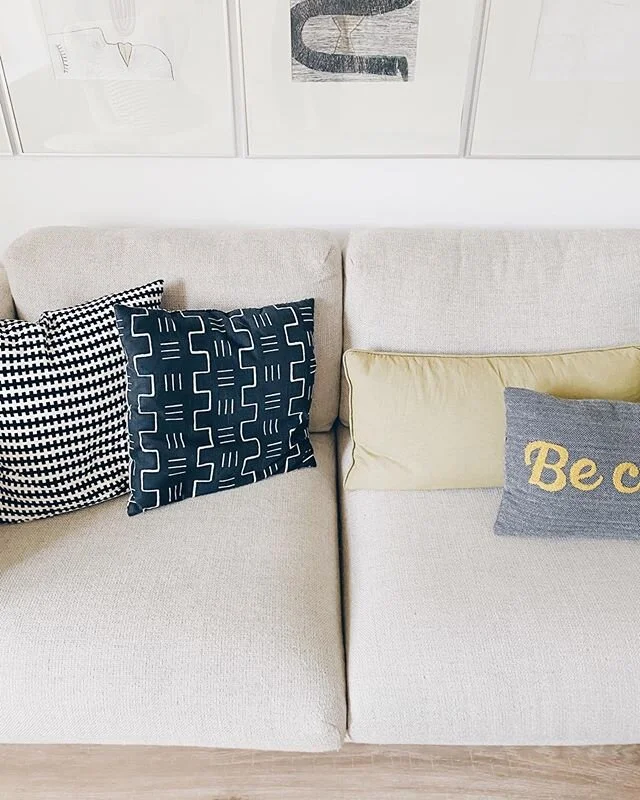
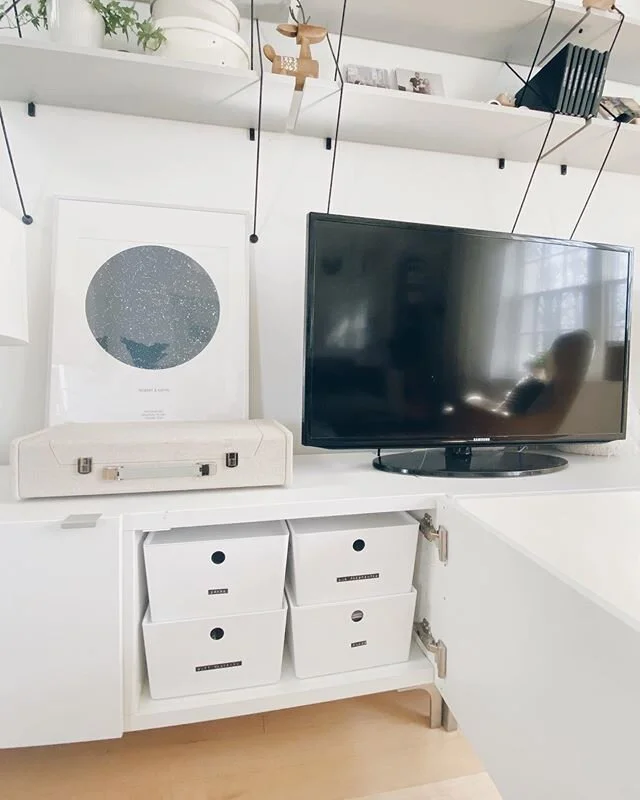
Pictured above is our living room, present times. It has changed a LOT since we first bought our place. I’ll be taking you on that journey next.
Until then!


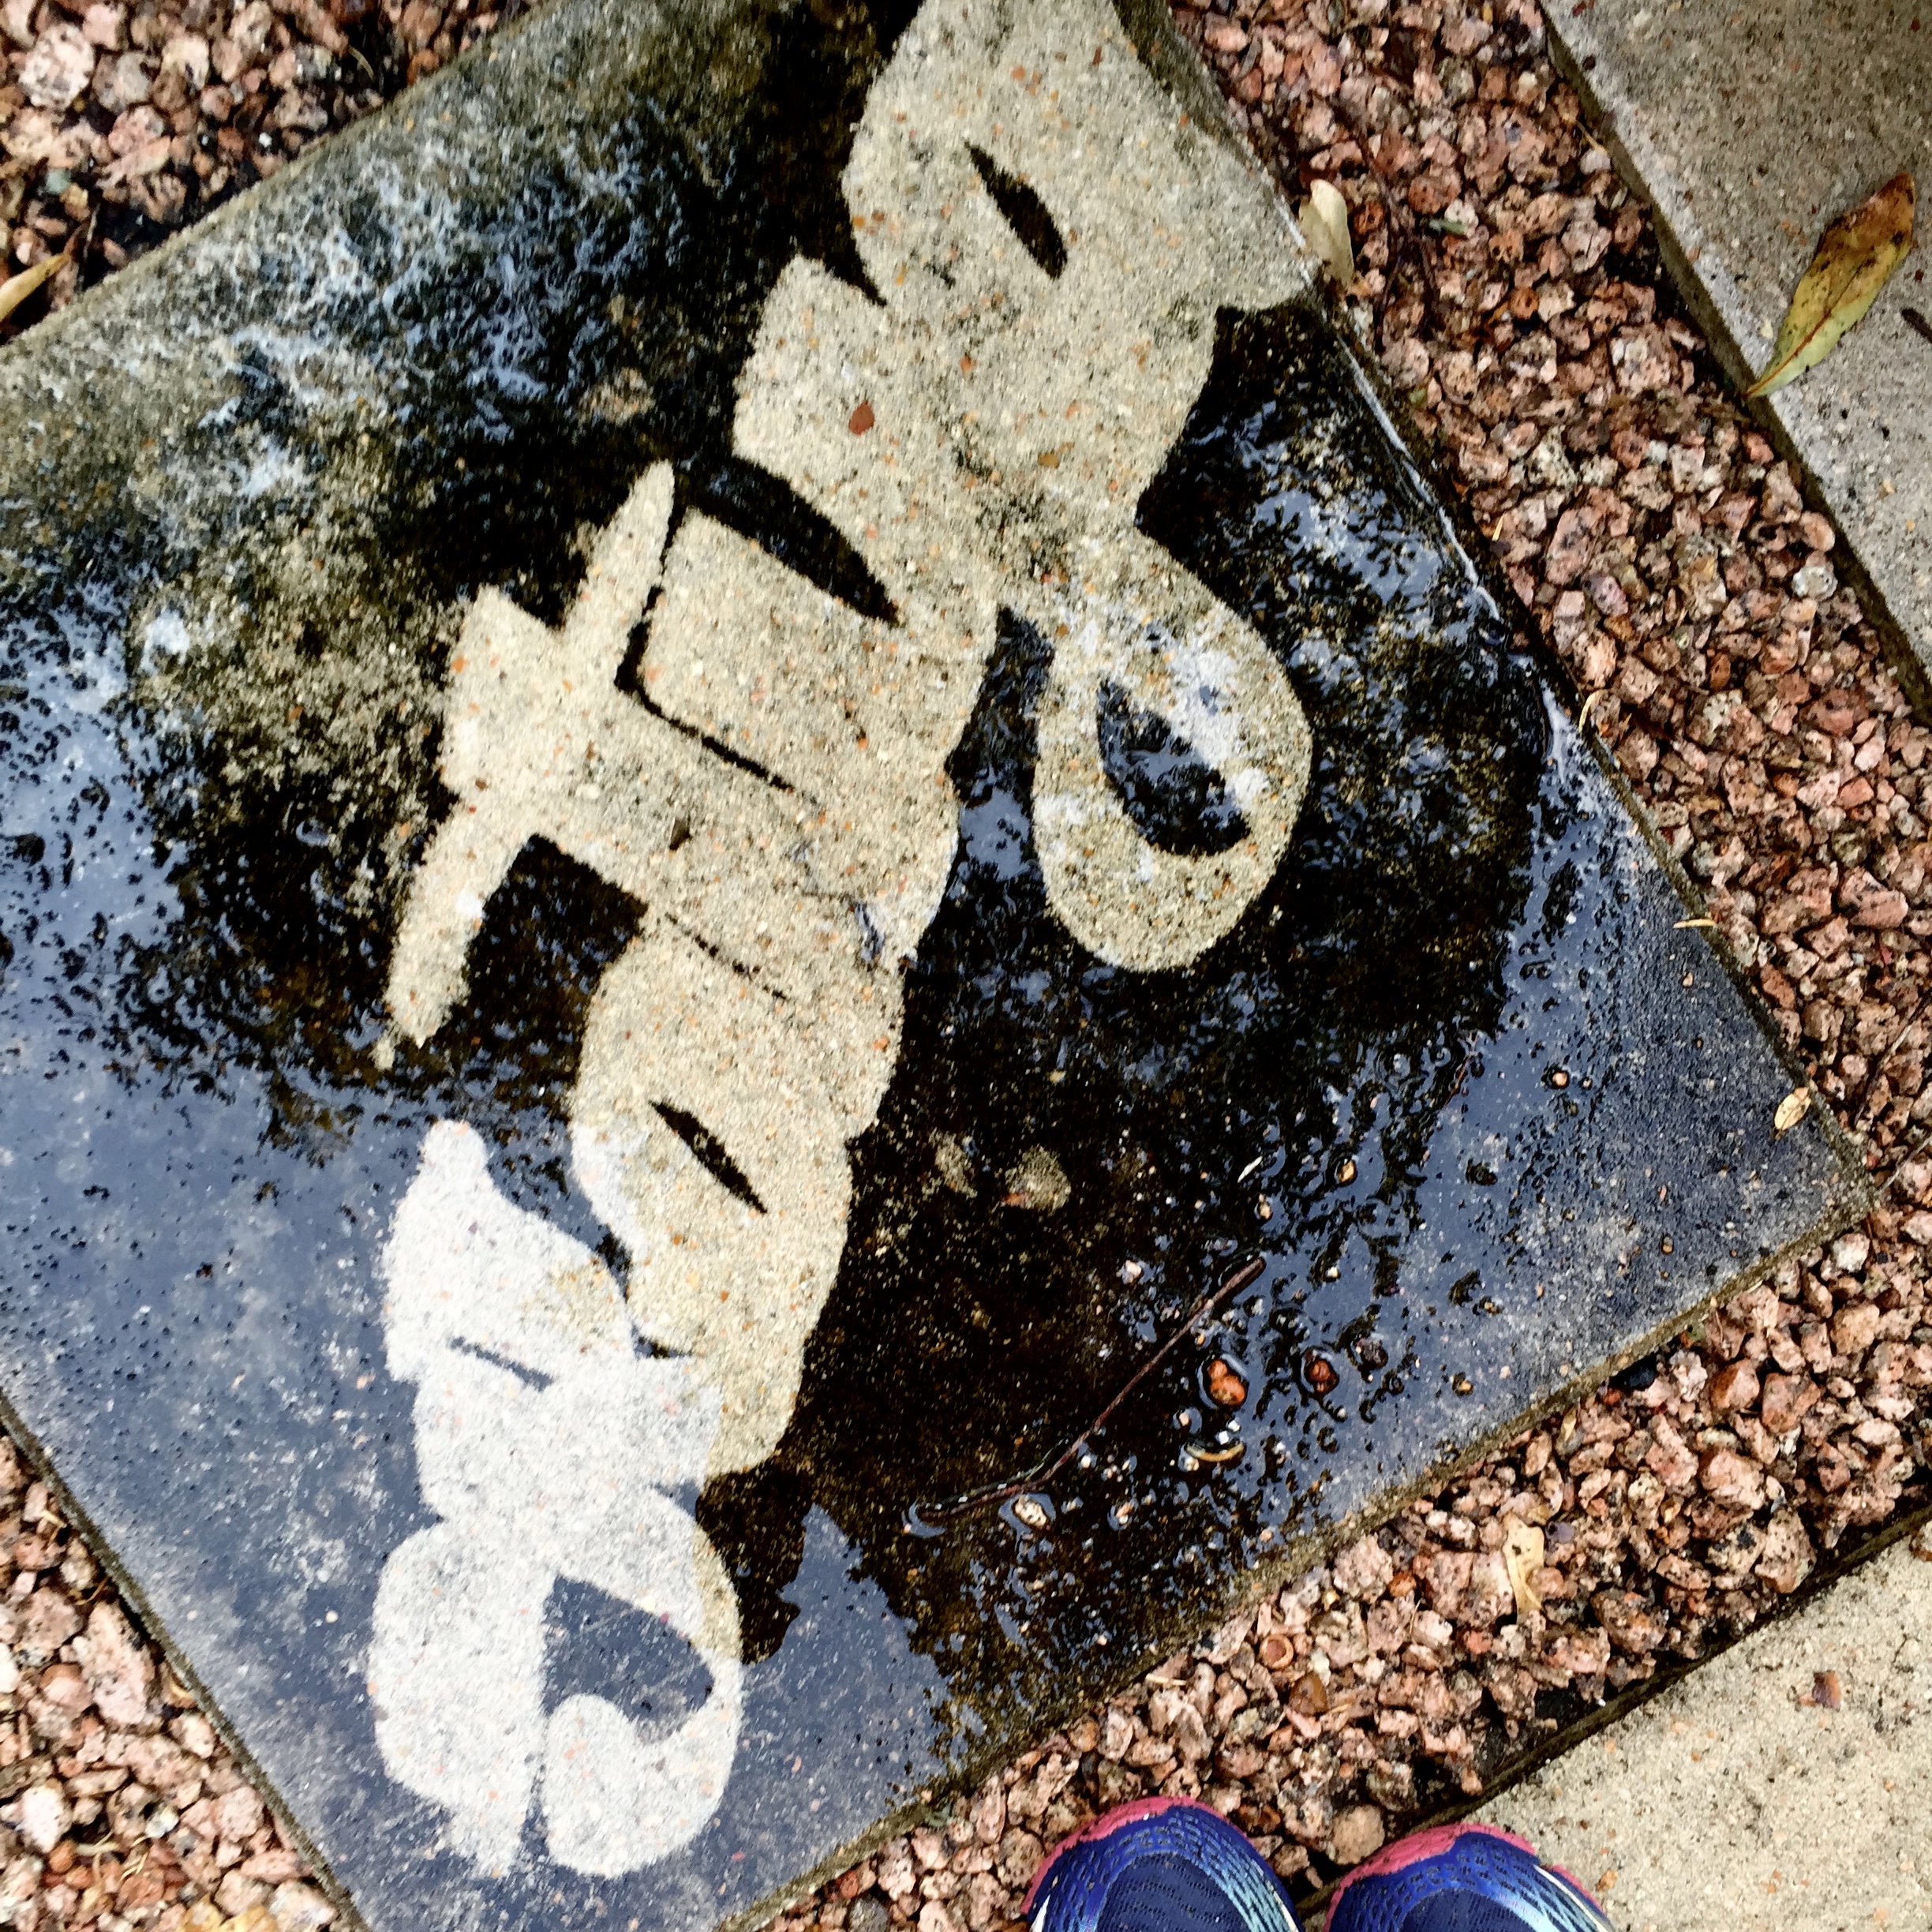


A few months back, a co-worker of mine convinced me to join my company's Spartan Race team. He didn't talk it up much: he mentioned it's a long-ish run with a few fun obstacles. You know, no big deal. Something someone who runs as much as me should complete more than easily (read, you don't really need to train for it). Ha ha ha.