Posts tagged #holiday

Happy New Year!

Some Party Essentials

I Always Start with the Menu 

Delicious Party Favors

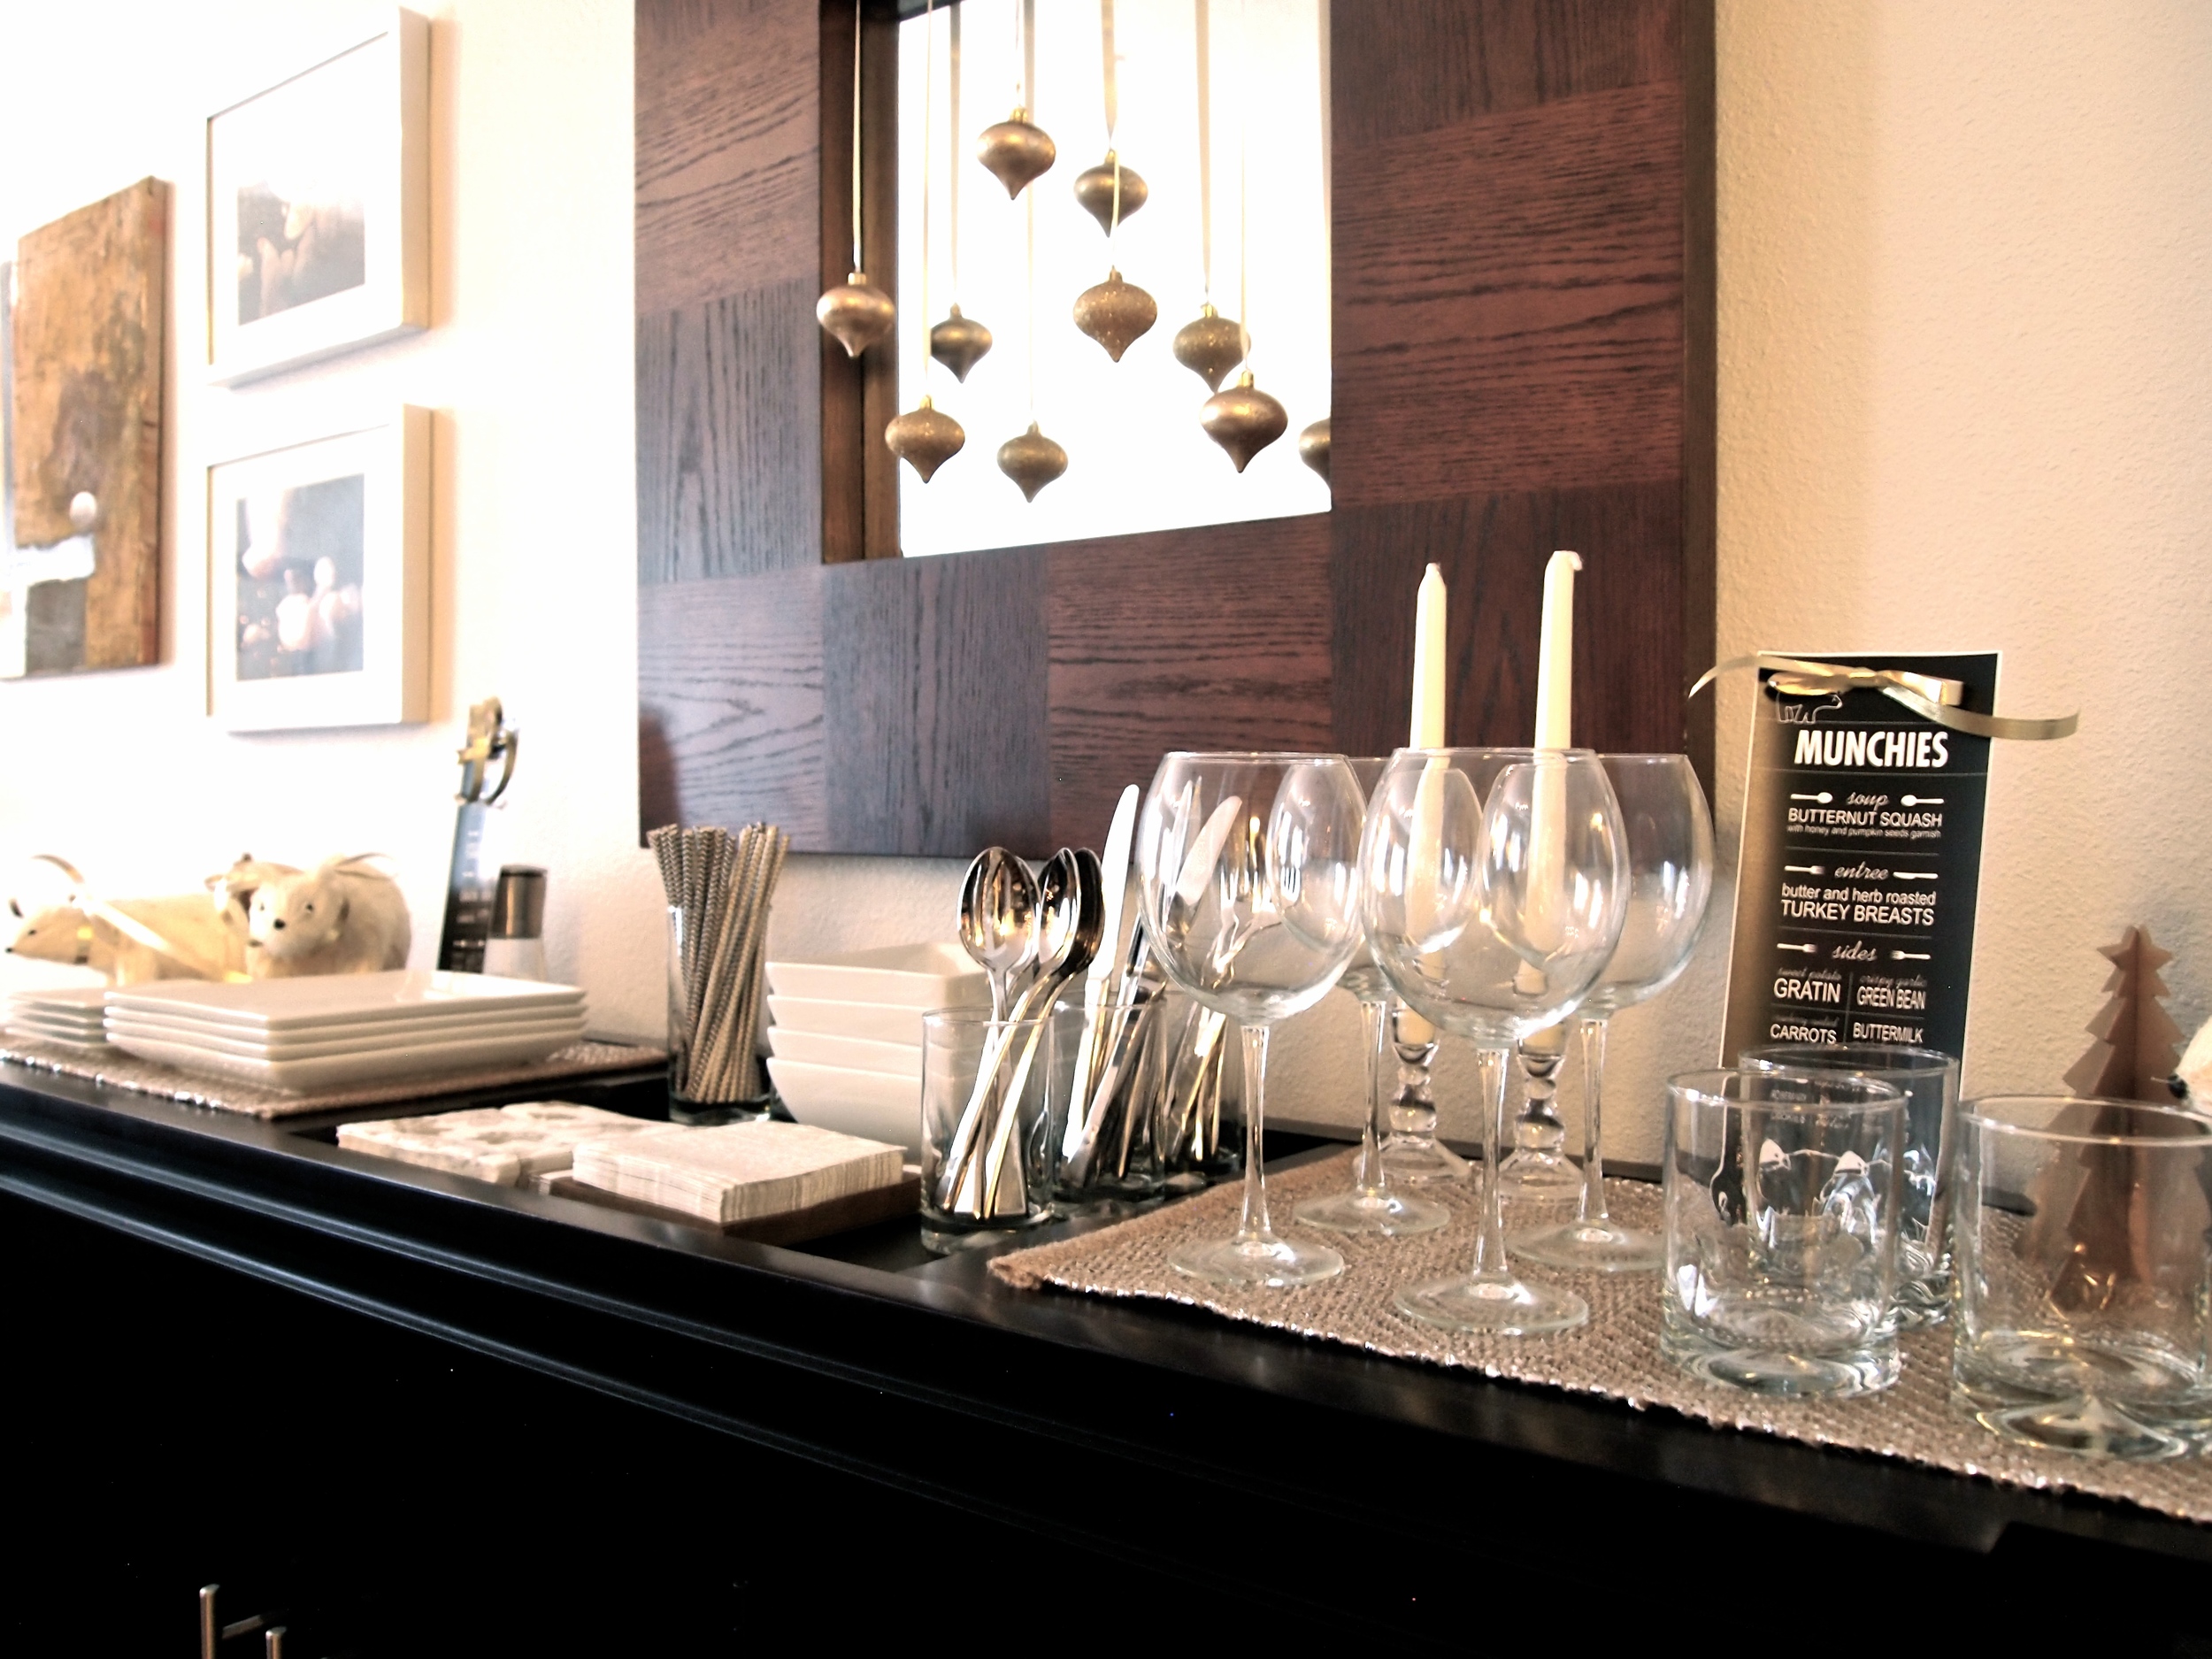
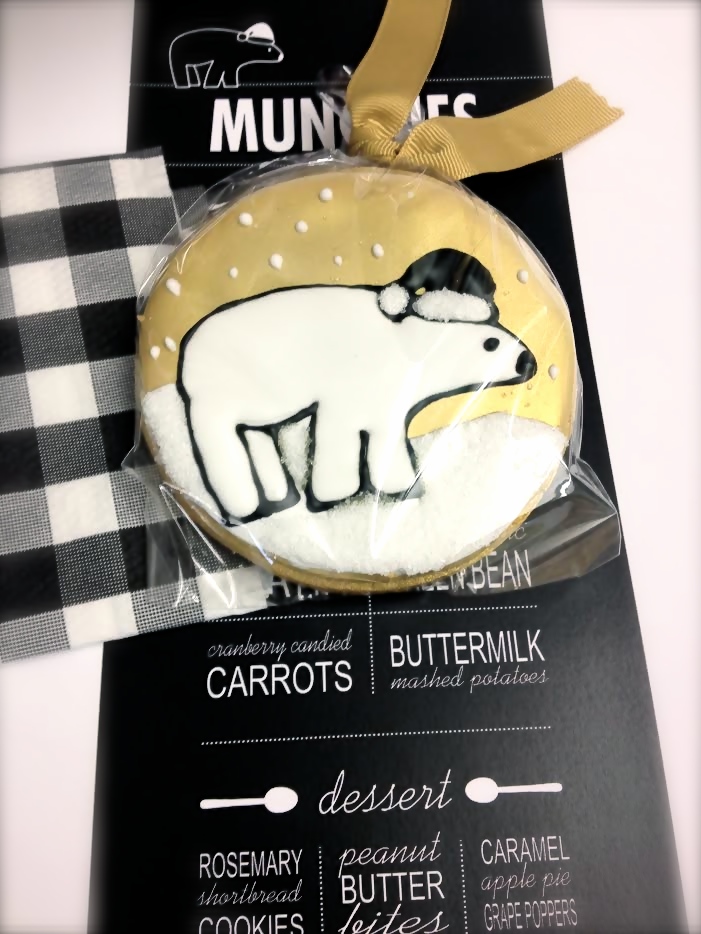
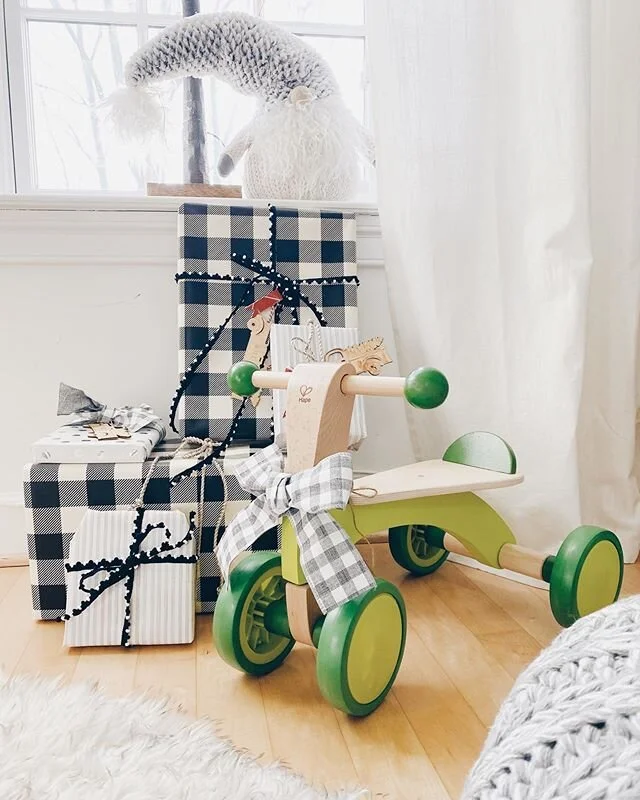
Wrap it in a Theme (Polar Bears!) 

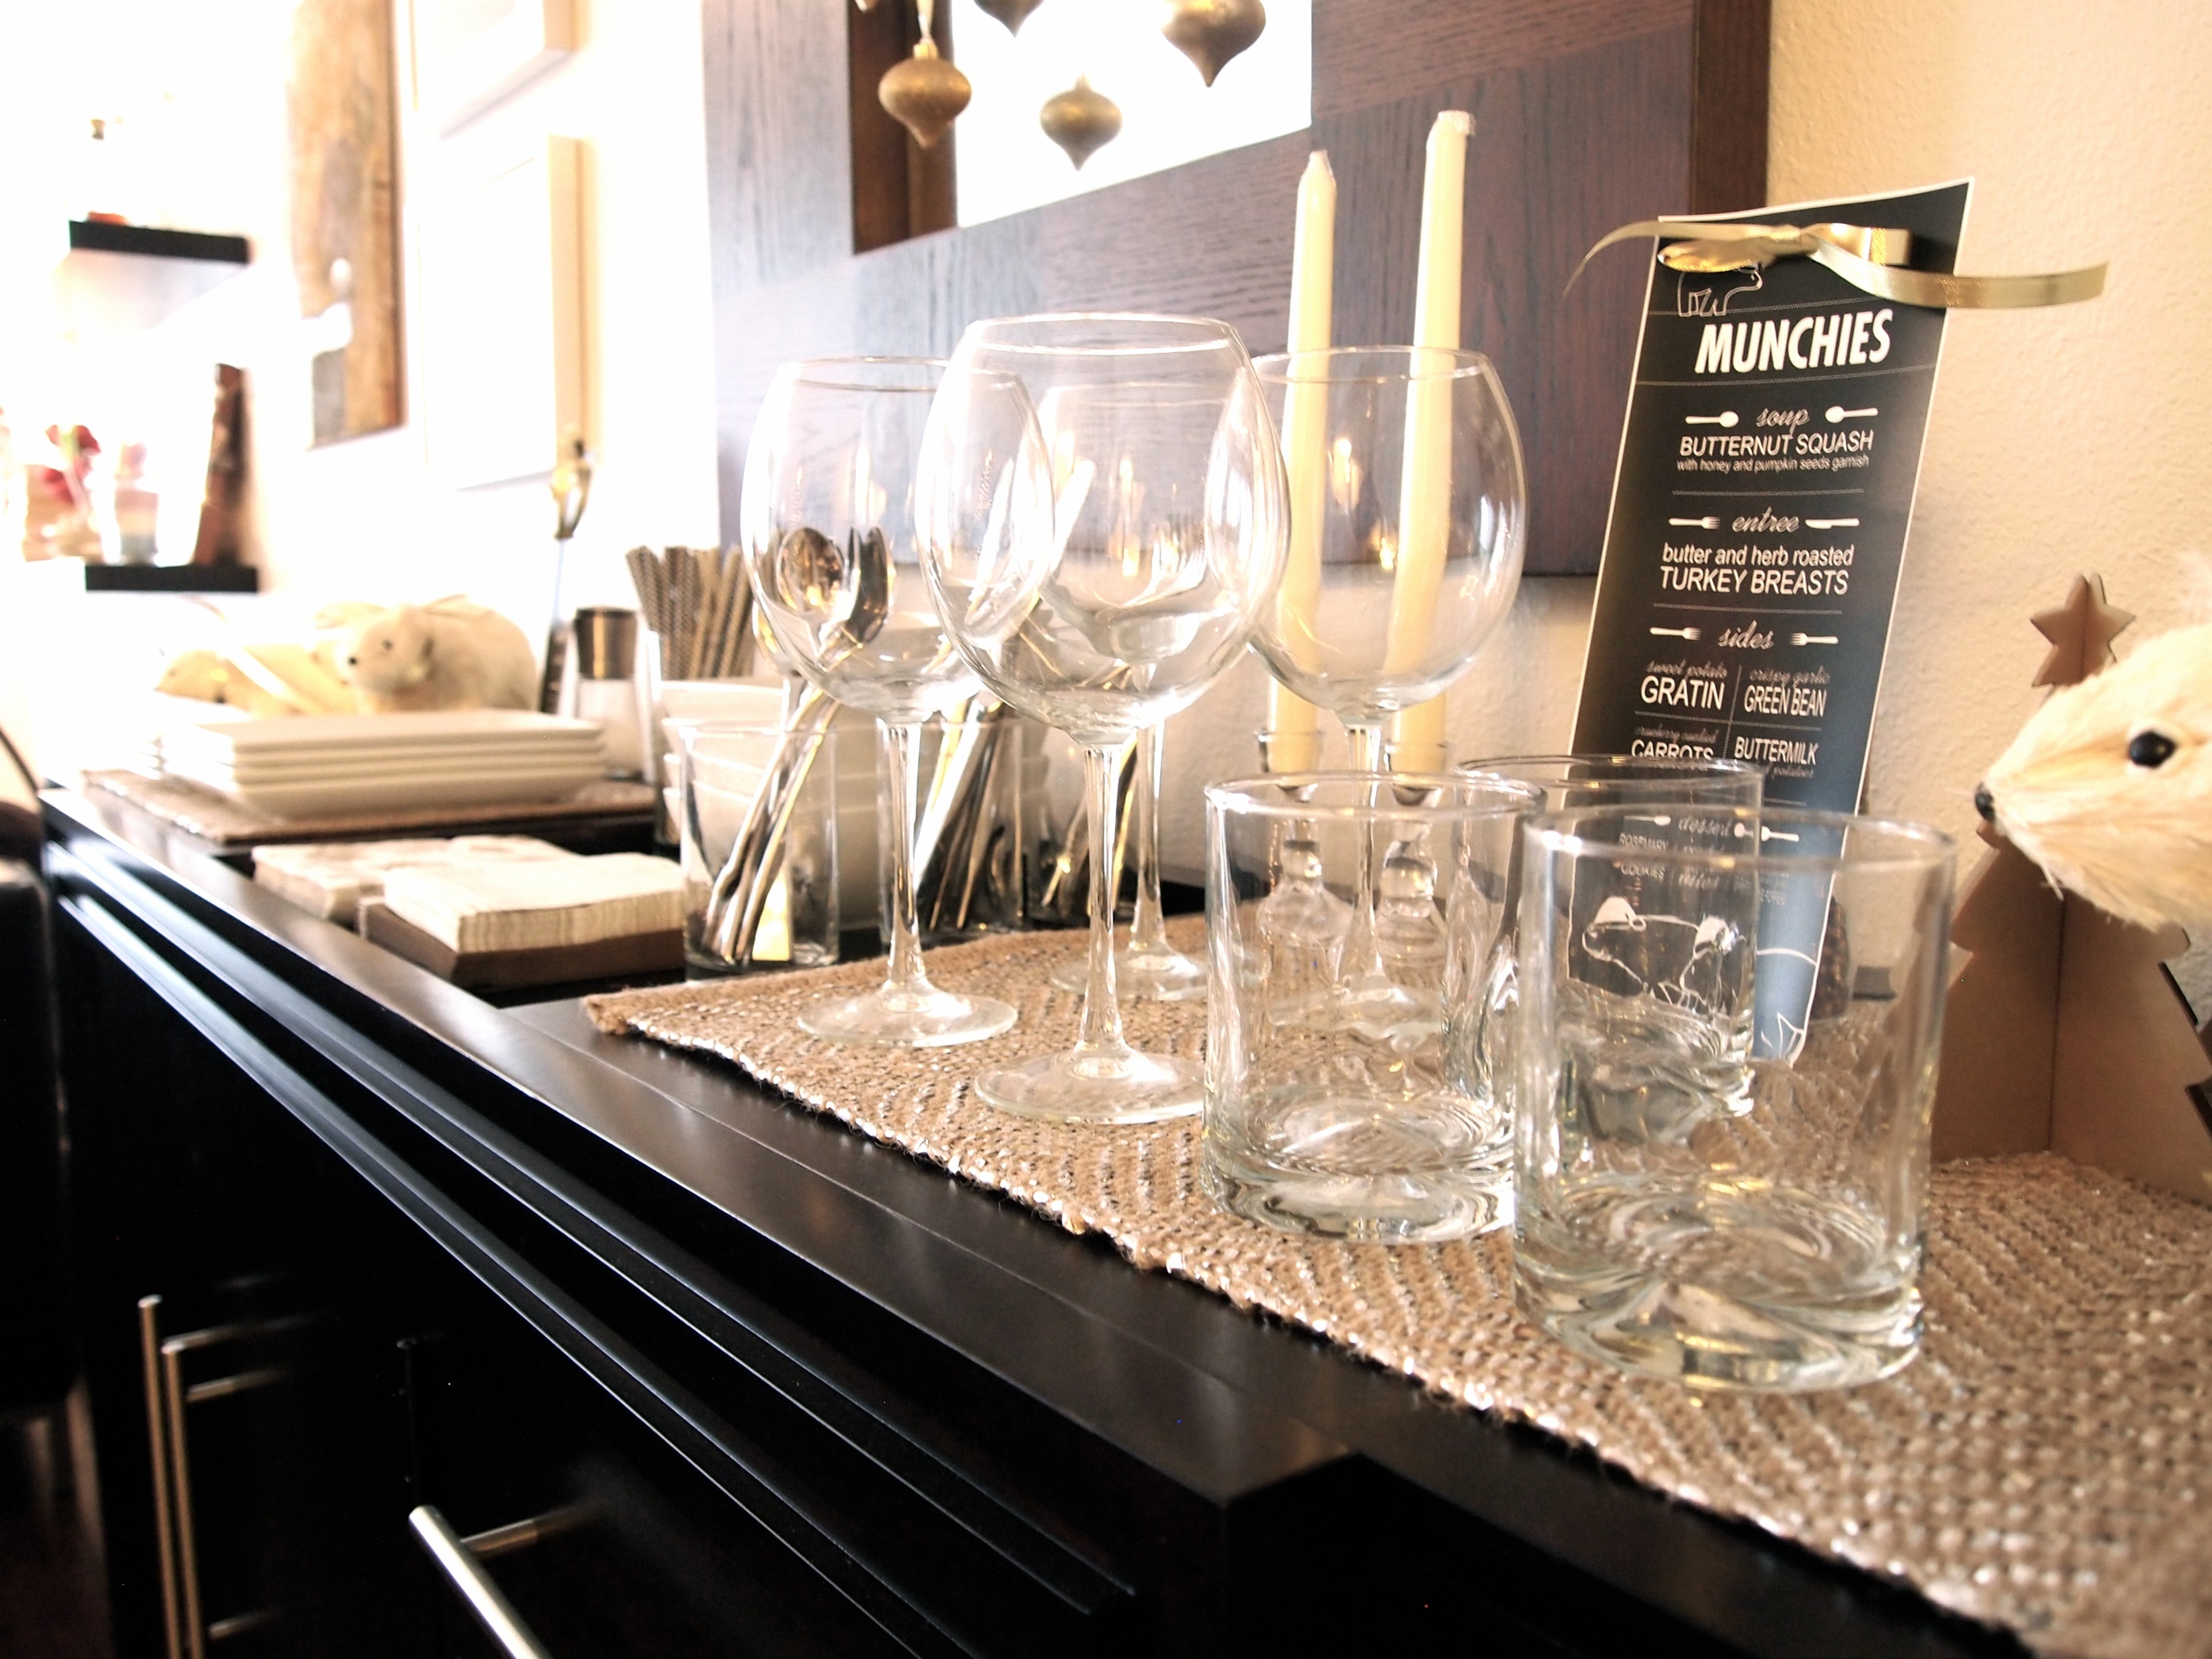
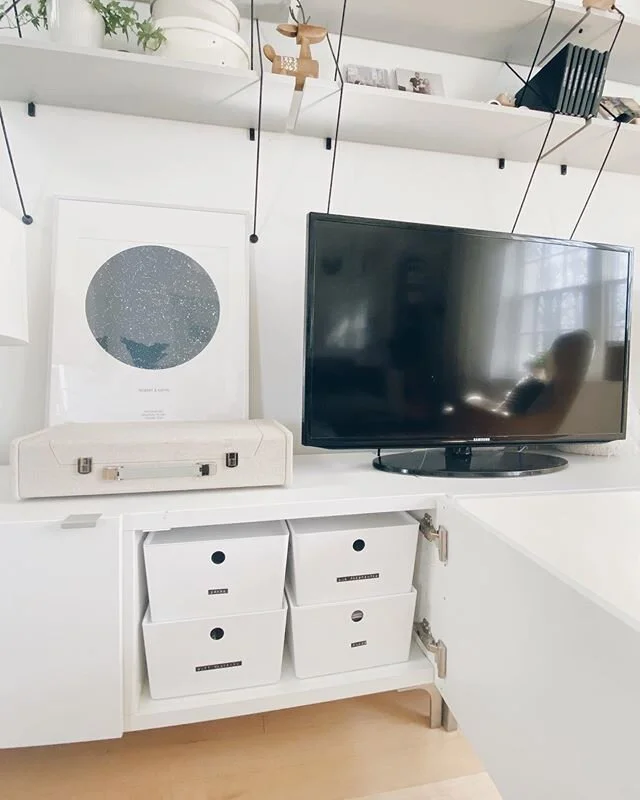
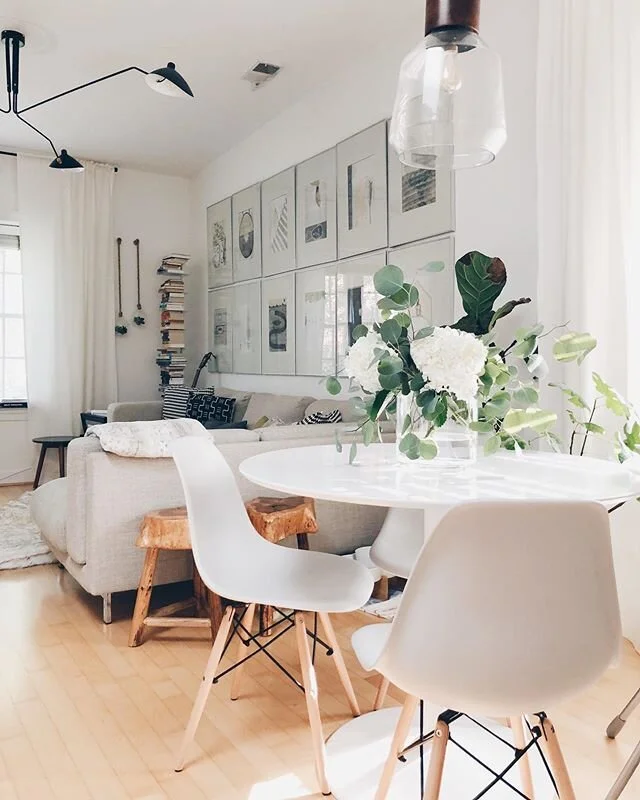
Unify with a Color Scheme (White, Gold and a bit of Black)


Happy Holidays!!

I must confess, I am rather sad the holidays are over. But at the very least, I have this blog to write about them and remember how much fun it was to plan for a good meal and enjoy the party with my loved ones!

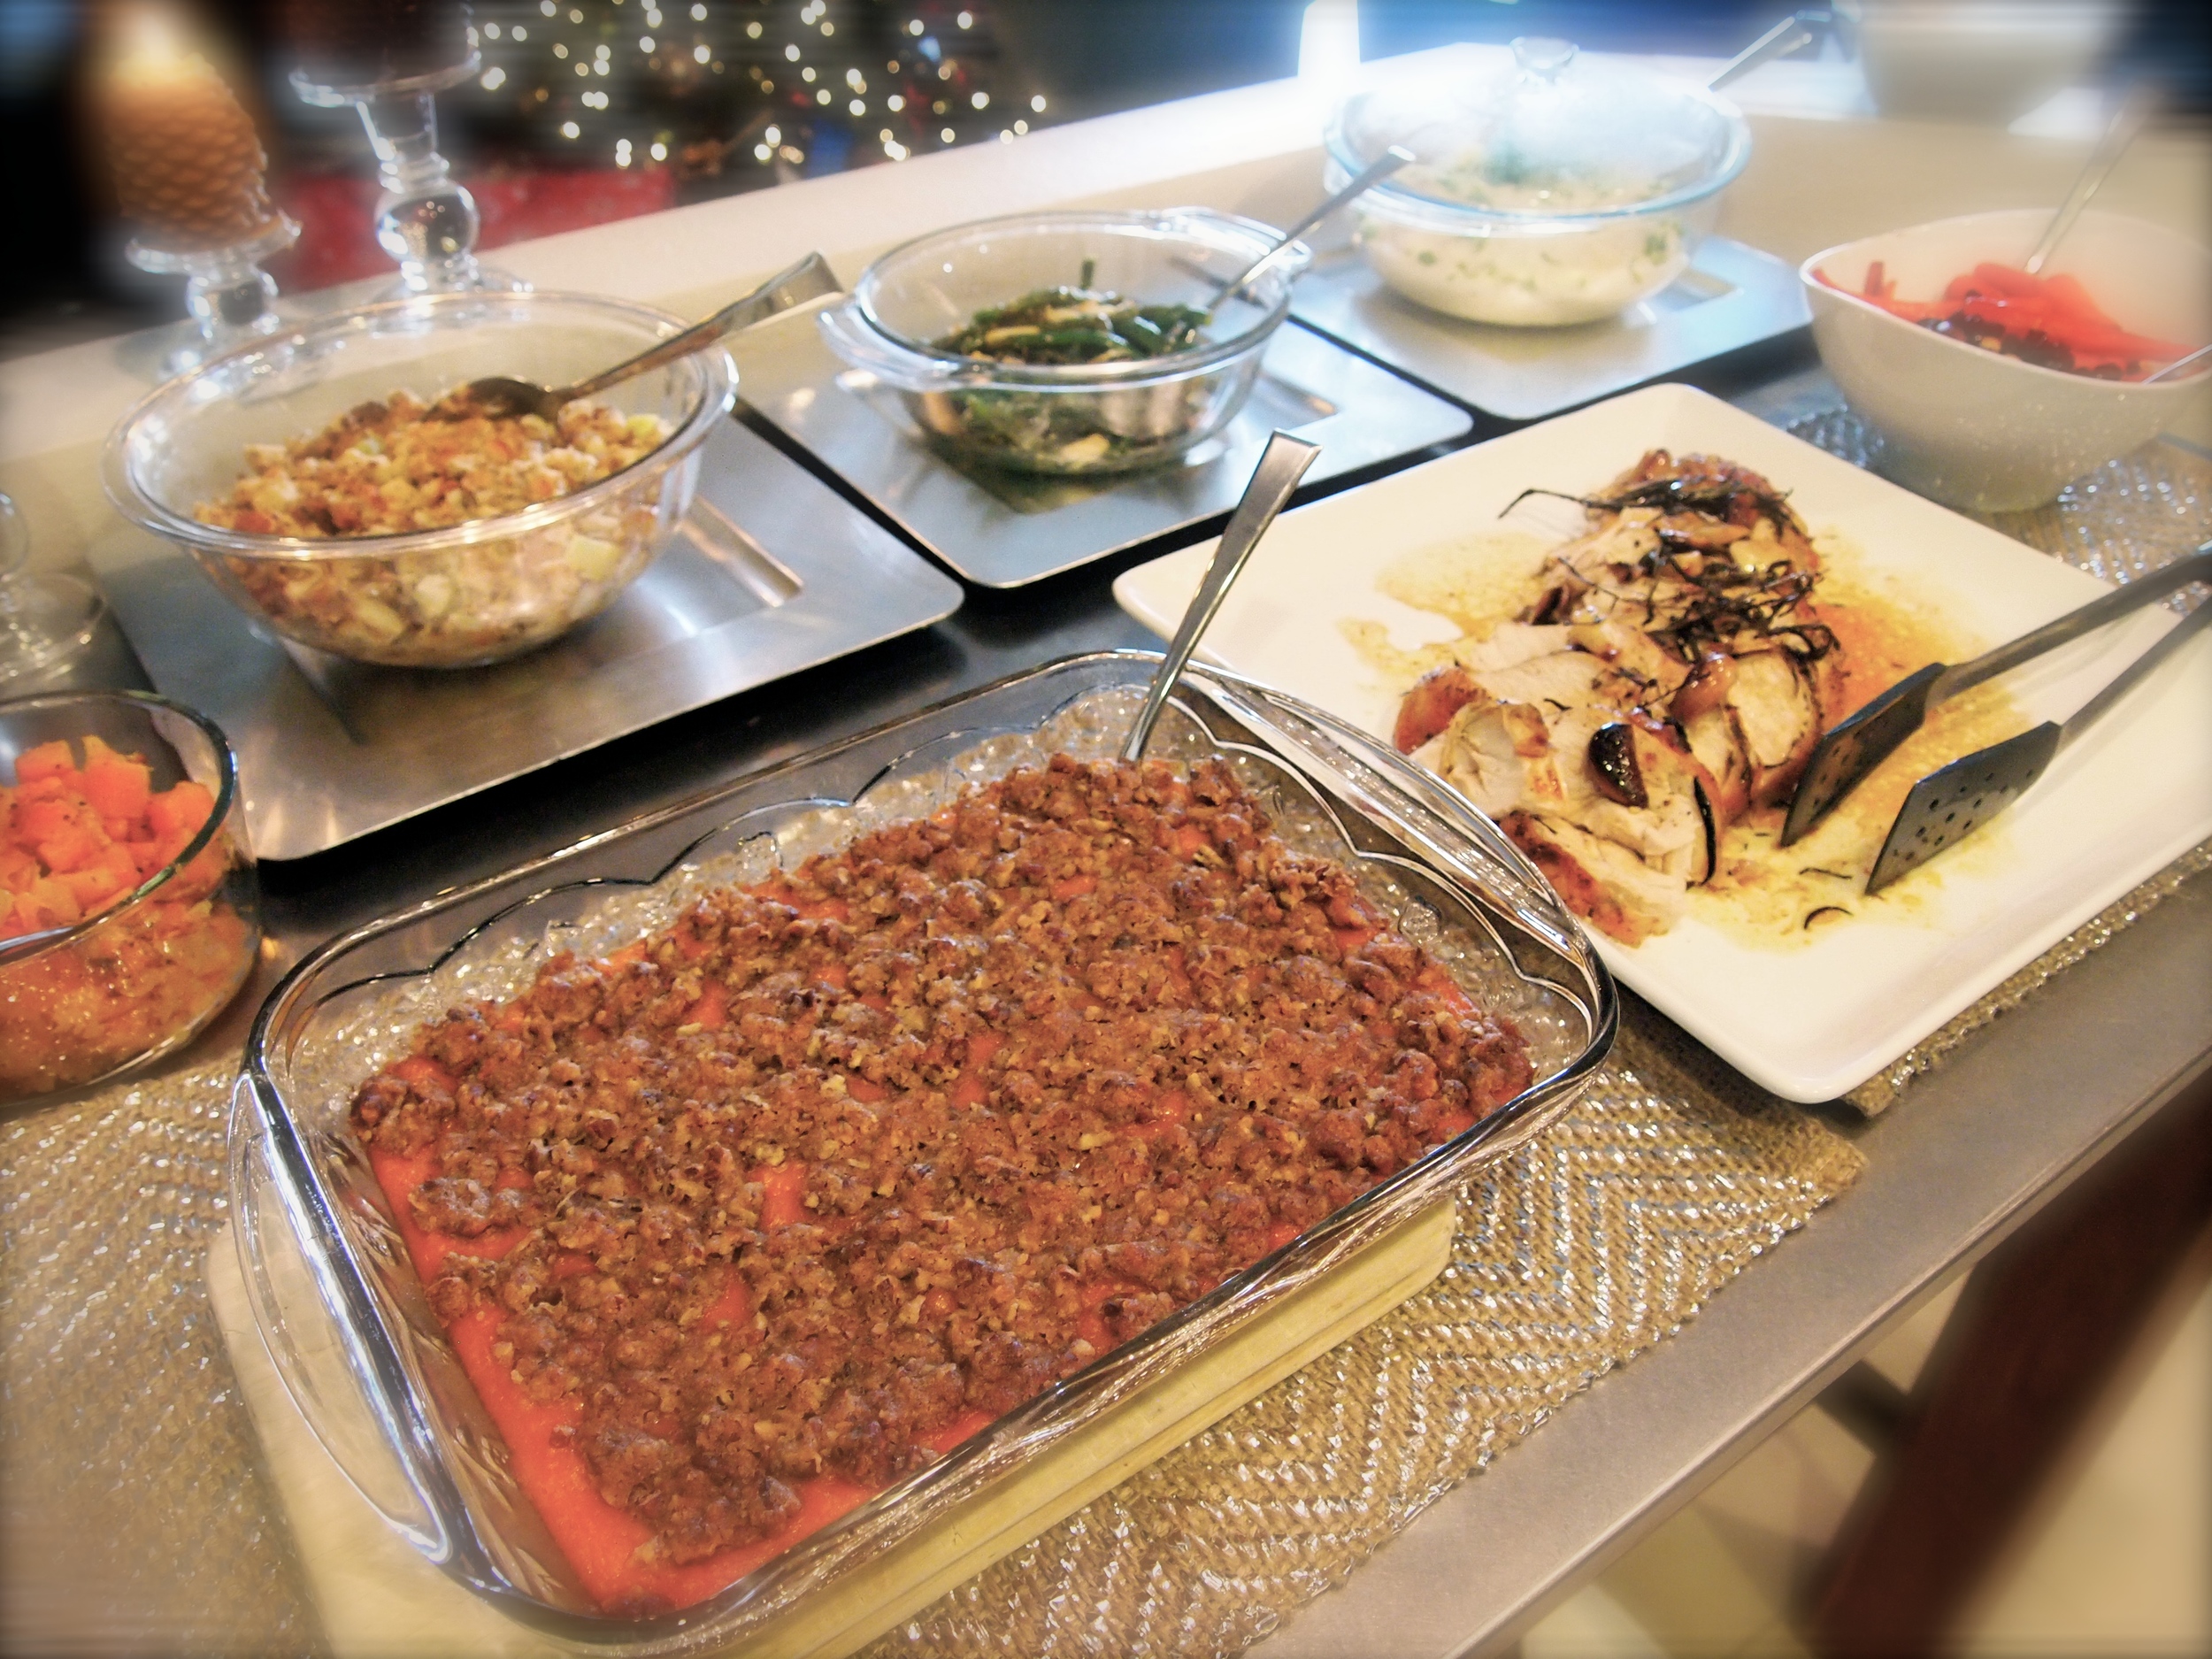
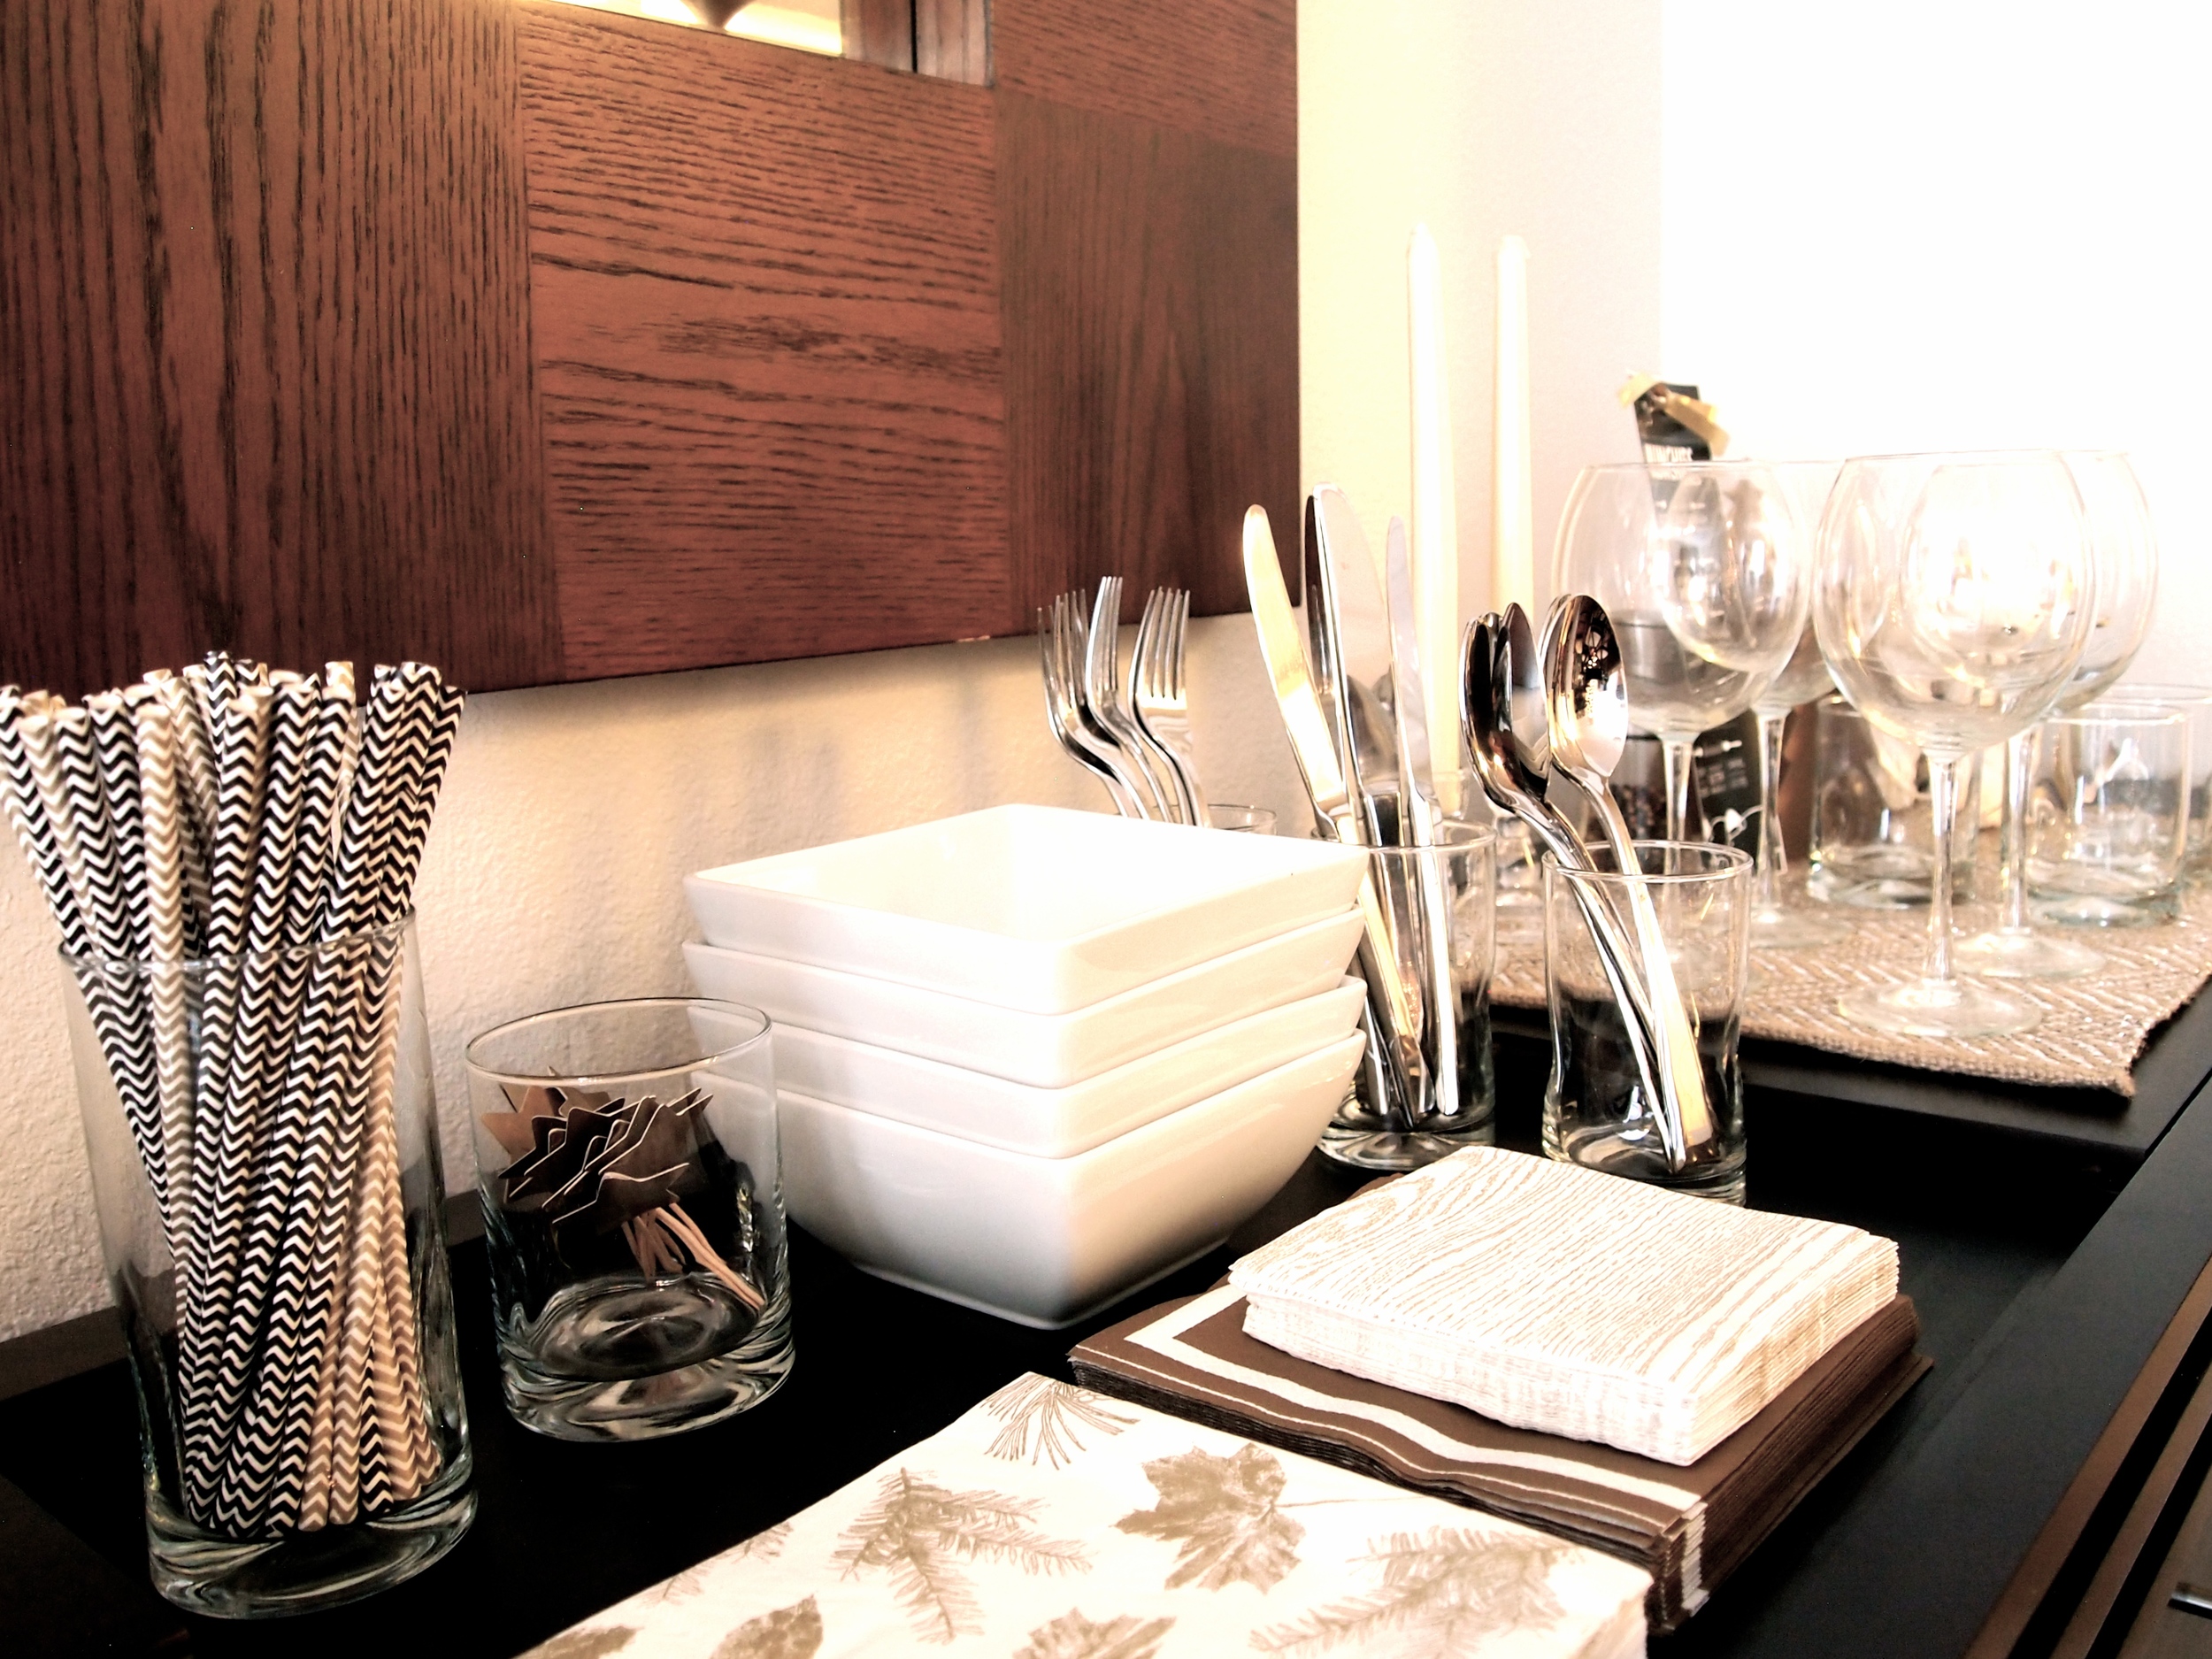
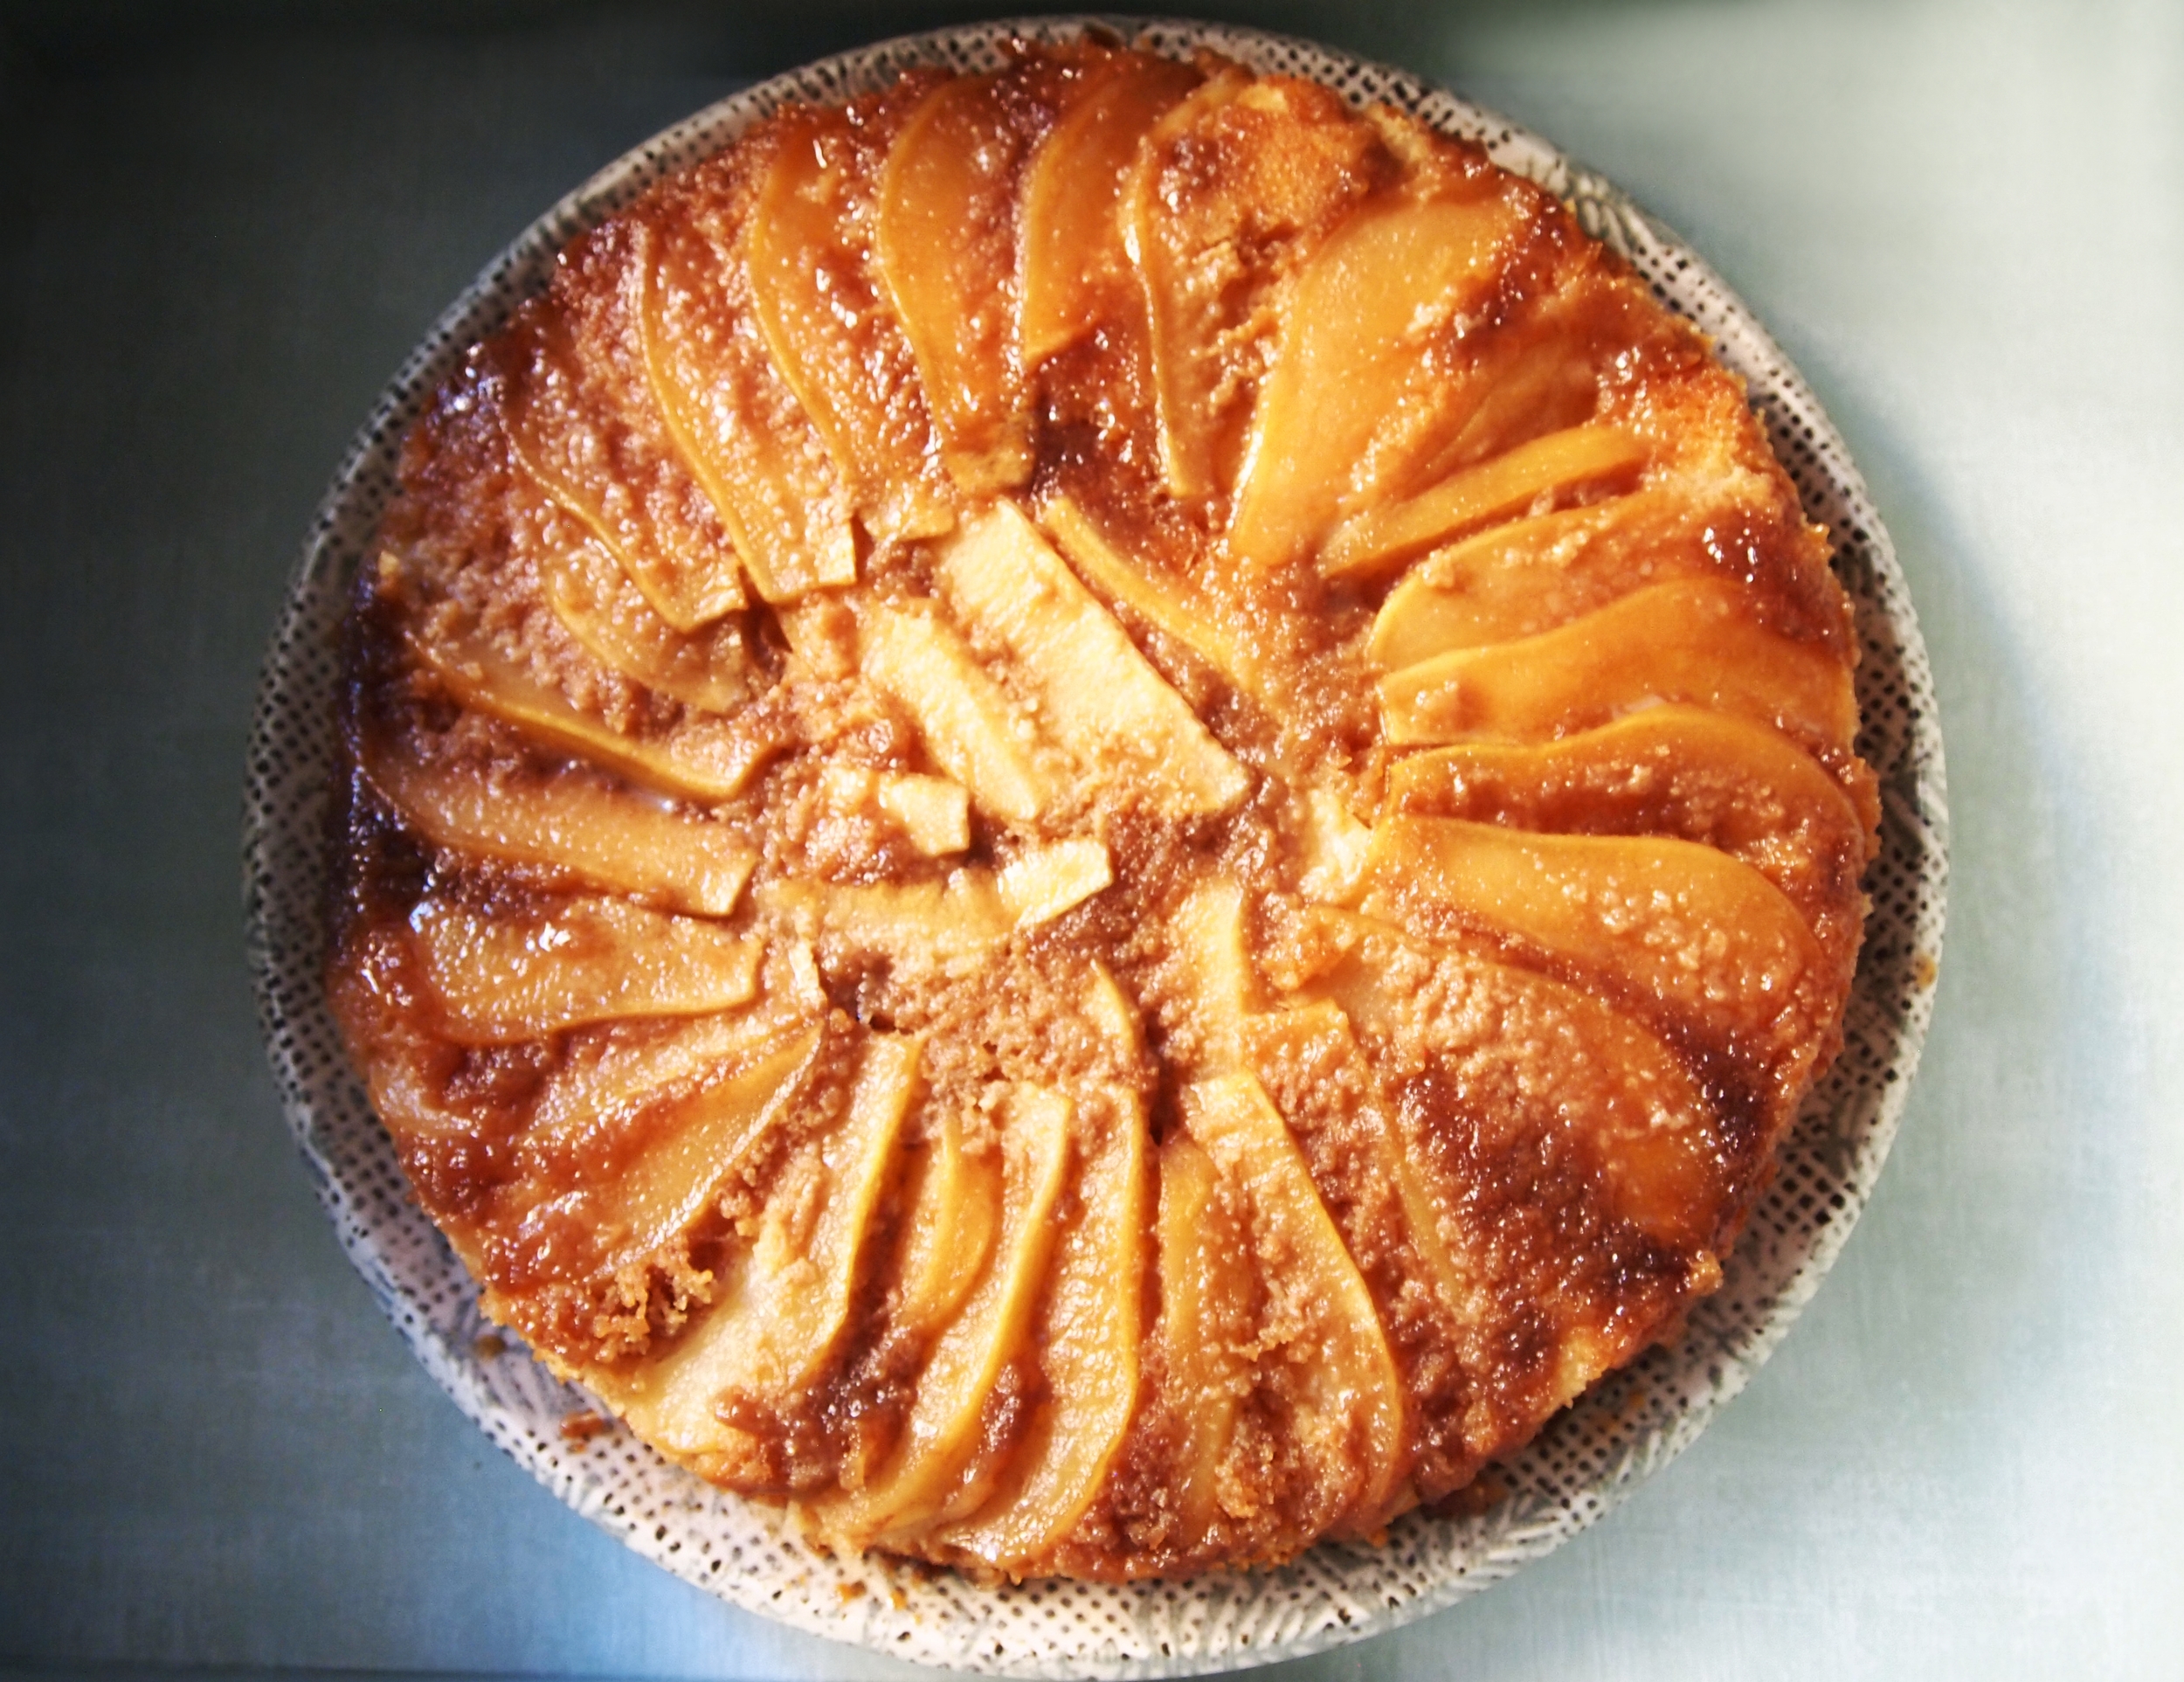
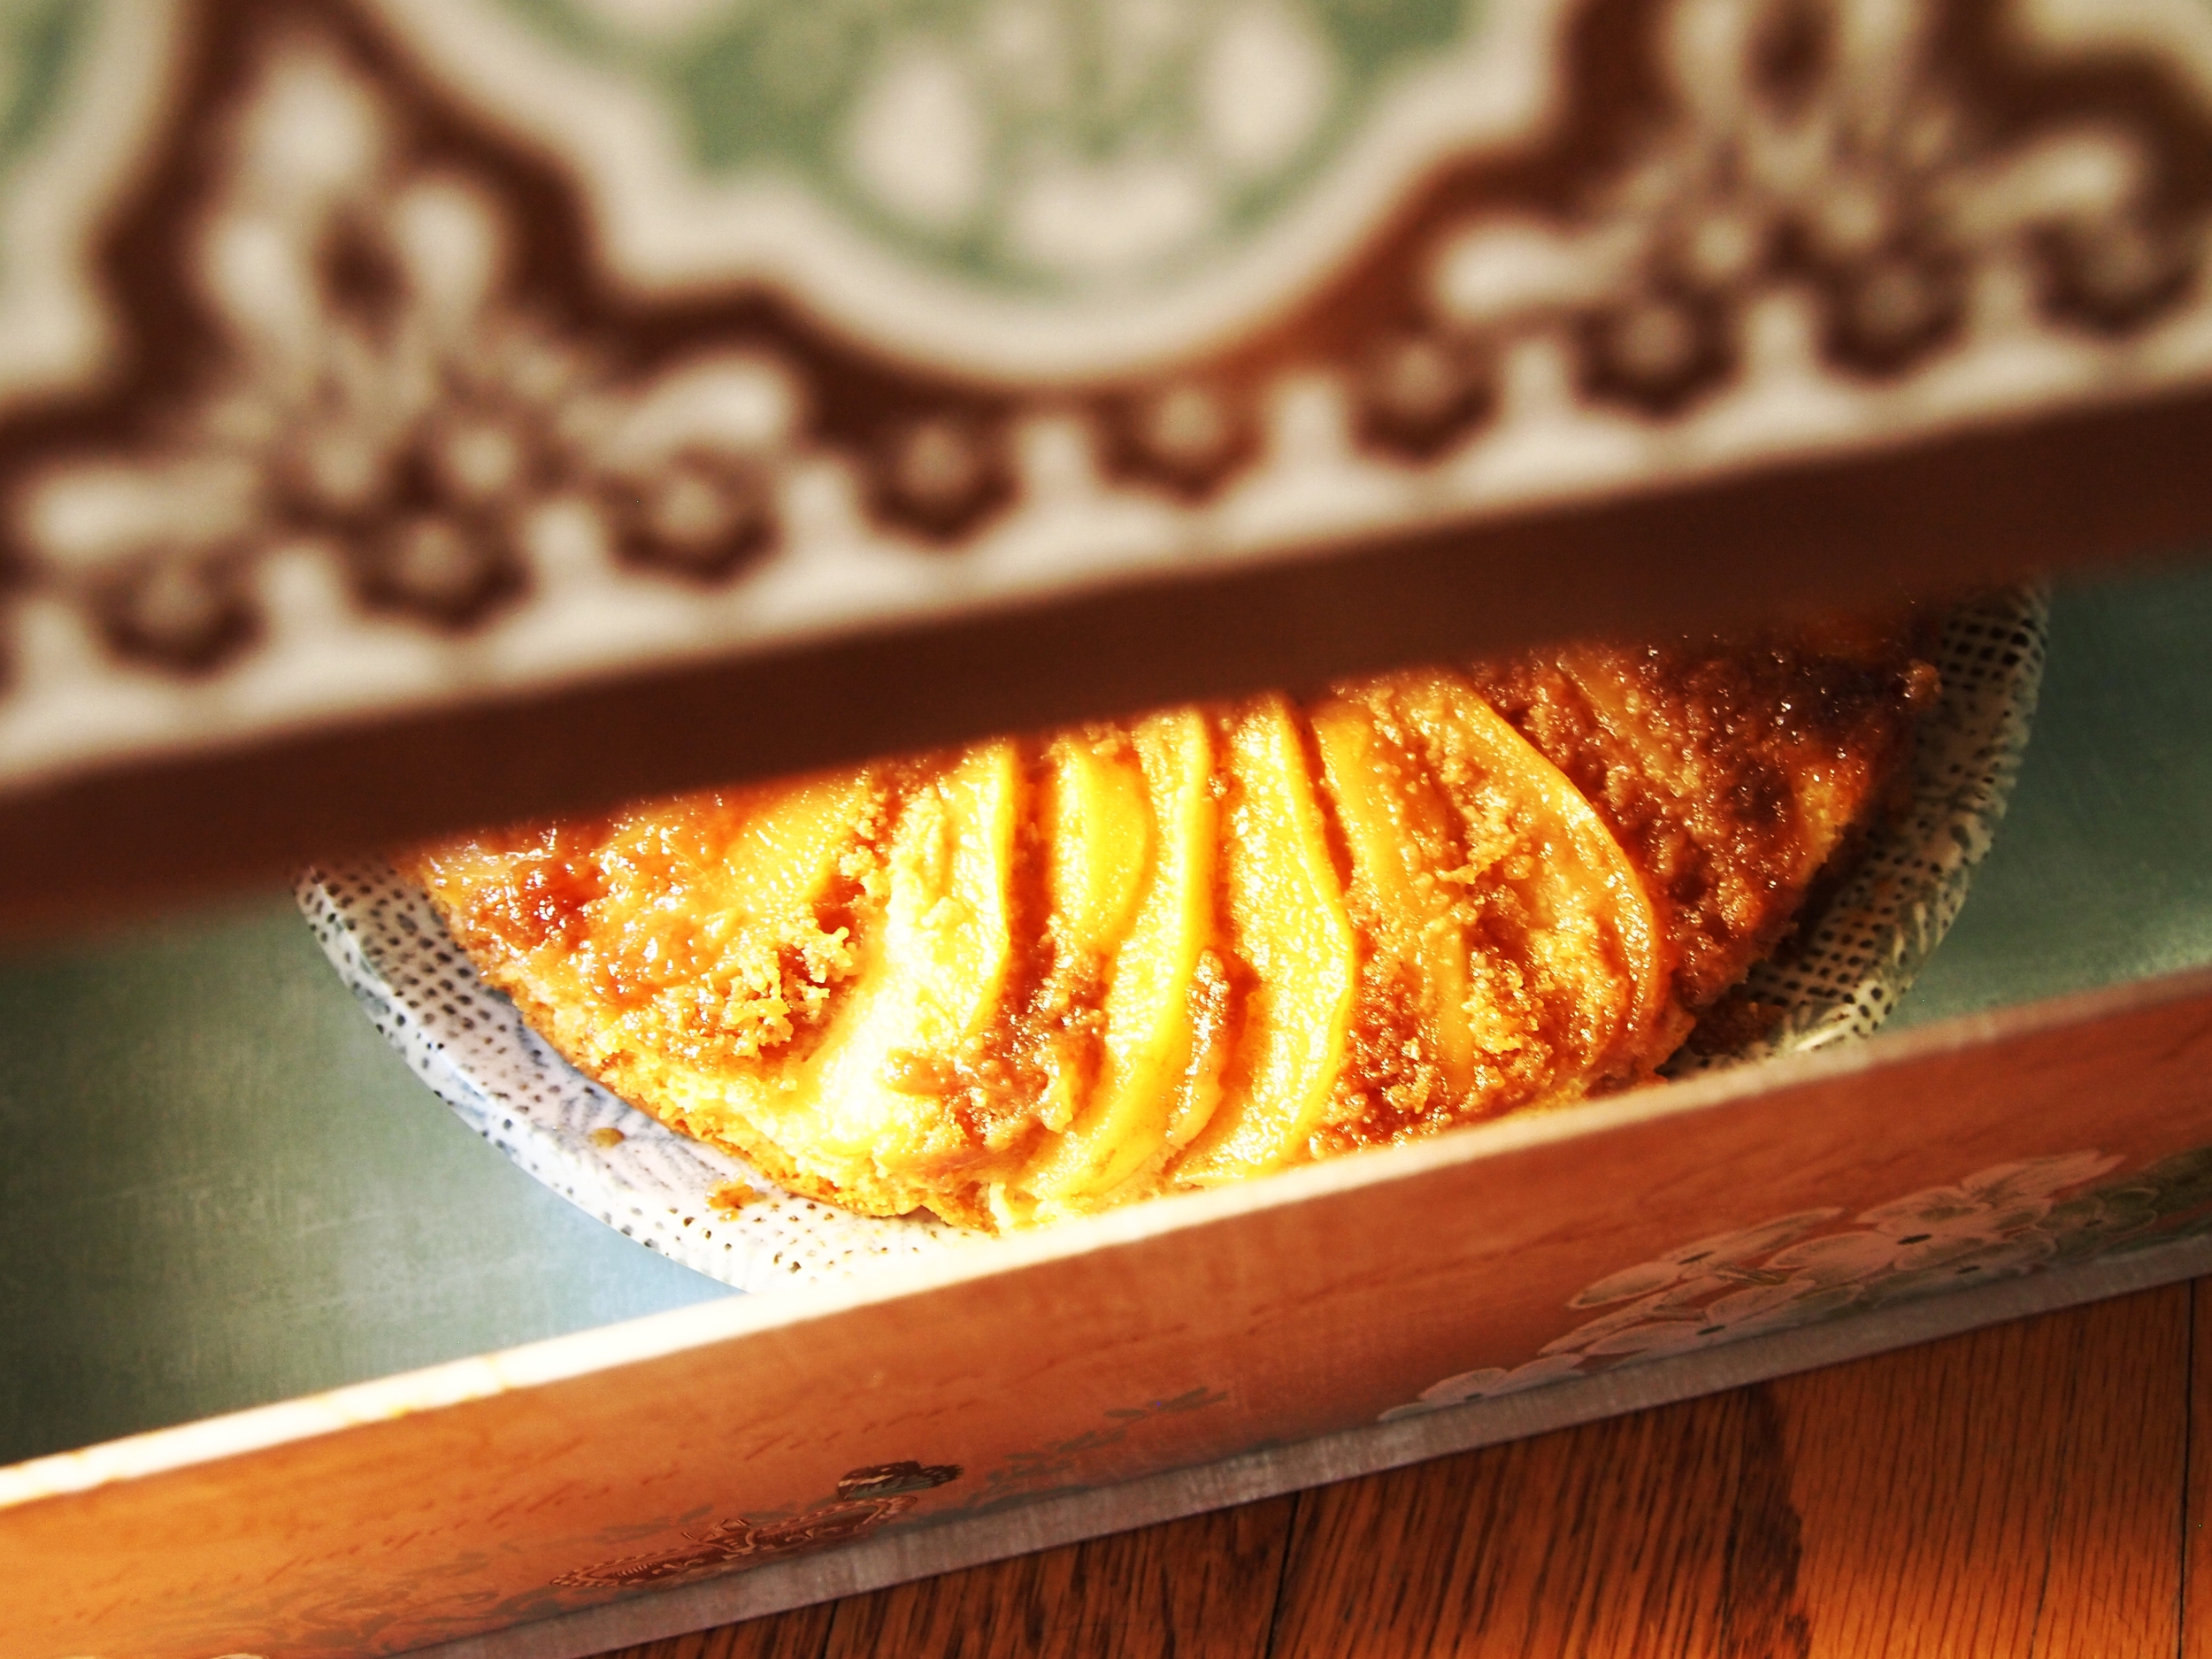
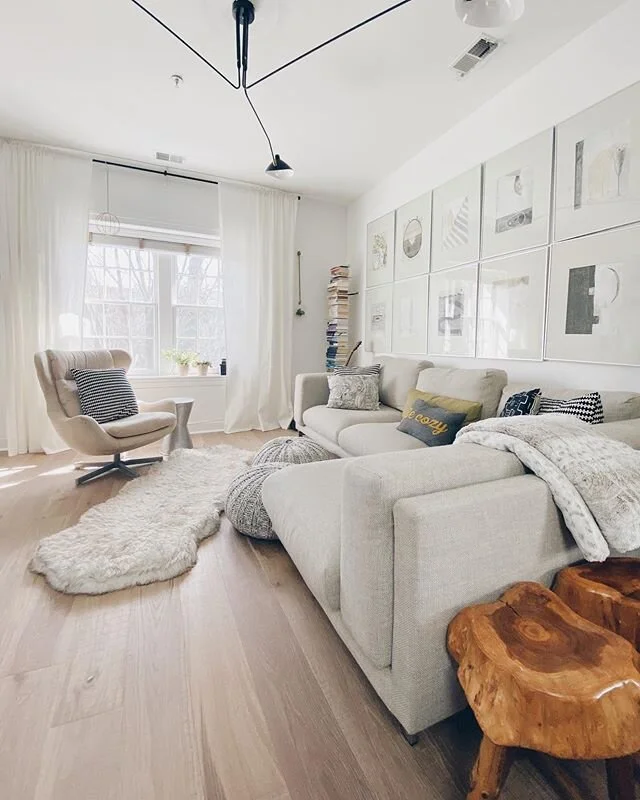
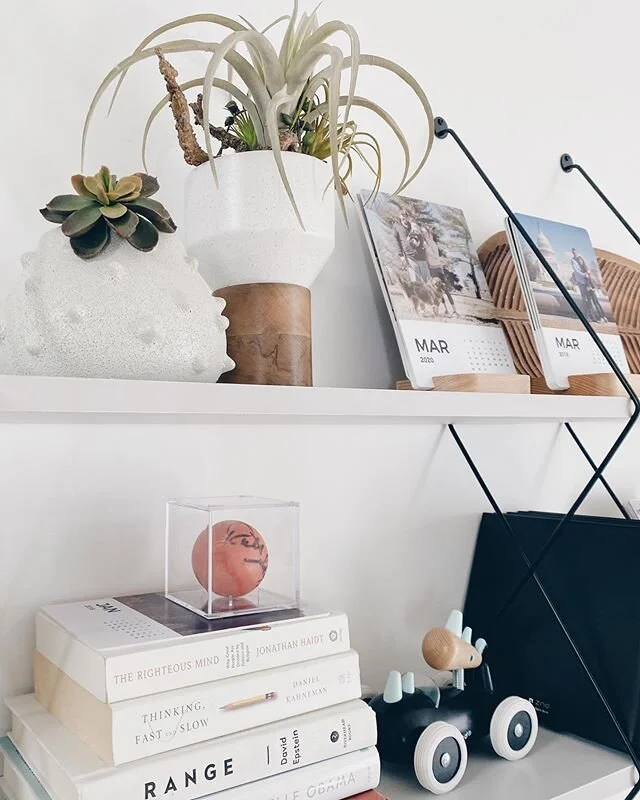
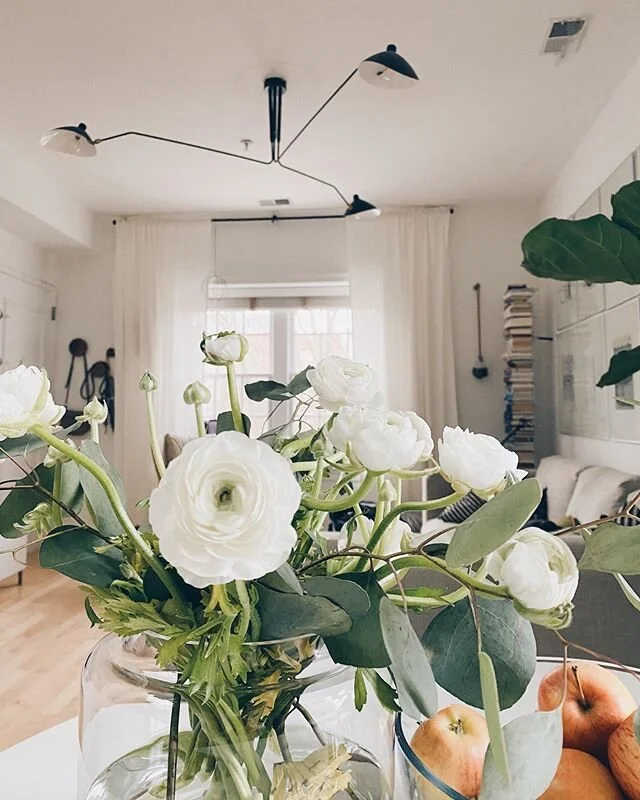
A few posts ago, I shared with you the menu I was planning on for Christmas and I am happy to report that all the dishes came out beautifully! Hands down, my favorite was the turkey. It was fresh, juicy and just perfect! And as usual, I spent quite a lot of time setting up the table decor (my favorite part of any party). This time however, I had help from the best of helpers: mom. After a trip to the local Marshall's (where we purchased placemats and a few decorations) and Target (where we found the polar bears at 50% off plus the paper christmas trees and candles), we were able to complete our polar bear theme. 

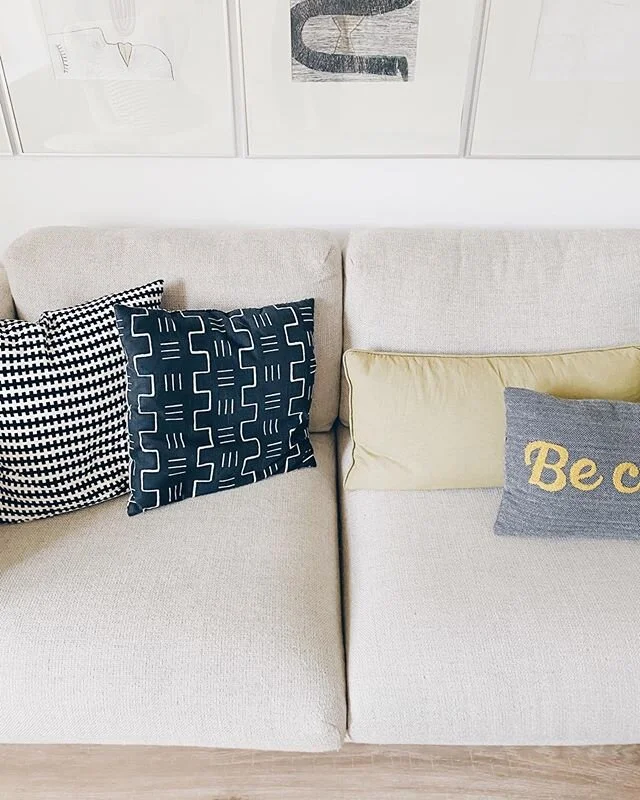
The colors we used this year were gold, white and a punch of black. It was all inspired by the design of the menu I did a few weeks back. The menu also inspired the handsomest party favors - custom made cookies by Cakes and Cookies by Claudia. 

All in all, I think I am really liking the idea of hosting celebrations! I am already looking for an excuse to have another one soon!

PS: A shoutout to our lovely hosts: Jessica and Stefan Popov and the great help from Jenny Blair (still dreaming of that casserole!) and of course, mom and dad, who are always willing to assist in any loving way they can. 


Posted on January 1, 2014 and filed under Travel Diaries.

DIY Mugs

Supplies

Porcelain Mugs: $2.99 EA

Sharpie: $1.99 EA

Directions

Pin Ideas for Design

Grab a Sharpie

Draw on Mug

Bake @350 for 30 Min

Done!

A few weeks back, I mentioned I was planning on going down the DIY route for the majority of the gifts I will be giving to my family. We had given ourselves the creative limit of $10 per person per gift. I knew that meant I will had to get crafty. What I didn't realize was how much fun this project would be! If you ever get a chance to try it, I would highly recommend it! It was much easier than I ever thought. All you need is some plain porcelain mugs and a Sharpie! At first, I tried drawing with a porcelain pen but I quickly switched to a Sharpie since the porcelain pen turned out to be too runny for my liking. I also used a touch of silver (also a Sharpie) so adding some red or another fun color might work really well. Happy crafting!!

Posted on December 26, 2013 and filed under Design + DIY.

A Christmas Wishlist

Hello, Sparkle!

Last week, we added Niki to our shop - a new style in our crochet jewelry line. I absolutely love how they turned out: gorgeous golden threads, lovely fresh water pearls, and the shape is just oh-so-perfect for the holidays with their snowflake shape and delicacy. 

And as much as I want to keep them to myself (tempting!), at the very least, they inspired me to dream up a lovely outfit with some of my favorite finds this season. Some of these are on a great sale so I hope you enjoy!

Niki Earrings | Coat Sweater Dress | Clutch | Boots | Tights Watch

Posted on December 9, 2013 and filed under Design + DIY.

A Holiday Menu!

Christmas Menu.gif

This year, I will be spending Christmas in Orlando with my lovely sister-in-law and her not-too-shabby husband, my brother (and I should also mention mom, dad, nephew and much more, resulting in an altogether rather large family affair!). And since Stefan and Jessica just welcomed Dimitar Nolan Popov (my nephew) to this world, I offered to take over the entertaining and hosting duties for the festivities. First things first, I put together the menu for Christmas day. Still on my agenda? Christmas Eve menu (which this year will be a traditional Bulgarian meal) and Christmas Breakfast! Can't wait to get cooking!

Posted on December 5, 2013 and filed under Test Kitchen.

The Art of Gifting on a Budget

DIY Gift Guide 3.gif

The older I get, the more I appreciate the value of thoughtful gifts. What makes me even more giddy with excitement is when a gift was a handmade item created with me in mind! This year, I am challenging myself (as well as my family):  

To Gift on a DIY Budget!

Our budget limit is $10 a person (insane, right?!) The tight budget, however, has encouraged all of us to get very creative! Here are some ideas I have been toying around with.

For the bowls, I was imagining purchasing some of these bowls and using white spray paint I already own for the dipped effect, totaling at $3.95 a piece.

When it comes to the mugs, I plan to find some basic white porcelain mugs from Marshalls or TJ Maxx for less than $3 a piece. I already bought this porcelain sharpie to create the designs I like, making each gift cost less than $5. 

The infinity scarf would require some basic knitting skills but the DIY featured here is very helpful and thorough in helping complete the project. I am thinking about adding some sparkle with rhinestones? 

The minimalist painting is the perfect opportunity to spell out my love and appreciation for my family: all the things that are sometimes easier to write than say.

Dipped leather feather necklace (phew, that was long): I was unable to find an actual tutorial for it but I think it would be a pretty straight-forward project: purchase pieces of leather from the local craft store, do a simple stitch, cut the shape and paint with some liquid gold... 

Test tube mocha is an almost definite yes in my mind - it just seems so much fun. I am not sure if I will go all the way with the printout labels but I think some handmade ones are in store for me.

Do you have any DIY gifts in mind for the holidays?

Posted on December 2, 2013 and filed under Design + DIY.

Happy Thanksgiving!

Ingredients

2 tbsp cold unsalted butter

1/2 cup packed dark brown sugar

2 Bartlett pears, peeled, cored and thinly sliced

2 cups all-purpose flour

1 tbsp ground ginger

1 tsp baking powder

1/2 tsp salt

1/2 tsp ground cardamom

1/2 cup unsalted butter, softened

1 cup granulated sugar

2 large eggs

1 tsp vanilla powder

2/3 cup milk

Since I was born and raised in Europe, I did not grow up having Thanksgiving. But after I moved to the US, I have been fortunate enough to have celebrated it for the last 9 years of my life! I have come to truly relish this holiday for many reasons: the food, the road trips, and most importantly, the friends and family. I have yet to host a Thanksgiving dinner, but I still hold on to a tradition of mine, even as a guest: I always bake something I have never baked before to share with my hosts. This year, I picked this lovely cake from the November issue of Family Circle. Hope you enjoy!

Pear Upside-Down Cake

Heat oven to 350 degrees. Add cold butter to a 10" springform pan. Heat in oven until melted, about 3 minutes. Swirl pan to coat bottom with melted butter. Sprinkle evenly with brown sugar.

Fan slices of pear over sugar overlapping slightly and set aside.

In a small bowl, whisk together flour, ginger, baking powder, salt, vanilla and cardamom. Beat softened butter in a large bowl until smooth. Add sugar and beat 2 minutes, until creamy. Beat in eggs, one at a time, beating well after each addition. 

On low speed, beat in flour mixture, alternating with milk, beginning and ending with flour. Spoon batter over pears and spread to pan edge with a spatula. Wrap bottom of pan with foil and bake for 55 to 60 minutes or until you can insert and remove a toothpick clean. 

Cool for 5 minutes and invert cake onto a plate. Wait to cool and serve slightly warm with vanilla ice cram, if desired.

Makes 16 servings. Prep time: 30 minutes. Bake time: 55-60 minutes.

Posted on November 27, 2013 and filed under Test Kitchen.