Posts tagged #christmas

Christmas tags in dusty rose, white and all that glitters!

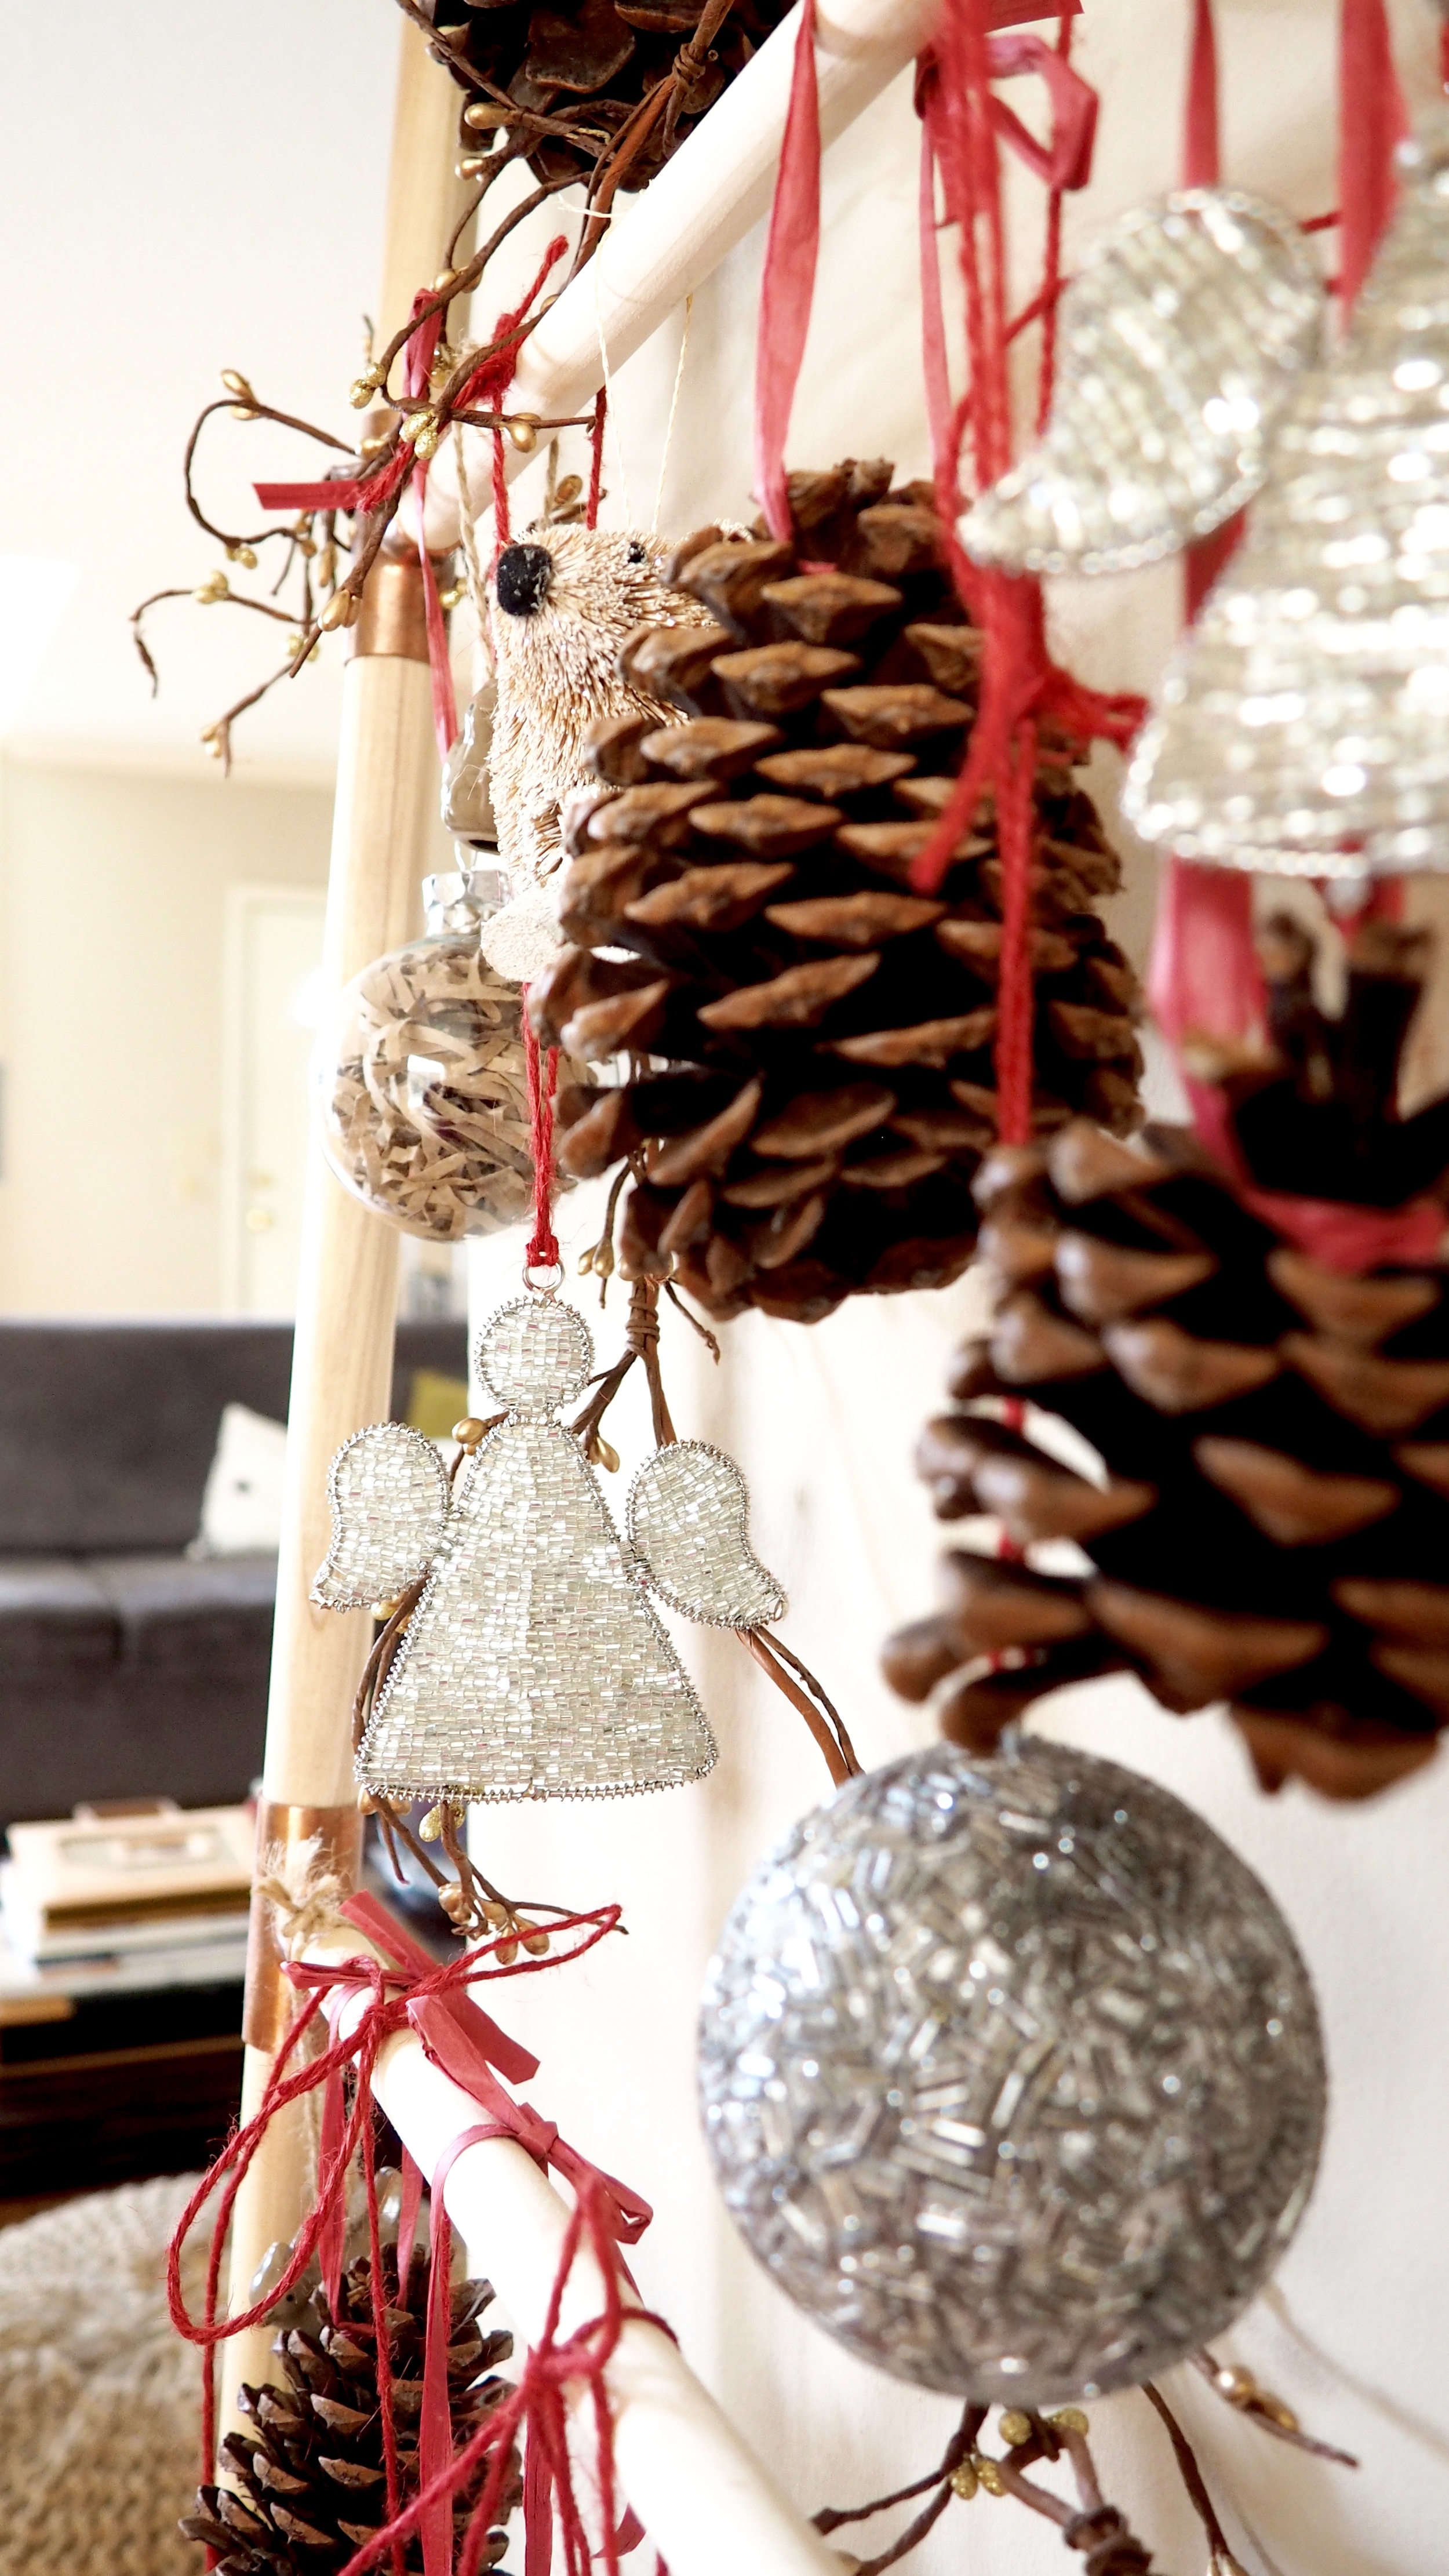
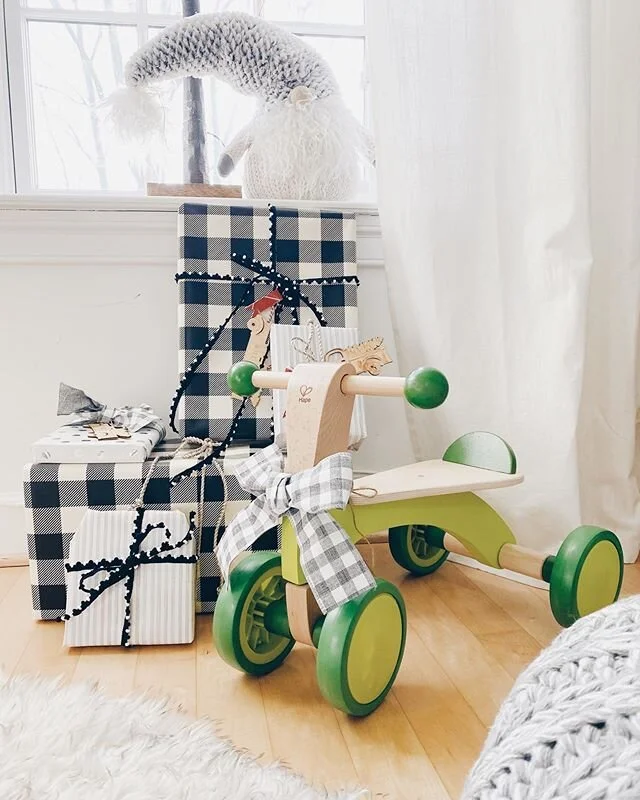
My favorite Saturday mornings are the ones when you have absolutely no agenda on your mind and you set yourself up for true relaxation and recovery from the grueling week. That is, until you randomly (not) wander the halls of Michael's and you get about a thousand ideas of what to do with said Saturday morning. Indeed, rest ambitions failed me once again. But, hey, I now have some sweet Christmas present tags to show you!  

I absolutely love how these turned out! And it all started with a simple glitter set that I saw at the store plus some tags that happened to be on sale. A bit of white ink and gold twine later, and voila! I think I might keep some of these for my tree next year... 

Here is what you will need to recreate these very Christmas-y (oh very well, somewhat Christmas-y) dusty pink and mother of pearl tags:

  • Glitter set (similar found here)
  • Glue
  • Brown tags (mine were the last few but a similar set can be found here)
  • White pen (I couldn't rave enough about this pen - well worth the $1.99)
  • Gold twine
  • Some Pinterest inspiration

With 12 days left until Christmas (who's counting?), we have only one more Christmas-themed week left! And I can't seem to be able to make up my mind what to dedicate it to... Gift wrapping? Food? Traditions? Ahh, I guess I have a week to figure it out :).

Happy Sunday!!

Posted on December 13, 2015 and filed under Design + DIY.

I know, I know... Christmas is still more than a month away...

But if the radio can play Christmas music already, I am allowed to have Christmas posts, right? :)

So, what's in store today? First, an apology... It has been two weeks with no posts and I guess I could offer a great (made-up) excuse for this. But I cannot. I just had a few very great very busy weeks. The good news is that being busy at work and life does pay off after all! Here is a rare Katya brag-episode for you: my proudest career moment of my life (so far) came courtesy of the 2015 Lantern Awards. My team (well, our website) won the big 2015 award for websites! I was never much of a sucker for awards (which should have helped me be very much chill about this one) but heading to a podium in front of hundreds of spectators and your leadership to accept an award is far more nerve-wracking than anticipated. I have a whole new level of empathy for Jennifer Lawrence. DO NOT TRIP was pretty much the only thing I could think of.

But, enough (bragging) about work (I AM SO FREAKING PROUD OF MY TEAM!!!) and onto more appropriate topics for a personal blog...

Oh, hey Christmas! I had forgotten about you (said no Christmas lover ever). This year, Christmas decor takes a bit of a different meaning for me... Mainly because I will be out of the country for most of the holidays. And it just felt like decking out a whole tree for an absentee home owner is rather overdoing it. So what is one to do when they still crave for some festive decor?

Deck out something else, of course! Enter, the ladder-turned-Christmas-tree DIY tutorial! Promise, it's a simple one...

First, start with building your ladder (an even simpler tutorial can be found here). Next? Deck said ladder with as many ornaments as it can safely take. Try to be somewhat intentional with colors/textures/finishes and voila! You got yourself a very neat conversation starter. Most people's reaction is... Hm? A Christmas ladder? And in my mind, I am rather thinking... "You are welcome, world!" The only thing that hadn't been Christmatized before is now officially here! And what's not to cheer about that?? 

Inspiration via Pinterest. Execution via several Tj Maxx shopping sprees. :)

Happy Monday and... so glad to be back! :)

Posted on November 23, 2015 and filed under Design + DIY.

Rosemary and Toasted-Caraway Shortbread

Ingredients

1 teaspoon caraway seeds

1 cup (2 sticks) chilled unsalted butter, cut into ½” pieces

½ cup granulated sugar

¼ cup powdered sugar

½ teaspoon kosher salt

2½ cups all-purpose flour

2 teaspoons finely chopped fresh rosemary, plus whole leaves

1 large egg, beaten to blend

Coarse sanding sugar (for sprinkling)

Recipe Courtesy of Bon Apetit 

Over the winter break, I made these rosemary shortbread cookies for a second time (the first time was for Thanksgiving) and they came out as delicious as ever. Until I tried this recipe, I had never made cookies that combine rosemary and caraway seeds (for some reason, I always thought it was a meat spice?!?). And even though the spice combination is rather unexpected, the resulting taste is really refreshing! Double bonus points for how easy they are to make!  

Directions

Preheat oven to 350°. Toast caraway seeds in a small dry skillet over medium-high heat, tossing occasionally, until fragrant, about 2 minutes. Coarsely chop; set aside.

Using an electric mixer on medium-high speed, beat butter, granulated sugar, powdered sugar, and salt until very light and fluffy, 7–10 minutes (beating air into butter makes for tender shortbread). Reduce speed to low and add flour, caraway, and 2 tsp. chopped rosemary; mix just to combine. Dough will look shaggy and a little dry (it’s not!).

Press dough into two 8”-diameter cake pans. Brush with egg, sprinkle with sanding sugar, and top with rosemary leaves.

Bake until shortbread is golden brown and sides pull away from pan, 20–25 minutes. Transfer pan to a wire rack; let cool in pan before turning out and cutting into wedges or bars.

Do Ahead

Shortbread dough can be made 1 month ahead; wrap tightly and freeze. Shortbread can be baked 1 week ahead; store wrapped tightly at room temperature.

Posted on January 9, 2014 and filed under Test Kitchen.

Happy New Year!

Some Party Essentials

I Always Start with the Menu 

Delicious Party Favors

Wrap it in a Theme (Polar Bears!) 

Unify with a Color Scheme (White, Gold and a bit of Black)


Happy Holidays!!

I must confess, I am rather sad the holidays are over. But at the very least, I have this blog to write about them and remember how much fun it was to plan for a good meal and enjoy the party with my loved ones!

A few posts ago, I shared with you the menu I was planning on for Christmas and I am happy to report that all the dishes came out beautifully! Hands down, my favorite was the turkey. It was fresh, juicy and just perfect! And as usual, I spent quite a lot of time setting up the table decor (my favorite part of any party). This time however, I had help from the best of helpers: mom. After a trip to the local Marshall's (where we purchased placemats and a few decorations) and Target (where we found the polar bears at 50% off plus the paper christmas trees and candles), we were able to complete our polar bear theme. 

The colors we used this year were gold, white and a punch of black. It was all inspired by the design of the menu I did a few weeks back. The menu also inspired the handsomest party favors - custom made cookies by Cakes and Cookies by Claudia. 

All in all, I think I am really liking the idea of hosting celebrations! I am already looking for an excuse to have another one soon!

PS: A shoutout to our lovely hosts: Jessica and Stefan Popov and the great help from Jenny Blair (still dreaming of that casserole!) and of course, mom and dad, who are always willing to assist in any loving way they can. 


Posted on January 1, 2014 and filed under Travel Diaries.

DIY Mugs

Supplies

Porcelain Mugs: $2.99 EA

Sharpie: $1.99 EA

Directions

Pin Ideas for Design

Grab a Sharpie

Draw on Mug

Bake @350 for 30 Min

Done!

A few weeks back, I mentioned I was planning on going down the DIY route for the majority of the gifts I will be giving to my family. We had given ourselves the creative limit of $10 per person per gift. I knew that meant I will had to get crafty. What I didn't realize was how much fun this project would be! If you ever get a chance to try it, I would highly recommend it! It was much easier than I ever thought. All you need is some plain porcelain mugs and a Sharpie! At first, I tried drawing with a porcelain pen but I quickly switched to a Sharpie since the porcelain pen turned out to be too runny for my liking. I also used a touch of silver (also a Sharpie) so adding some red or another fun color might work really well. Happy crafting!!

Posted on December 26, 2013 and filed under Design + DIY.

Last Minute Guy Gifting

Are you running out of ideas for your guy (dad/brother/boyfriend/husband) this Christmas? CB2 just announced a Free Shipping deal on their website and here is a roundup of their great guy gifts (that are also ALL on sale!). 

Strike Wooden Pins: $96.75

Who wouldn't love these? (I am not a guy and I think I want them too!) Honed smooth of recycled saal wood, 10 bowling pins and two balls take shape in a gallery of varying grain, tones and markings that make each unique. Mount on the wall in contrasting sustainable wood frame stained a rich walnut, or set up and go for a strike. 

Clock + Press Coffee Maker: $37.46 + $32.96

Make sure your guy is always refreshed and on time (who could ask for a better combination?) Gift just one and it doesn't have the same effect, does it? You may giggle just a little inside when you gift this too. Subtle and cute all at the same time!

Reclaimed Wood 6-Pack Holder: $29.96 + $...

The CB2 version doesn't come filled with beer bottles but what better way to show your man/men that you know their beer taste? Pick up a selection of their favorite beers and voila. I think you will get extra brownie points for this one!

I have always thought that buying for guys is tough... But this exercise was so much fun! I hope you are having a great time buying for dad/brother/boyfriend/husband this Christmas!!

Posted on December 19, 2013 .