


Well... hello, hello, hello!
A few months back, we started a rather BIG project - renovating our tiny bathroom. We had two lofty goals: spend less than five days and less than $5,700 on it. Well, today is the time to look back and see how we did!
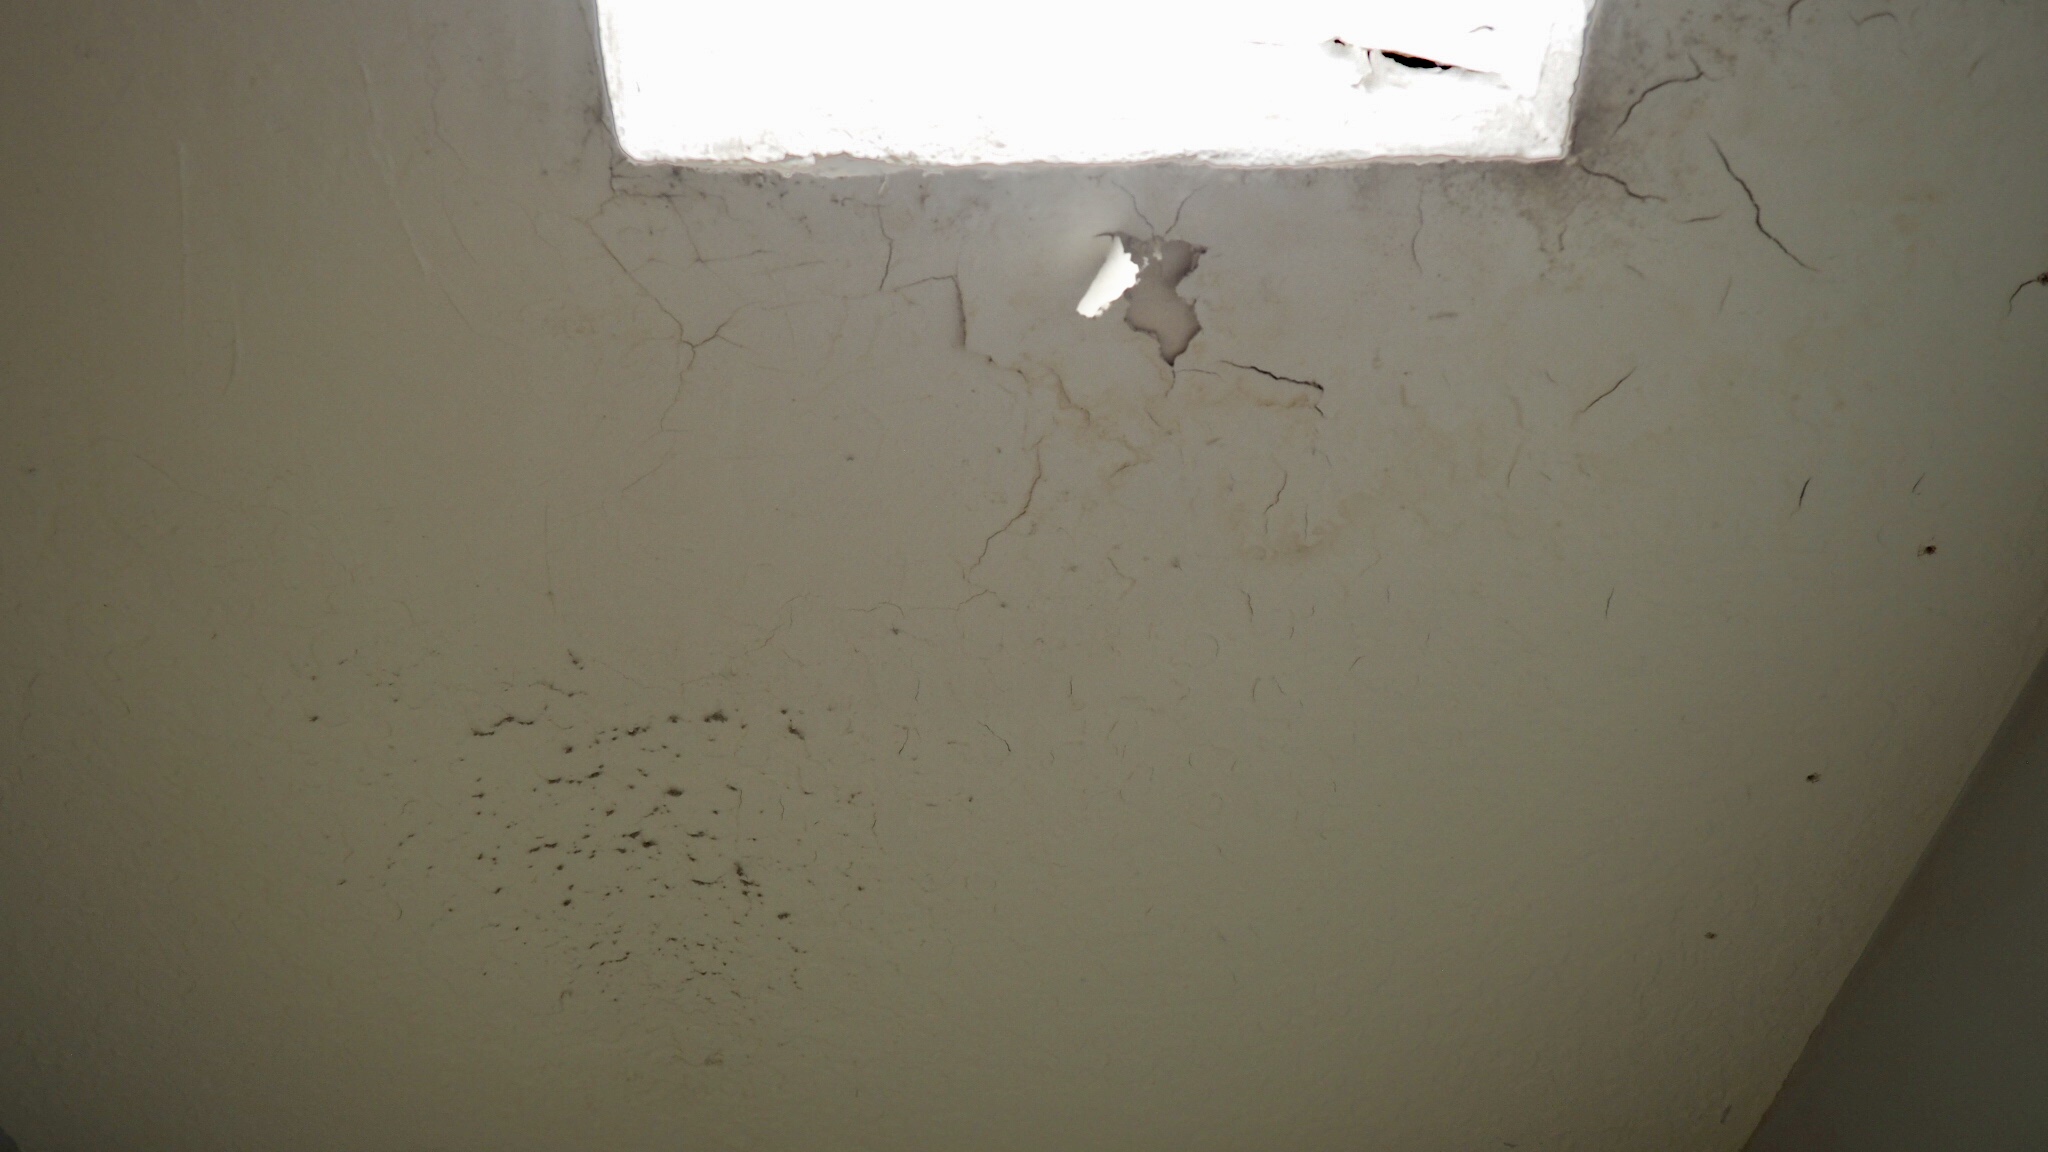
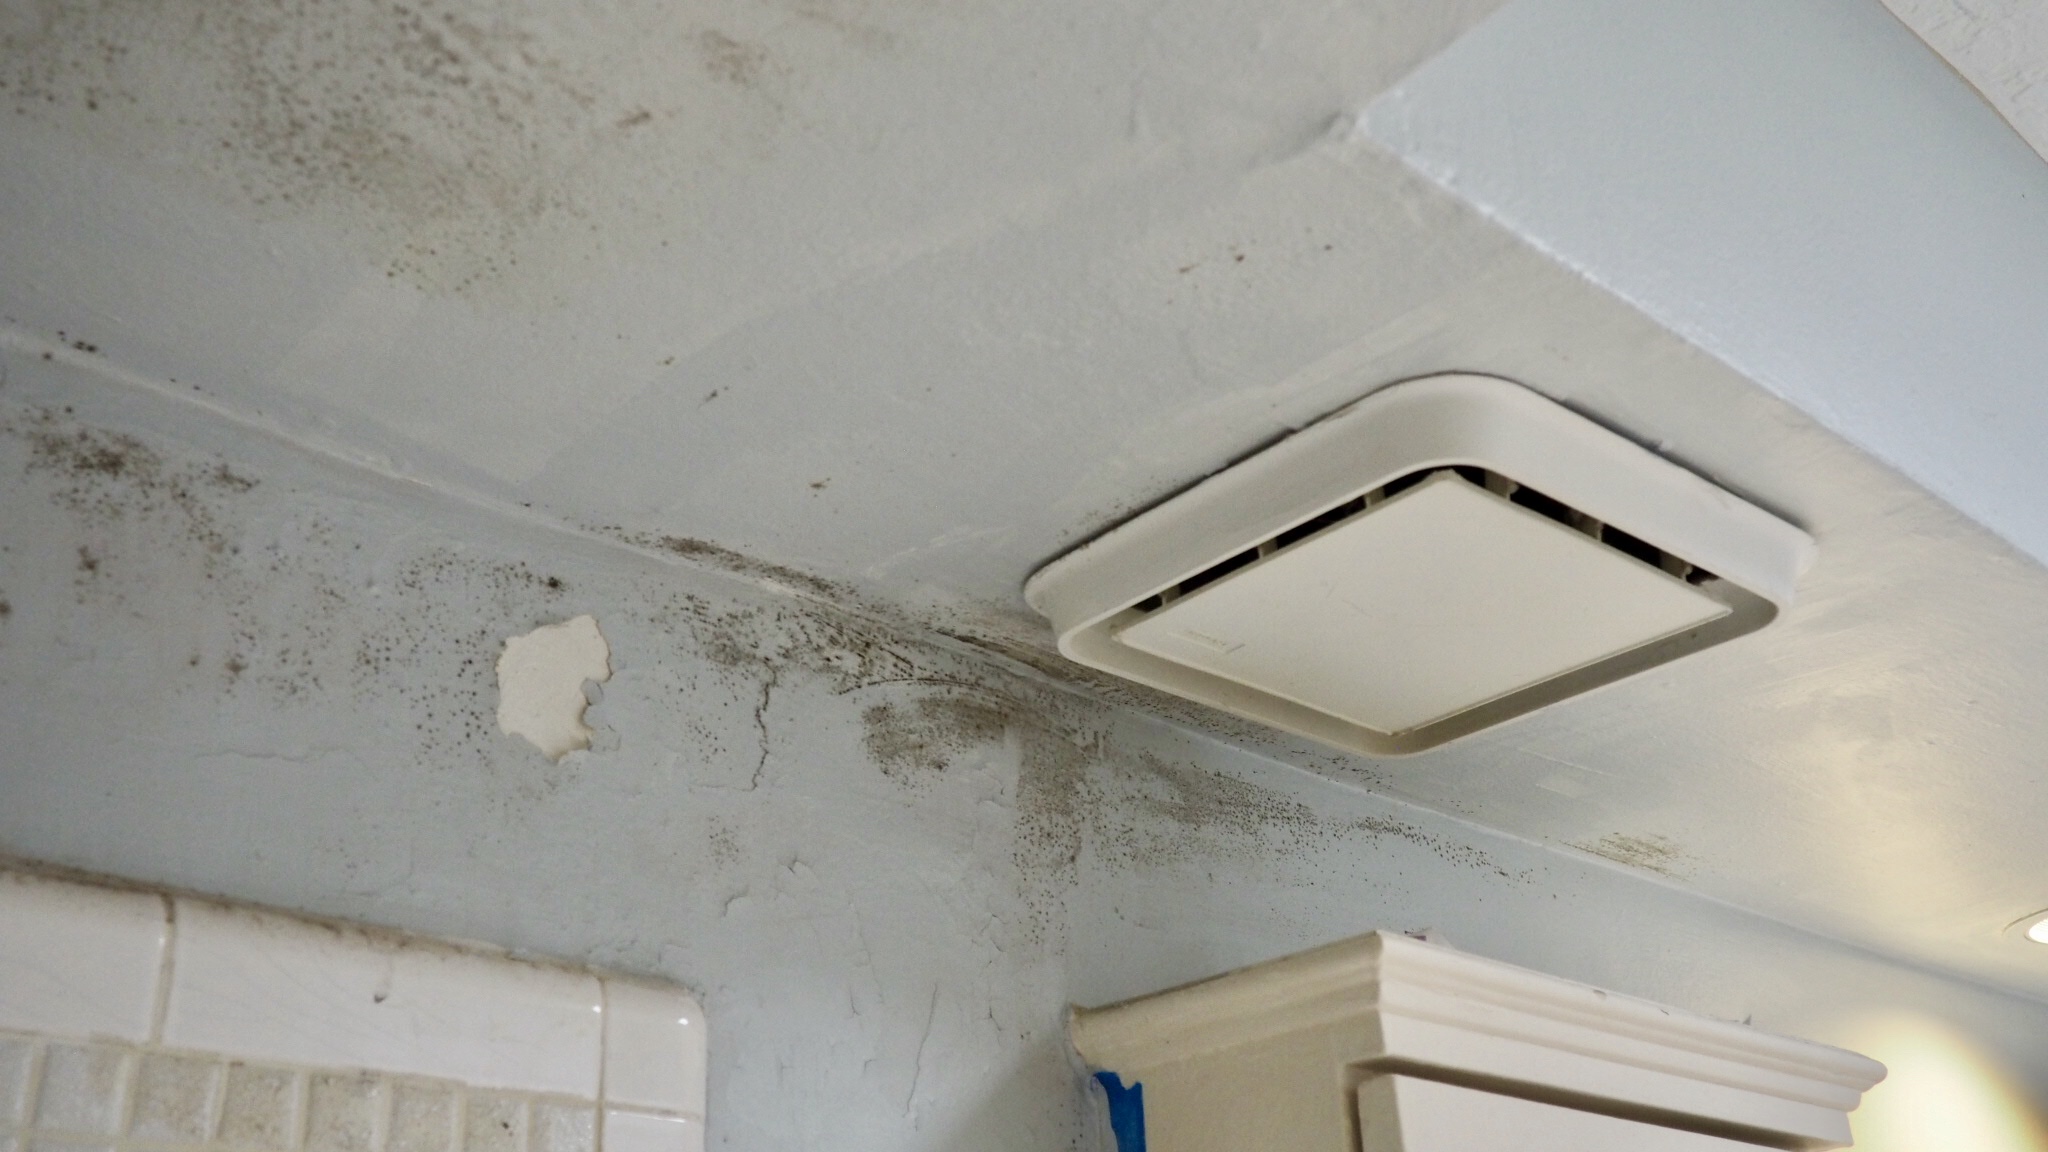
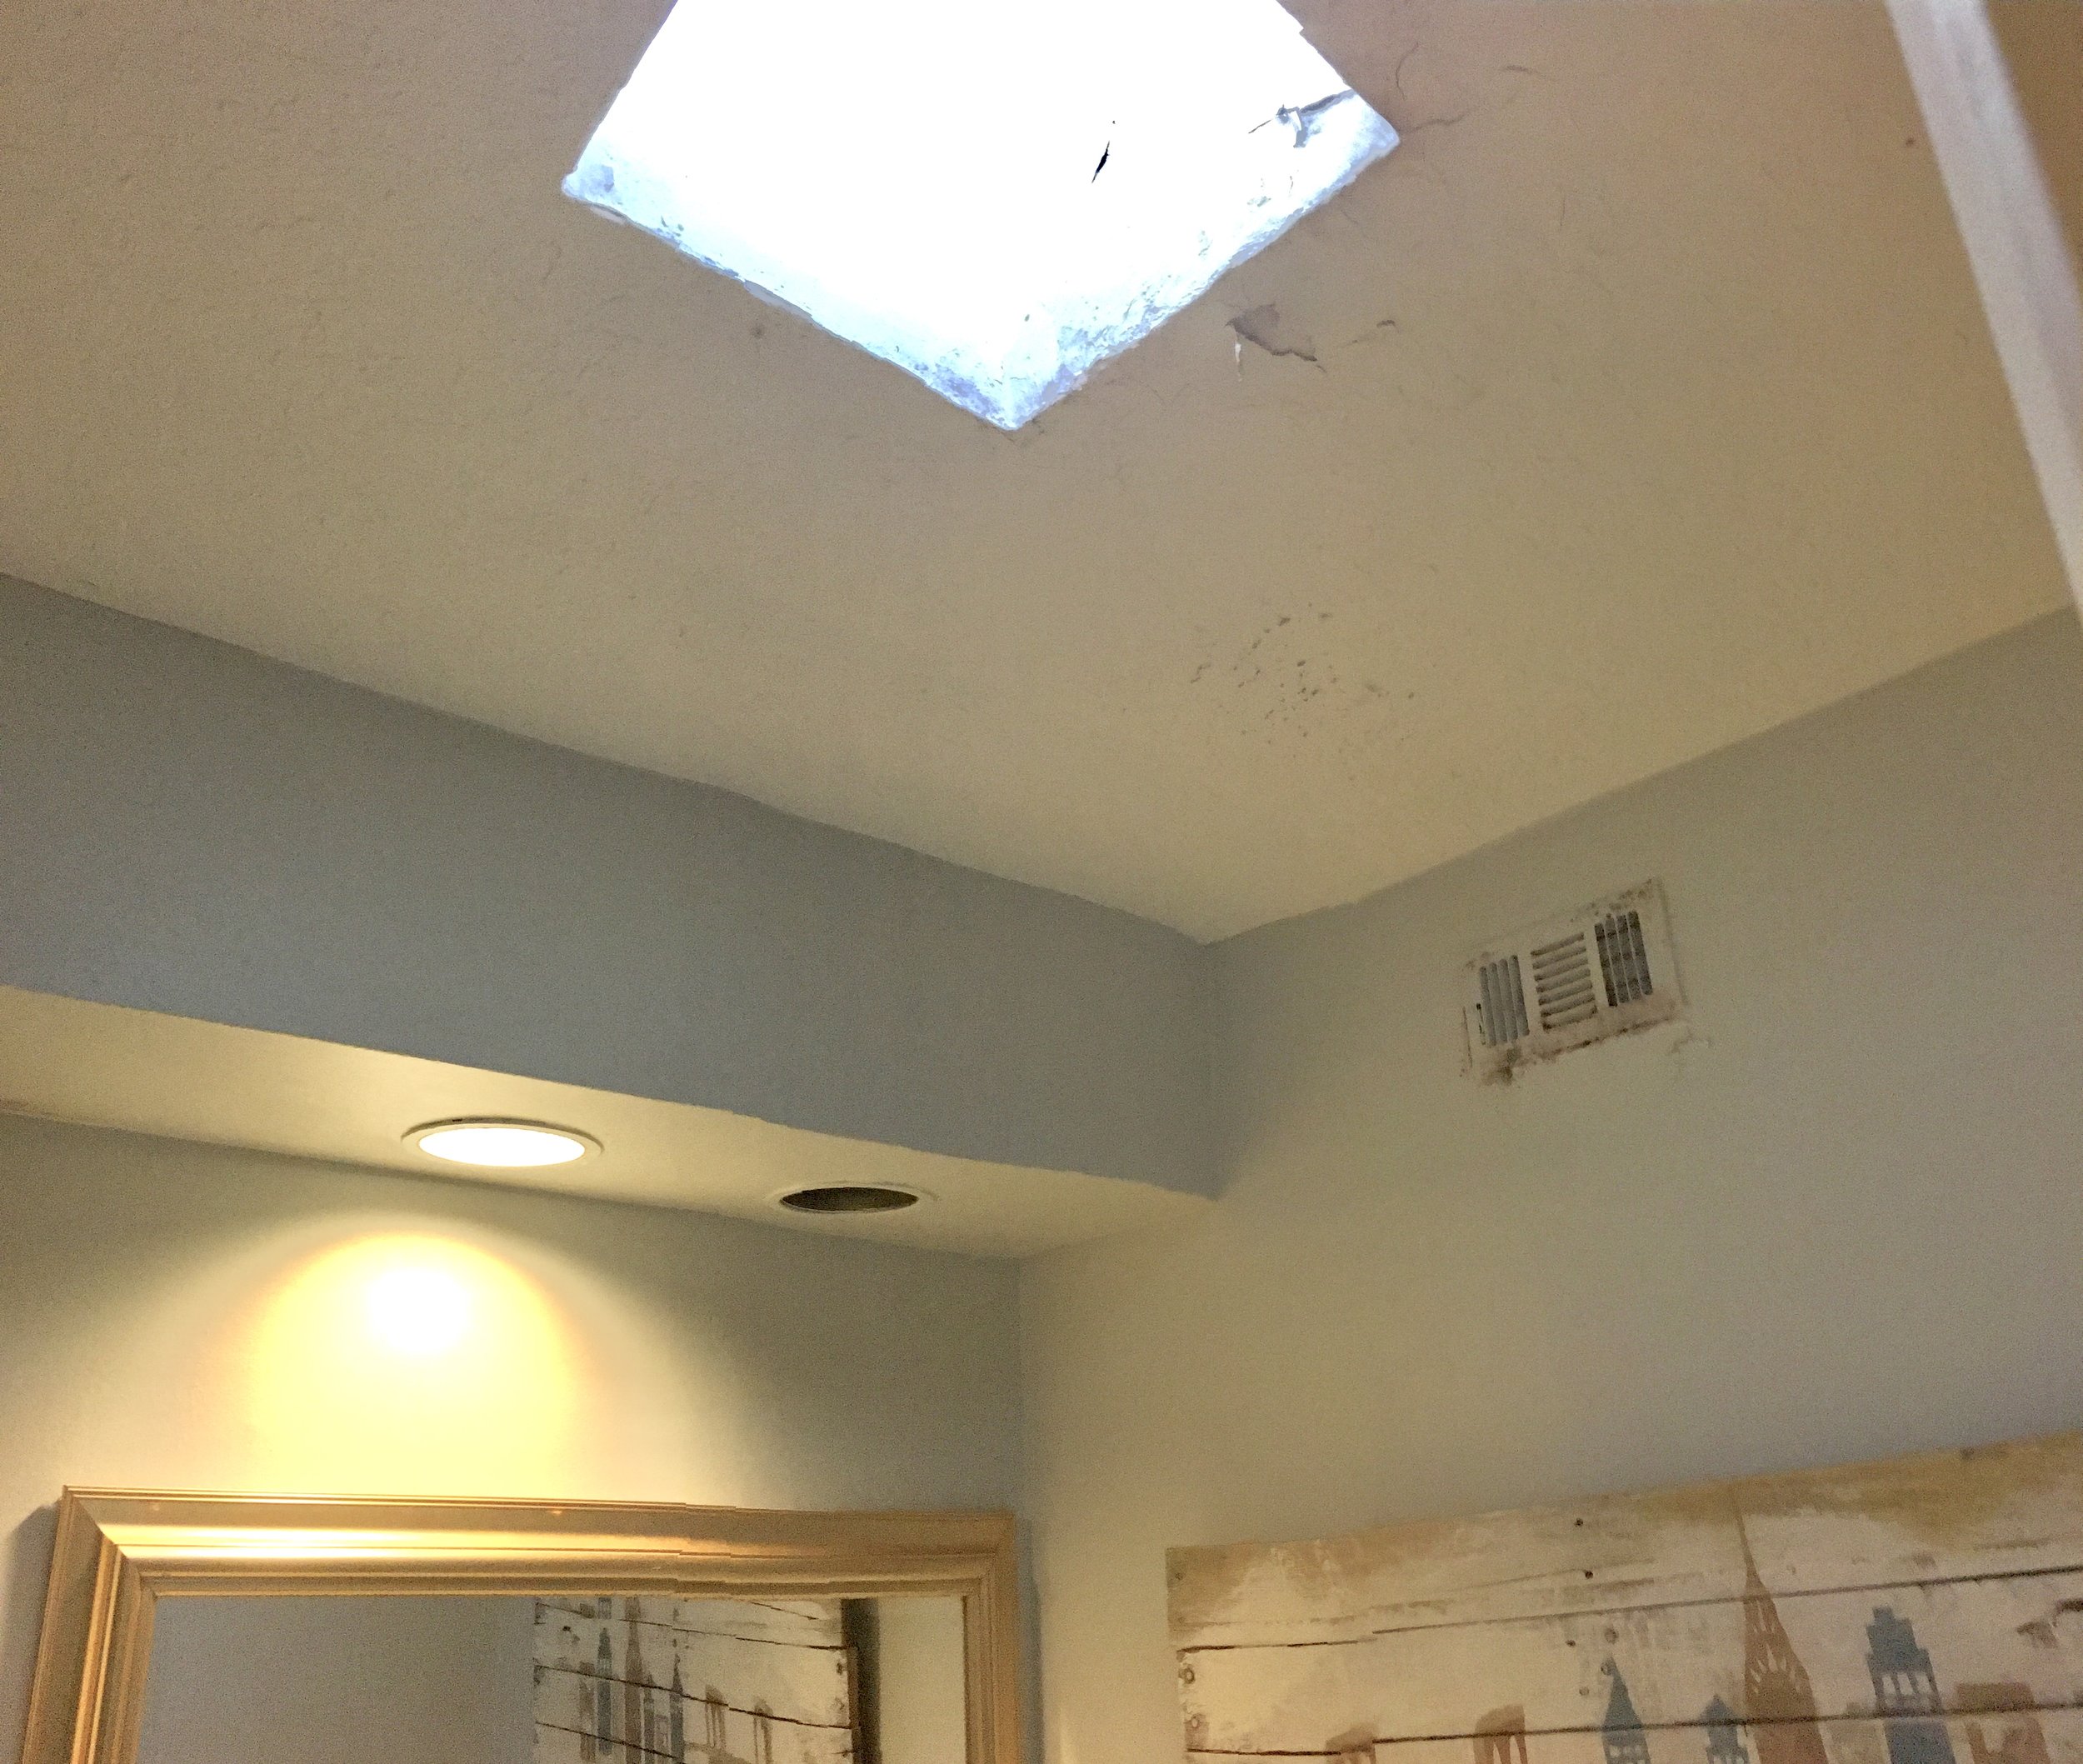
1. Time spent renovating - as you might expect, renovations never go as planned (oh, the irony!) However, I am happy to report that our overtime spent here was a mere two days. Some of the hiccups we faced included the need of new insulation, working within a very tight space to remove and install a new bathtub, some miscommunication with the contractor and the usual plumbing surprises.
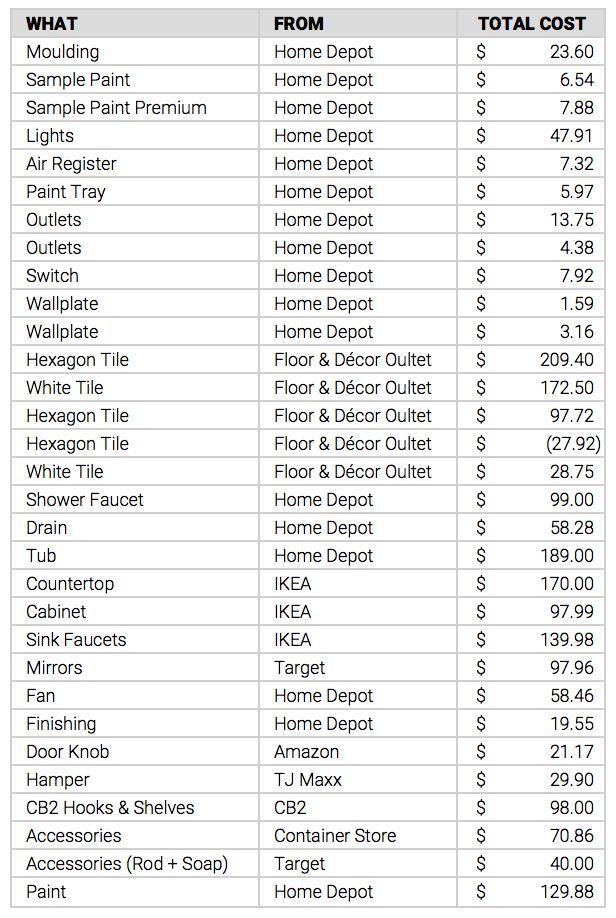
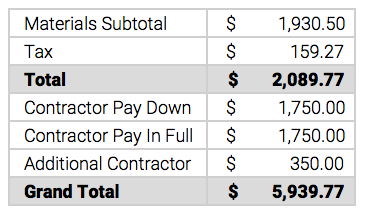
2. Budget - even with all the contingencies we had planned for, we still went slightly over budget. All said and done, we spent slightly less than $6,000. And given that the average bathroom renovation cost runs between $8,000 to $10,000 (and we gutted the whole thing!), I'd say we did better than average!
And, as with any project, there were plenty of lessons learned. For instance:
1. How to talk to a contractor about your budget:
Option one would be to ask how much your plan will cost (we tried that first).
Plus: you can demand perfection
Minus: boy, is it expensive (our initial quote was for $8,500 excluding all the materials we would purchase, such as tile, fixtures, etc.)
Option two would be to tell them how much money you have to spend.
Plus: it is affordable! You spend what you have
Minus: you cannot nag about fixing those imperfect corners
As you might expect, we went down the rabbit hole of option two. But I was very pleasantly surprised with the results! When you find the right contractor, they will care about the quality (almost) as much as you do.
2. Know what YOU can do vs what you need to have done FOR YOU:
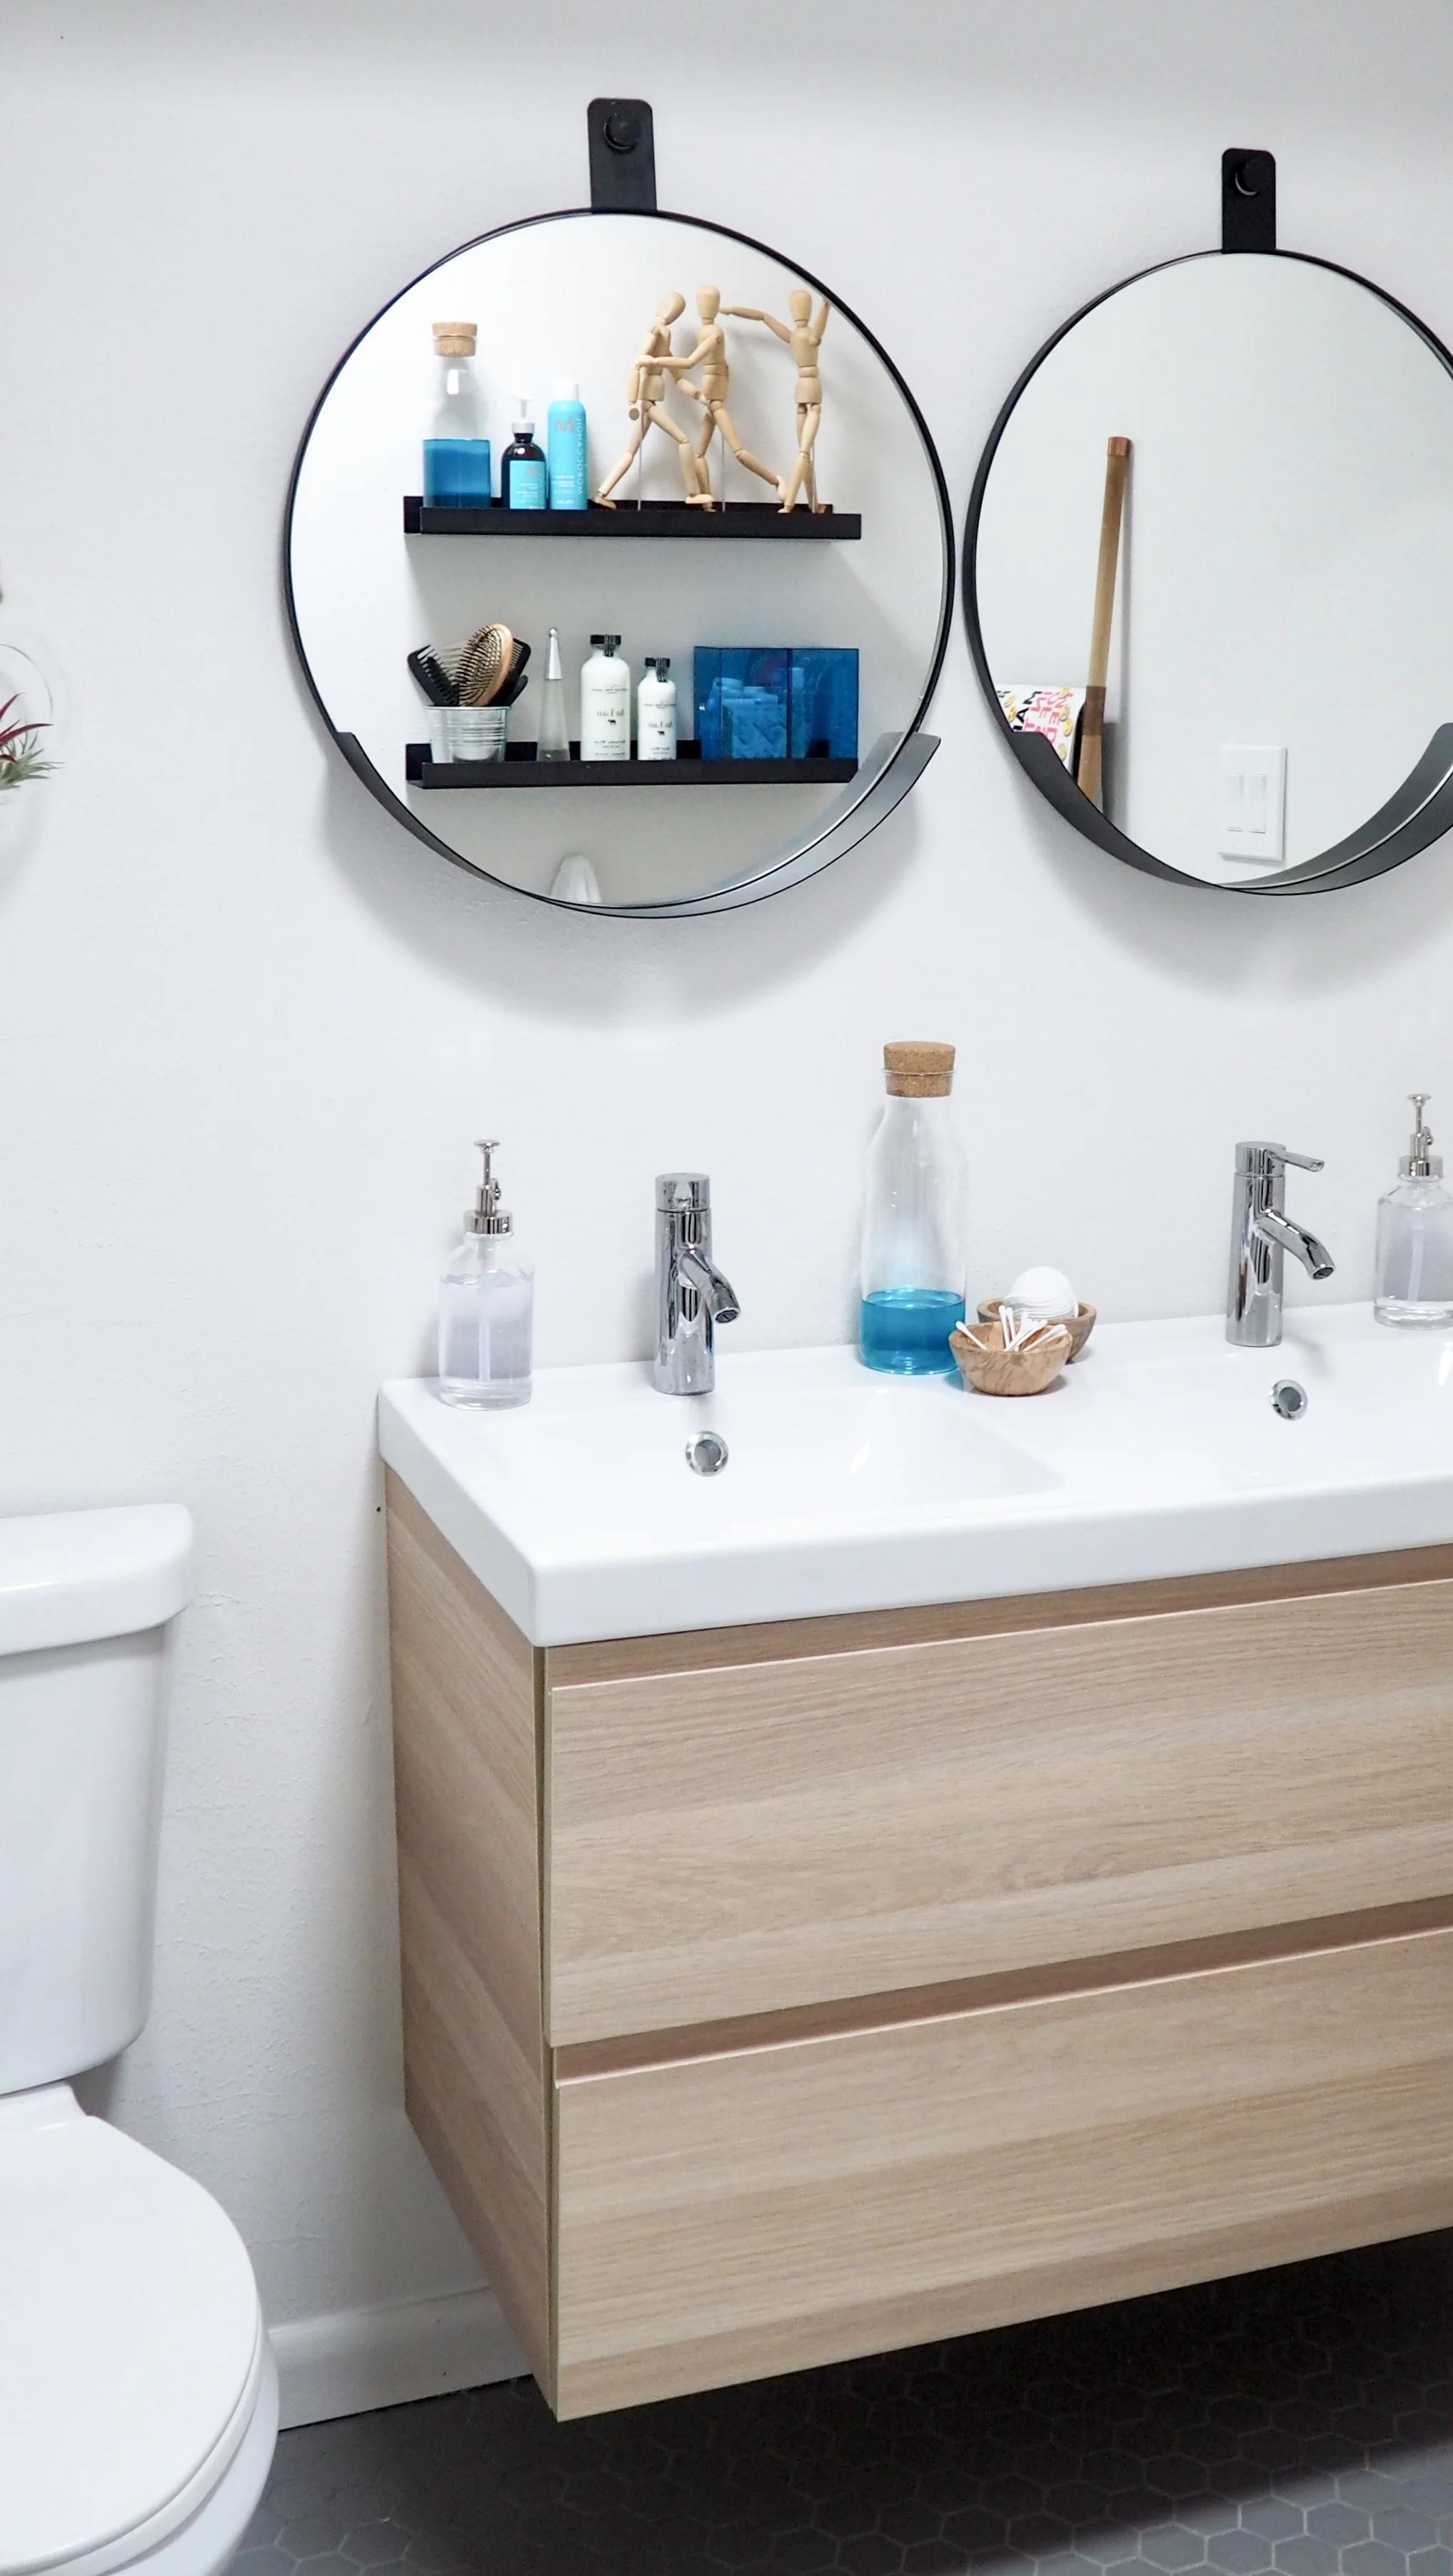
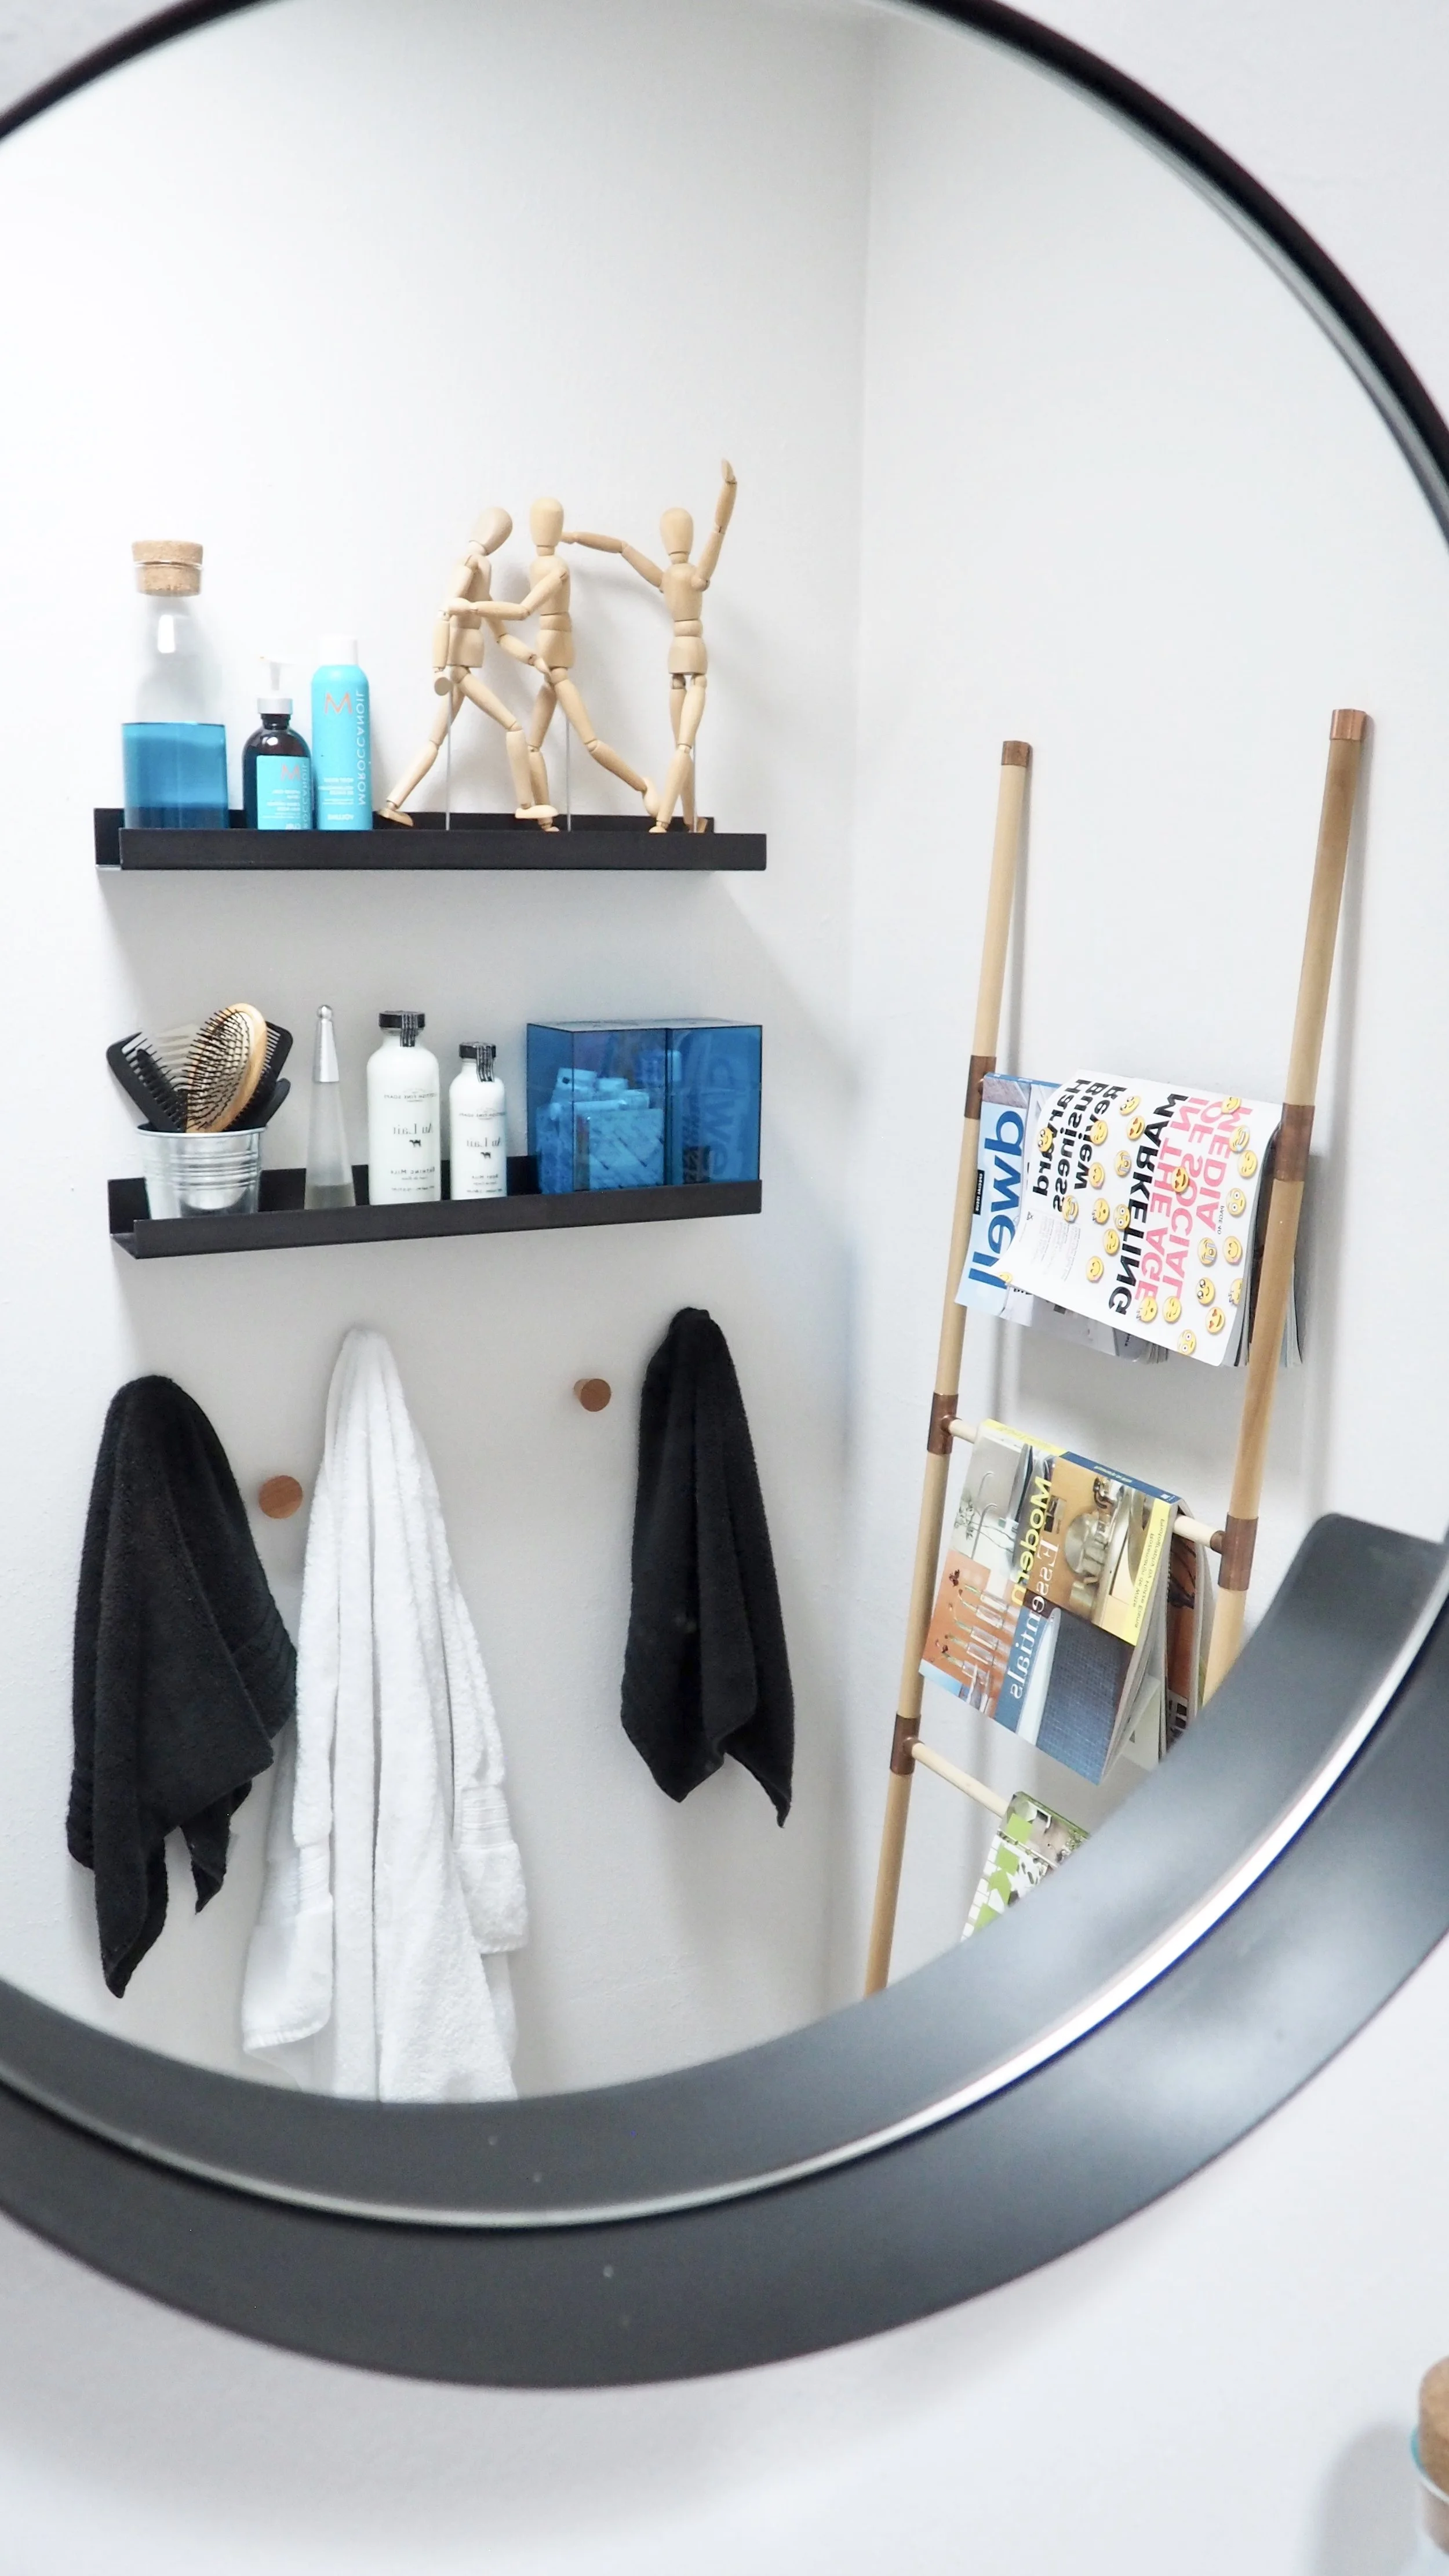
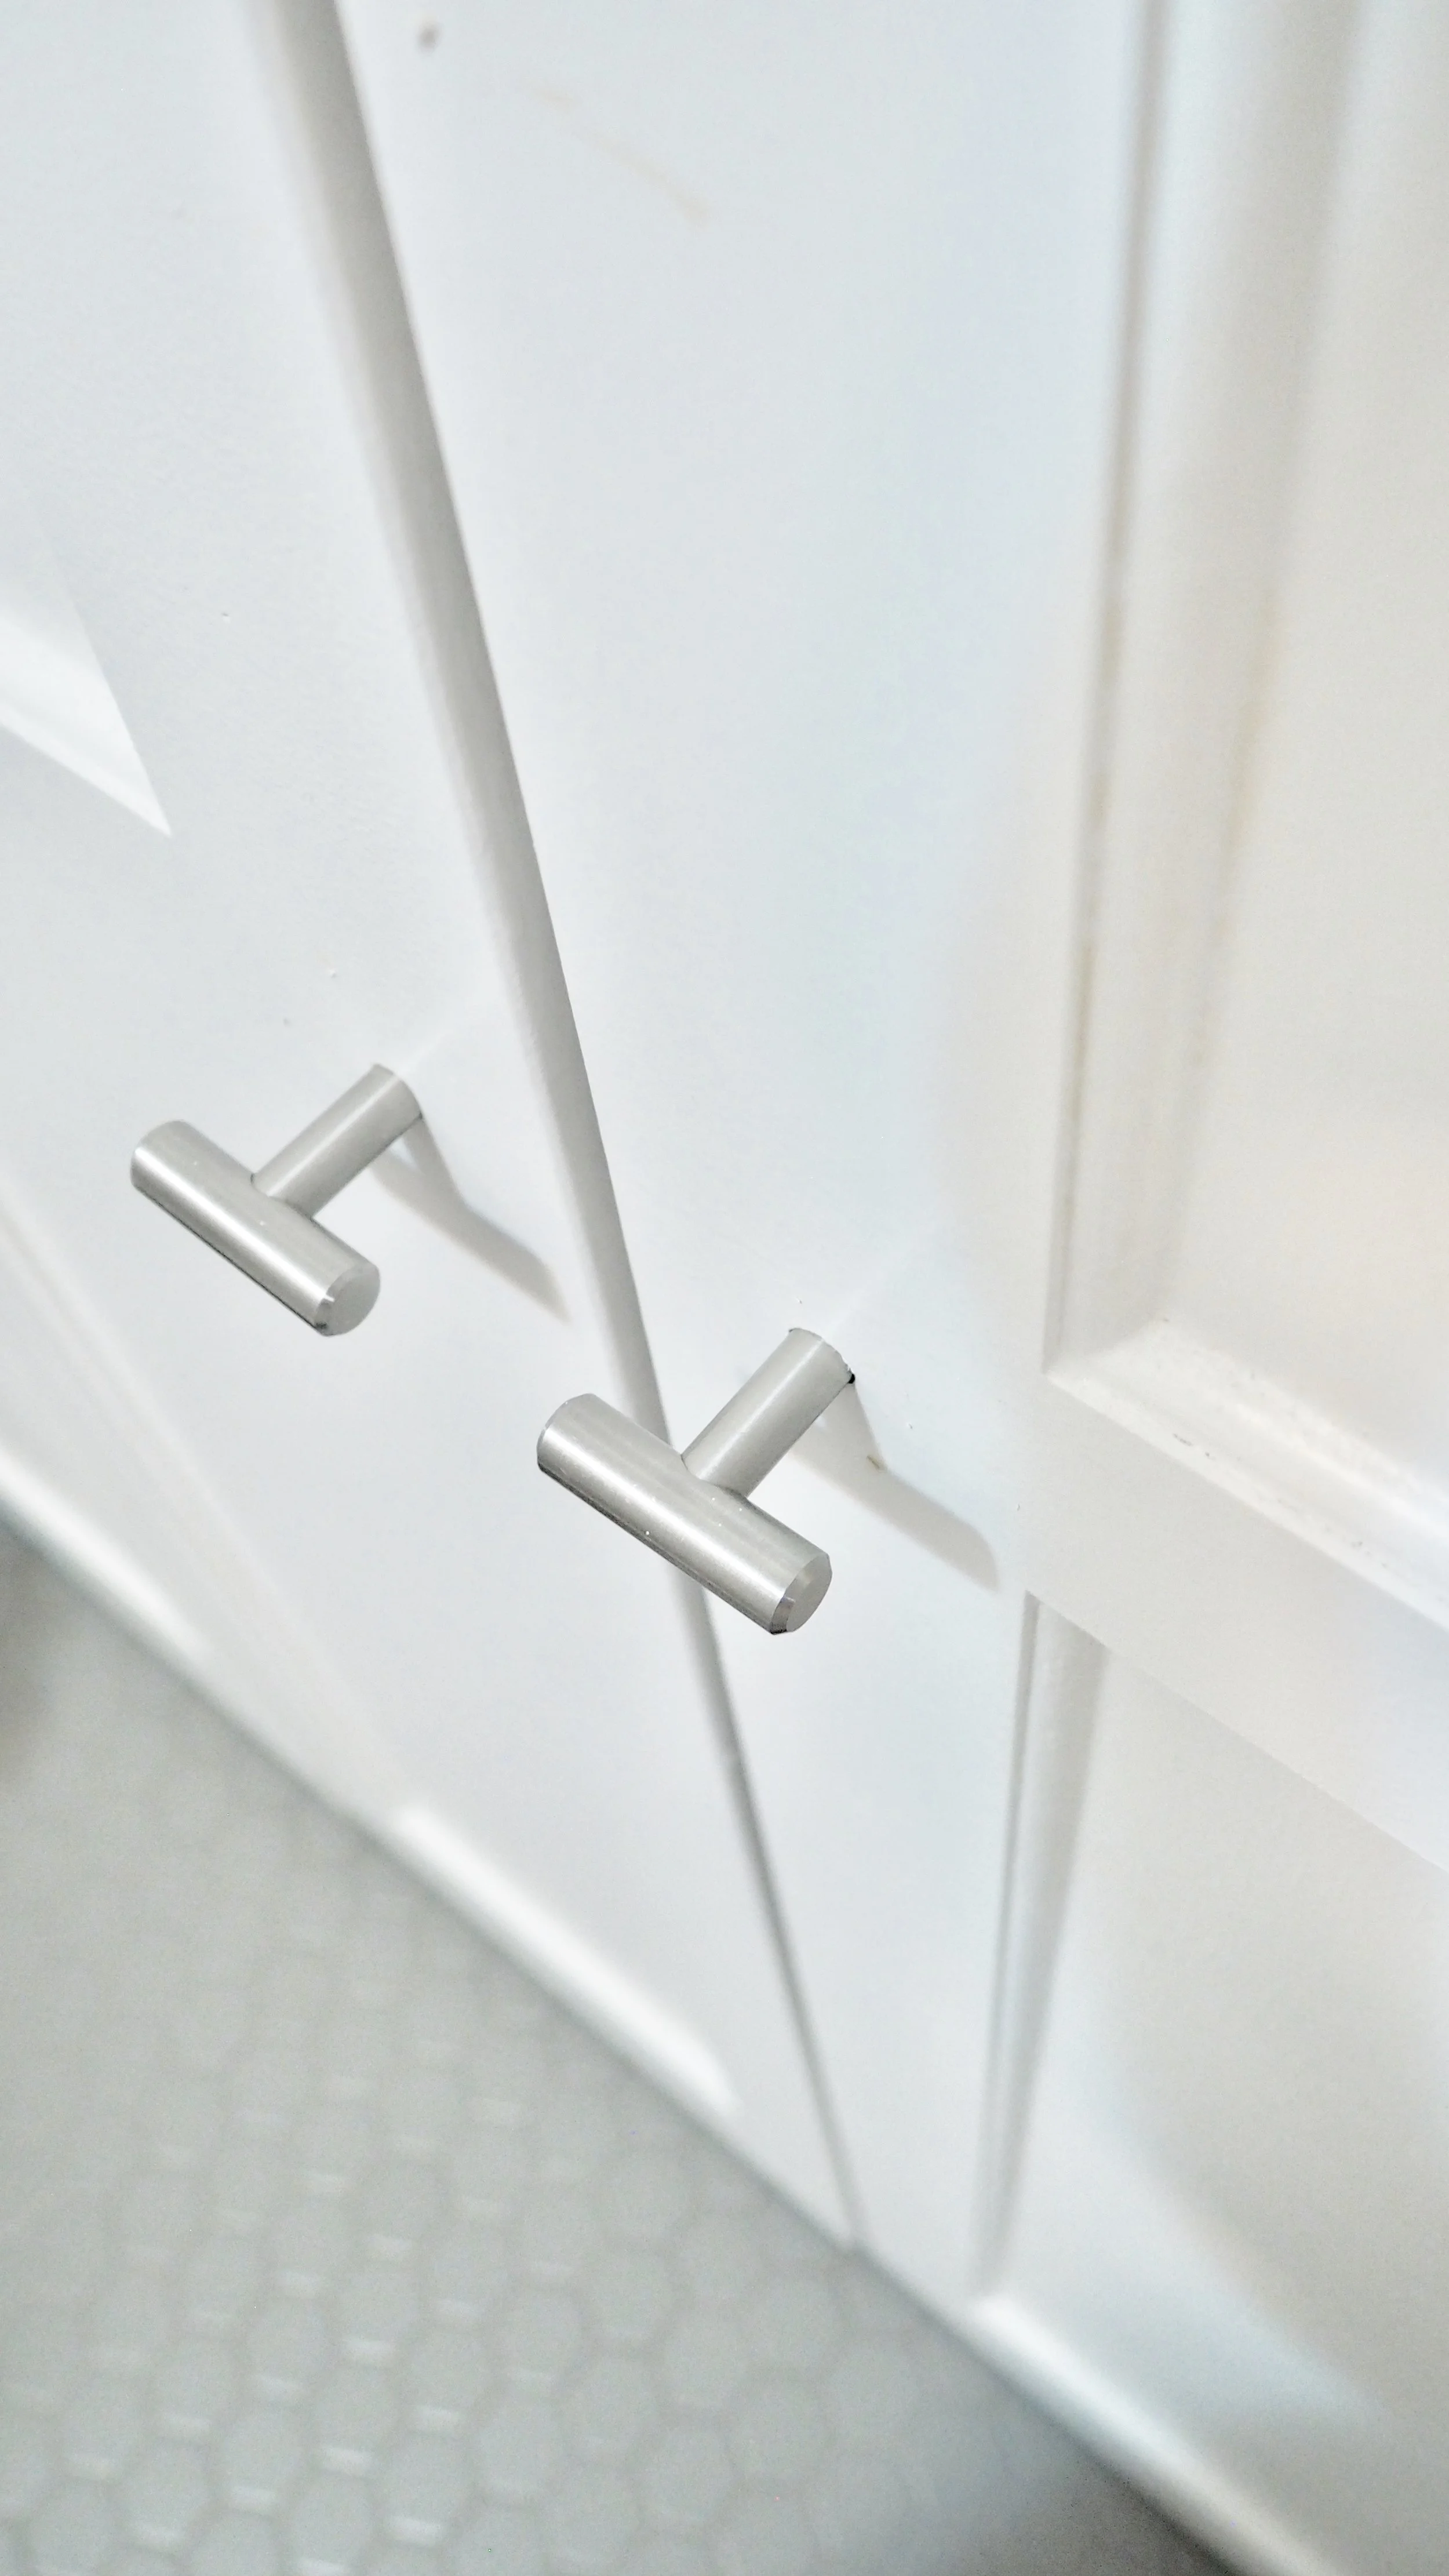
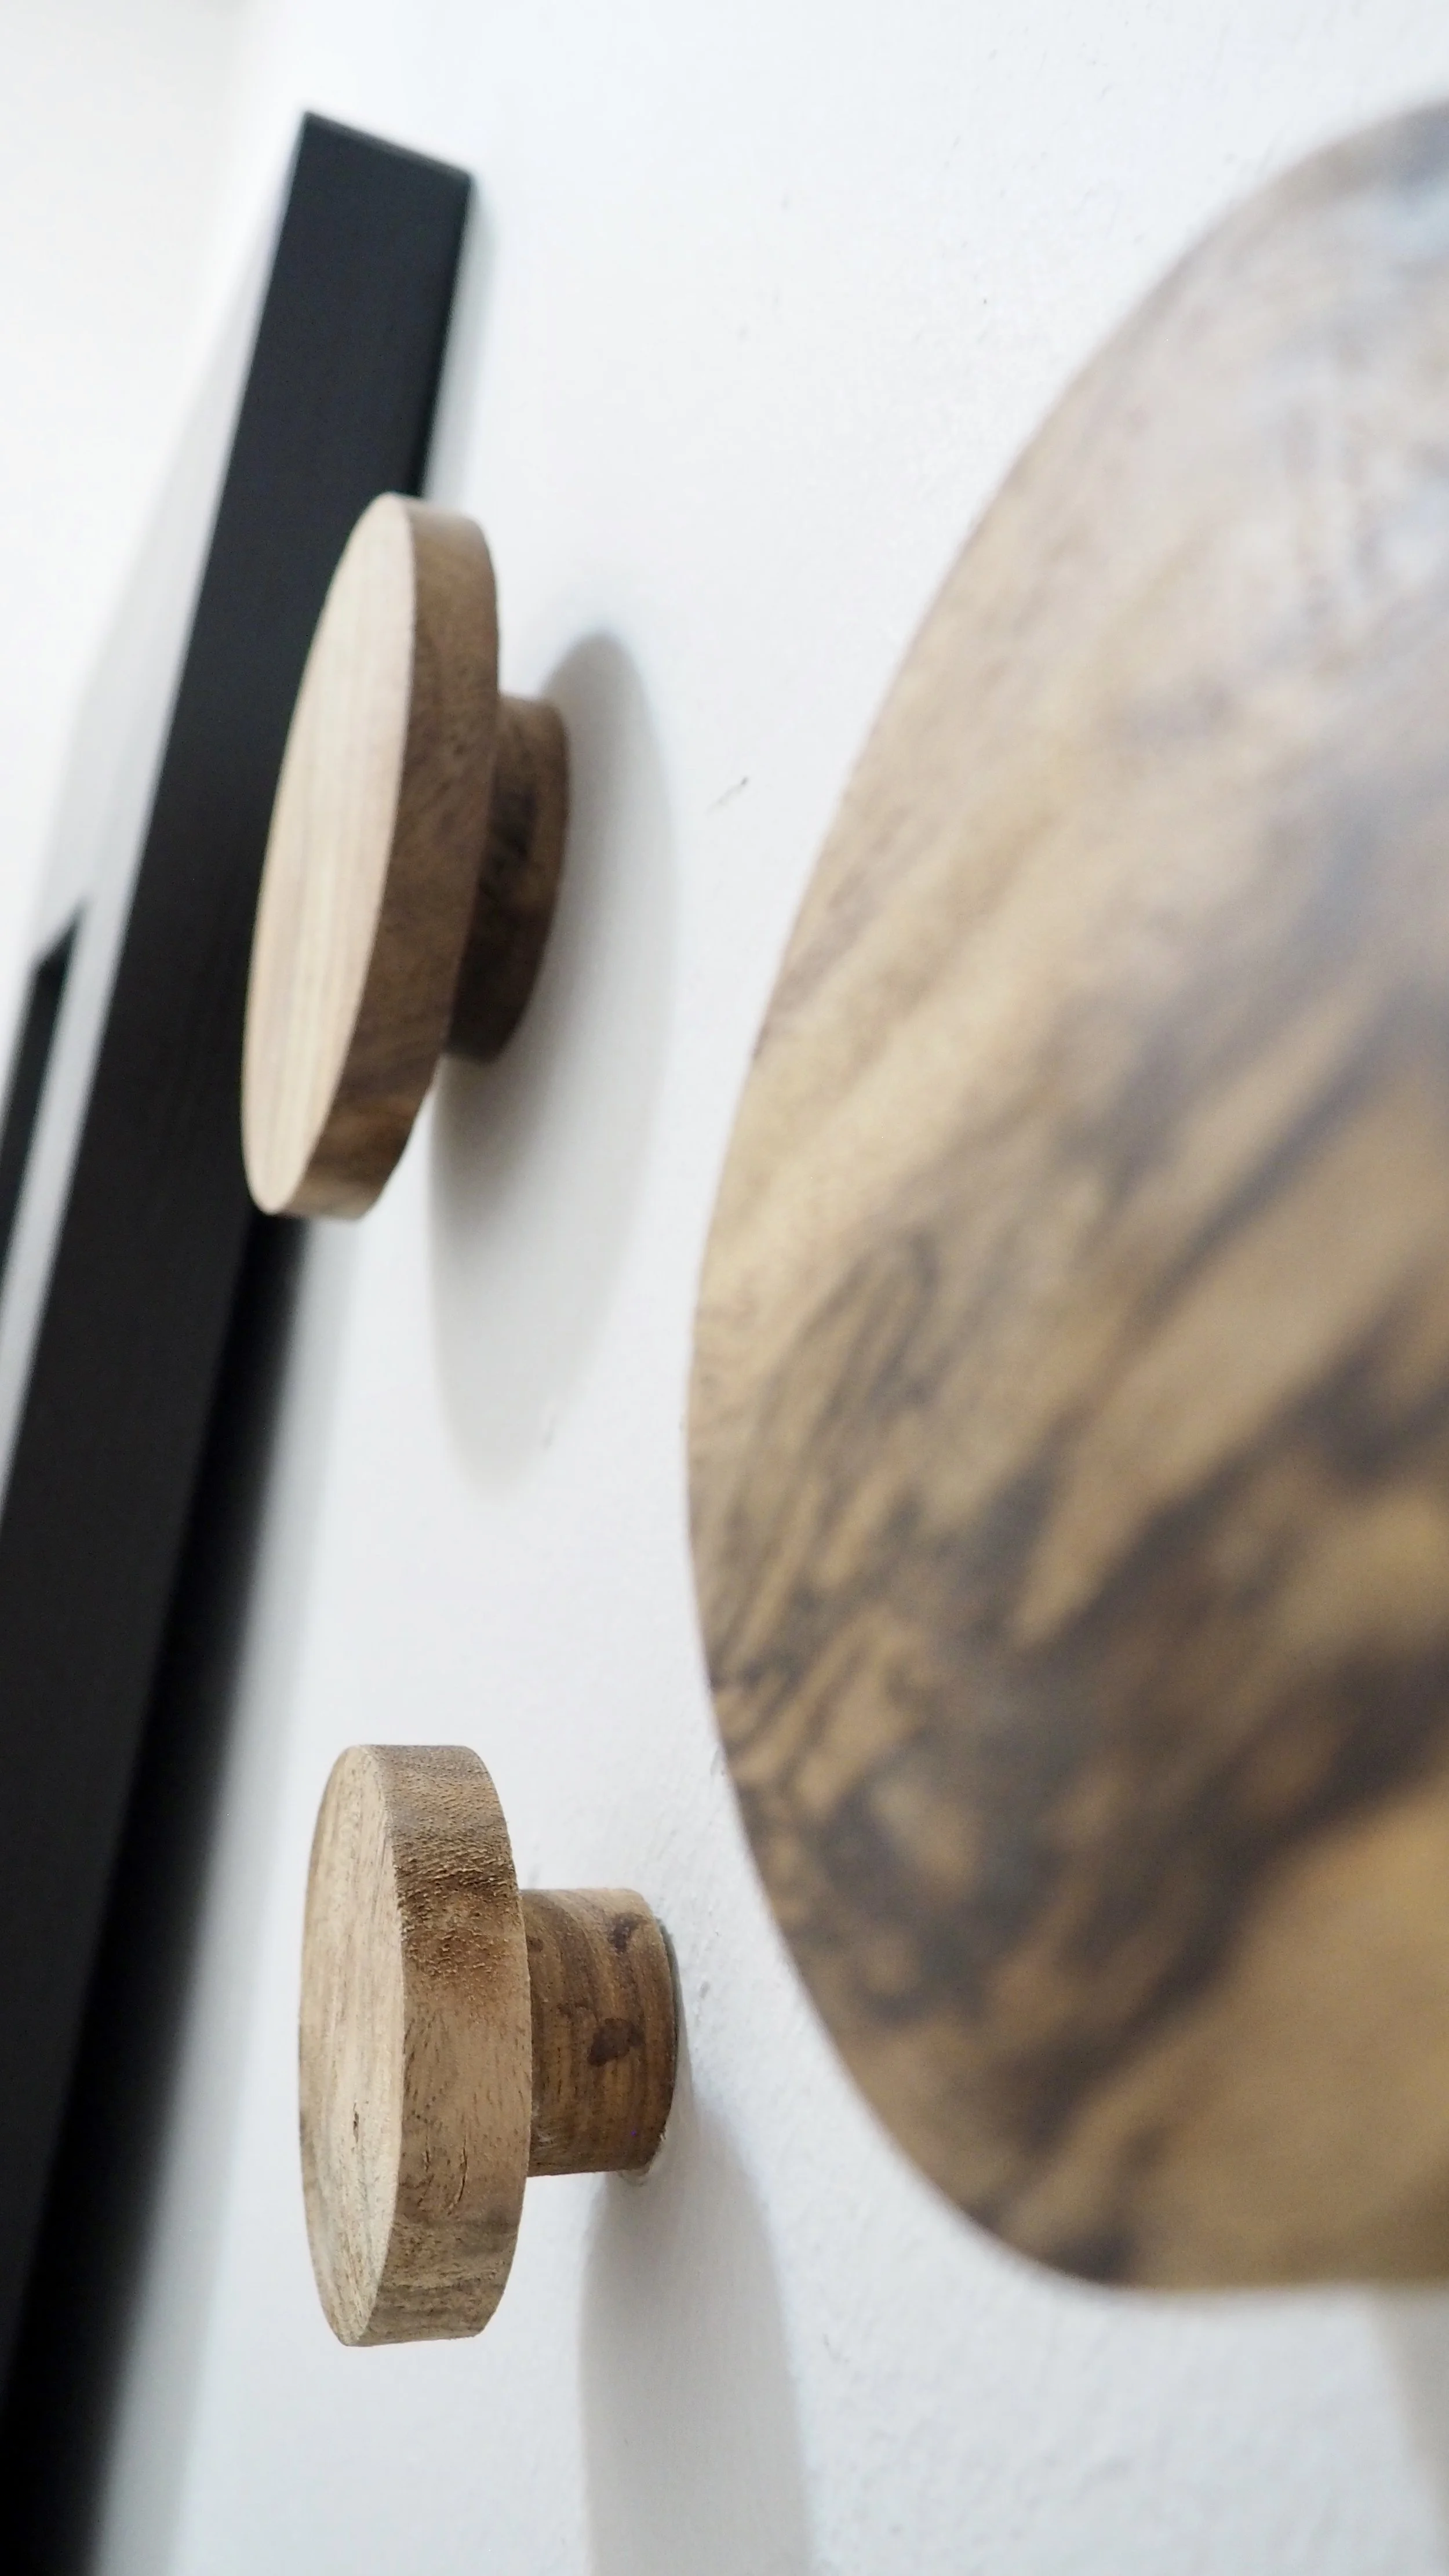
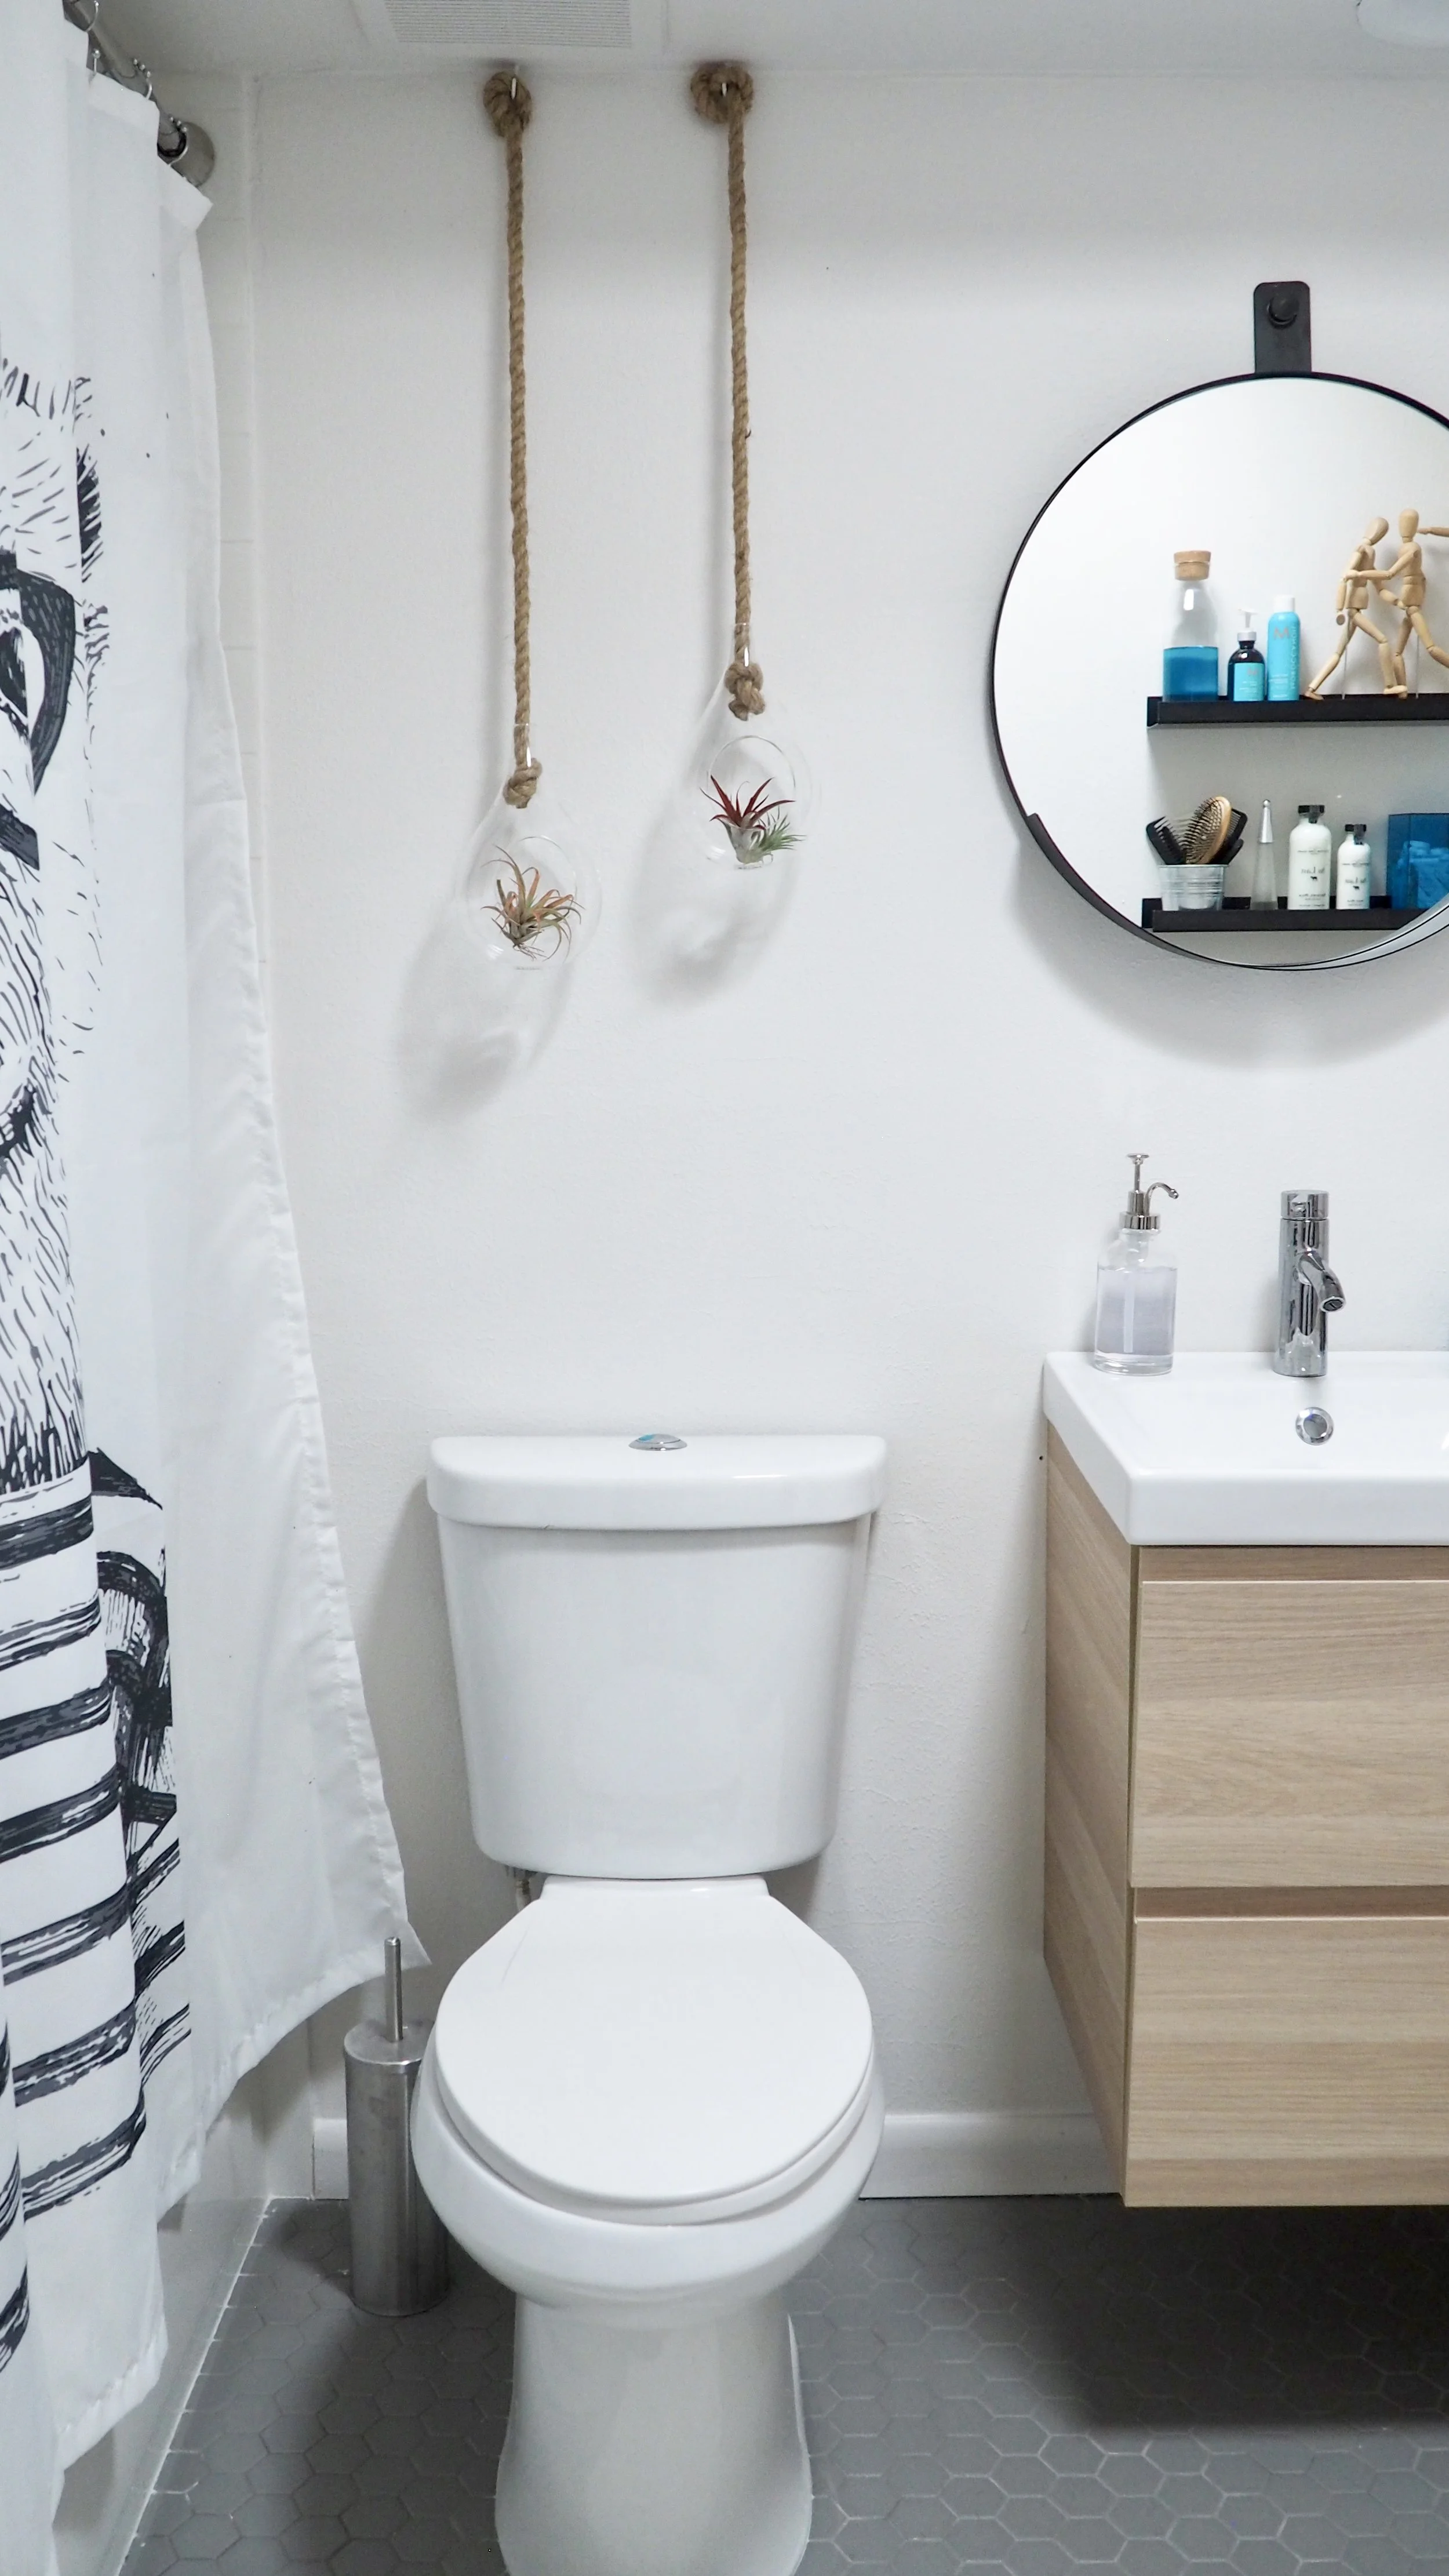
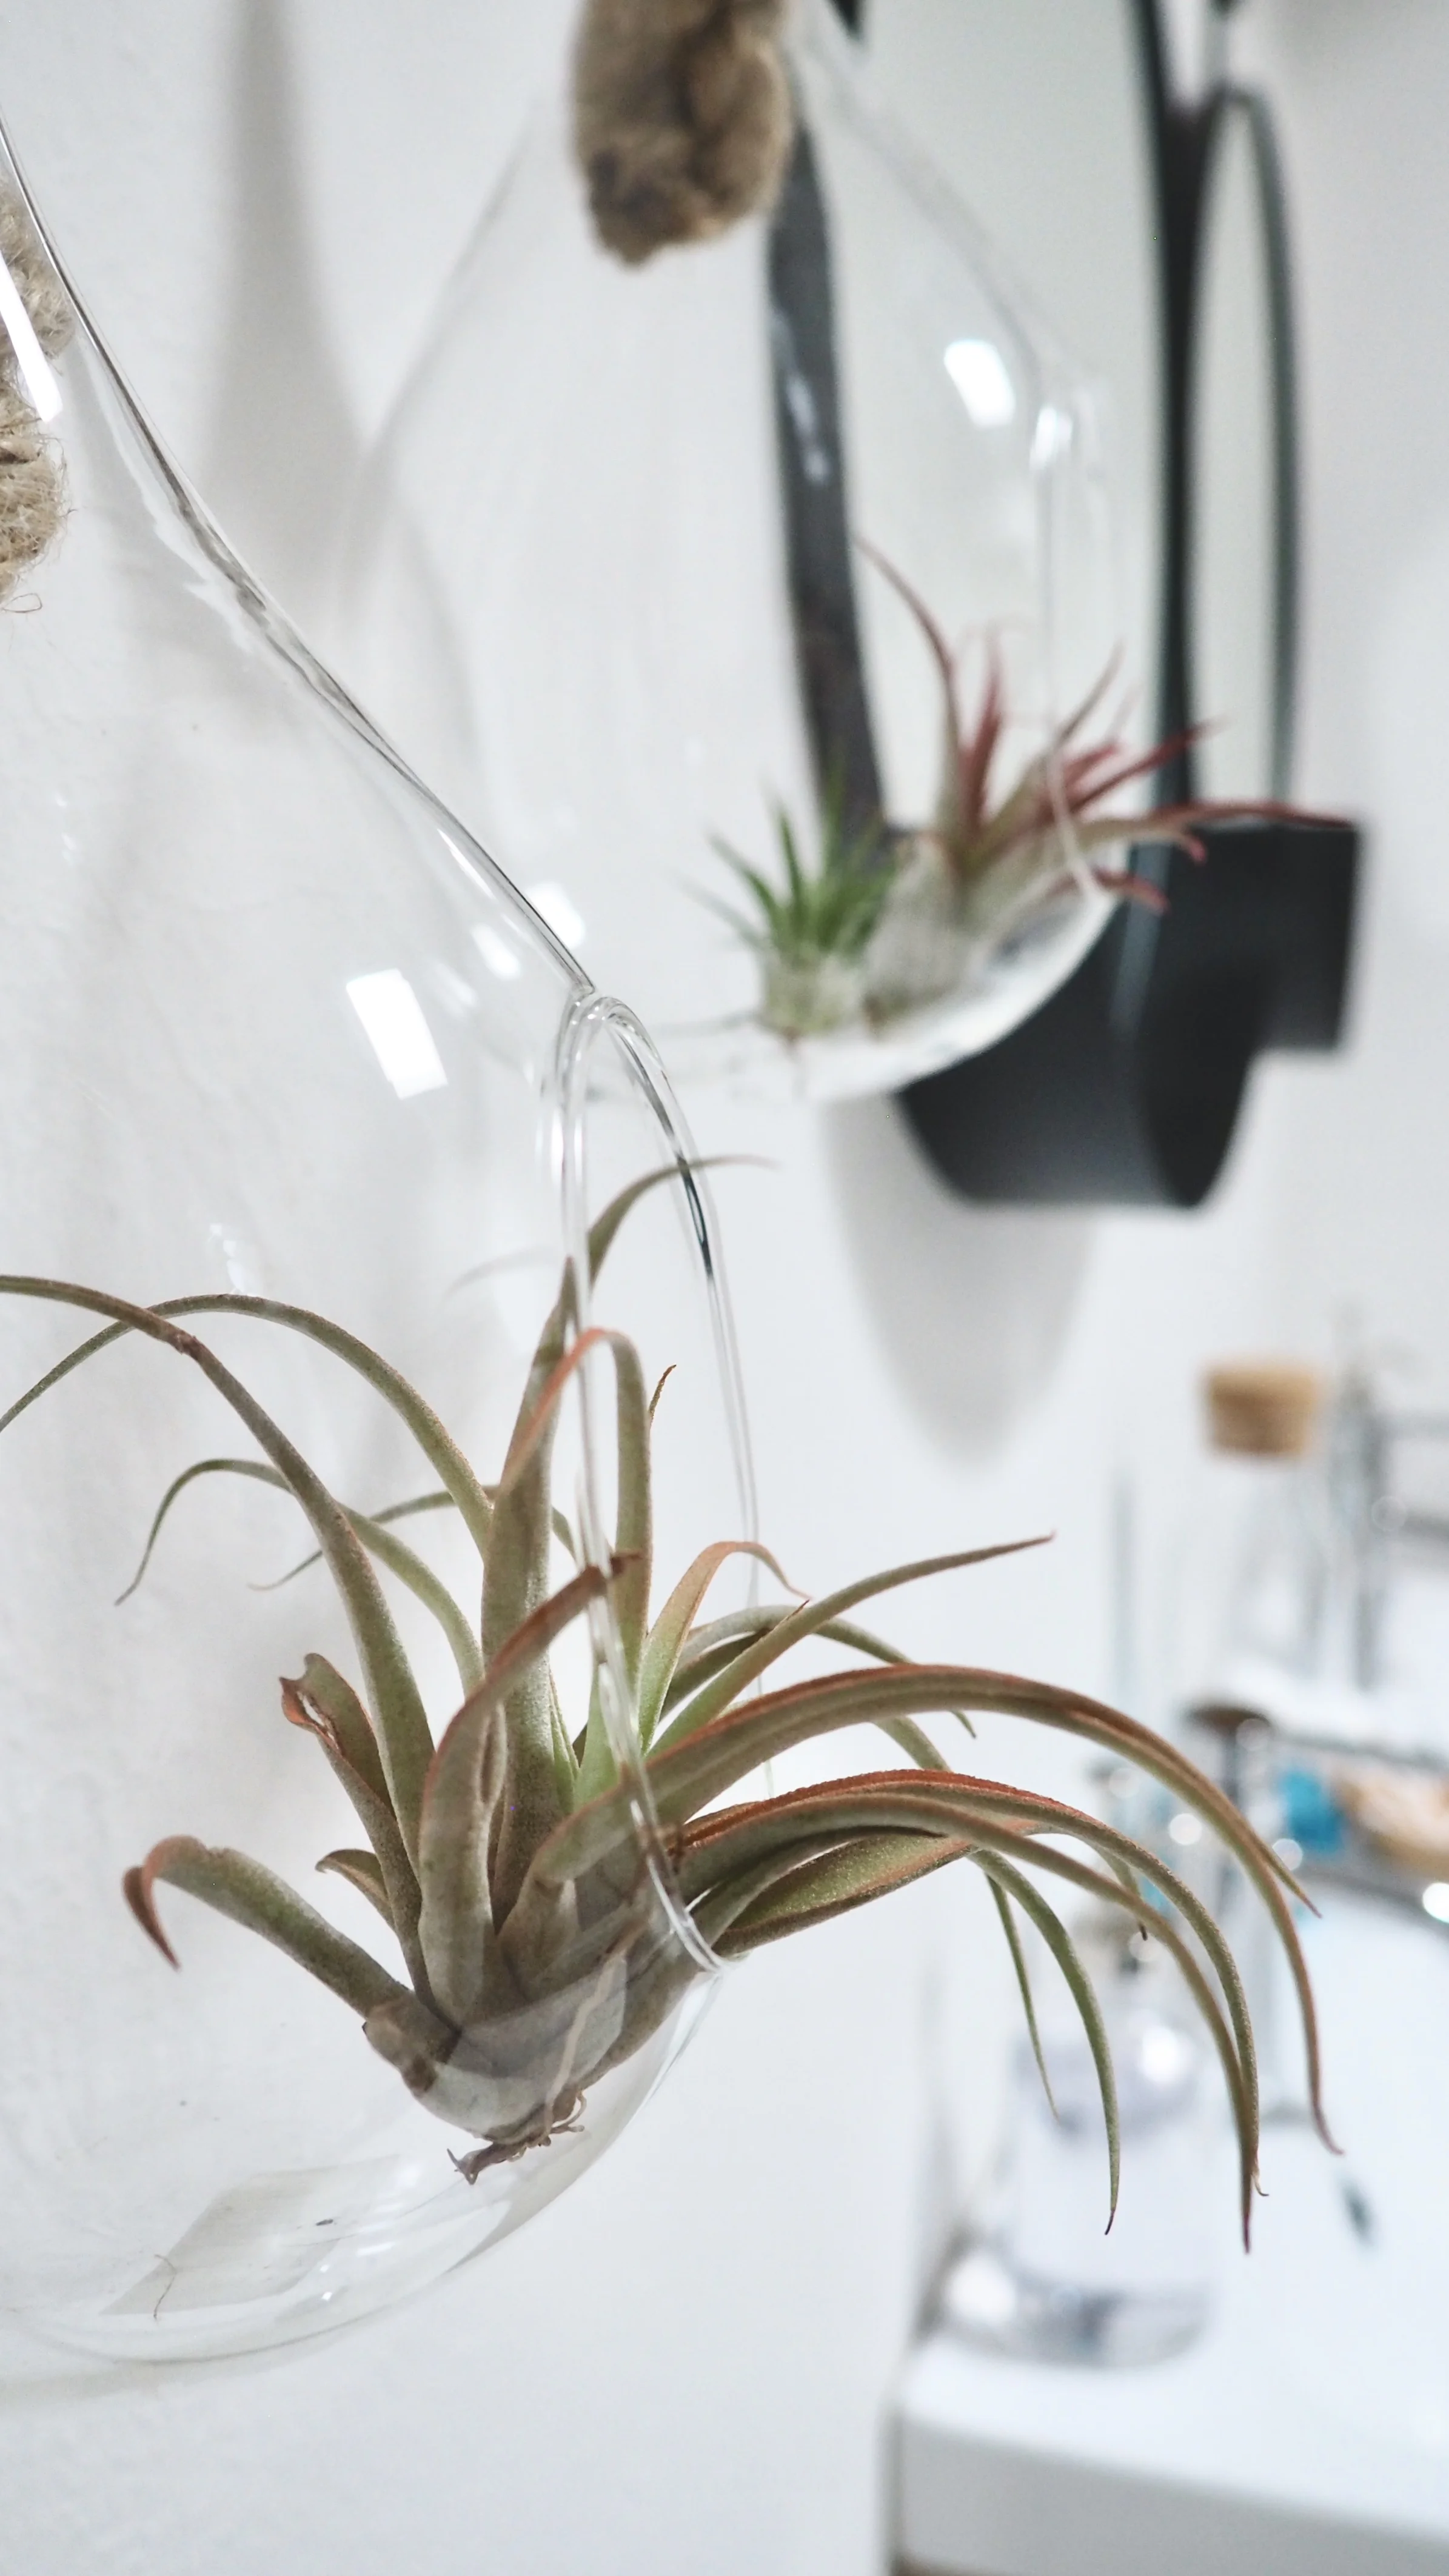
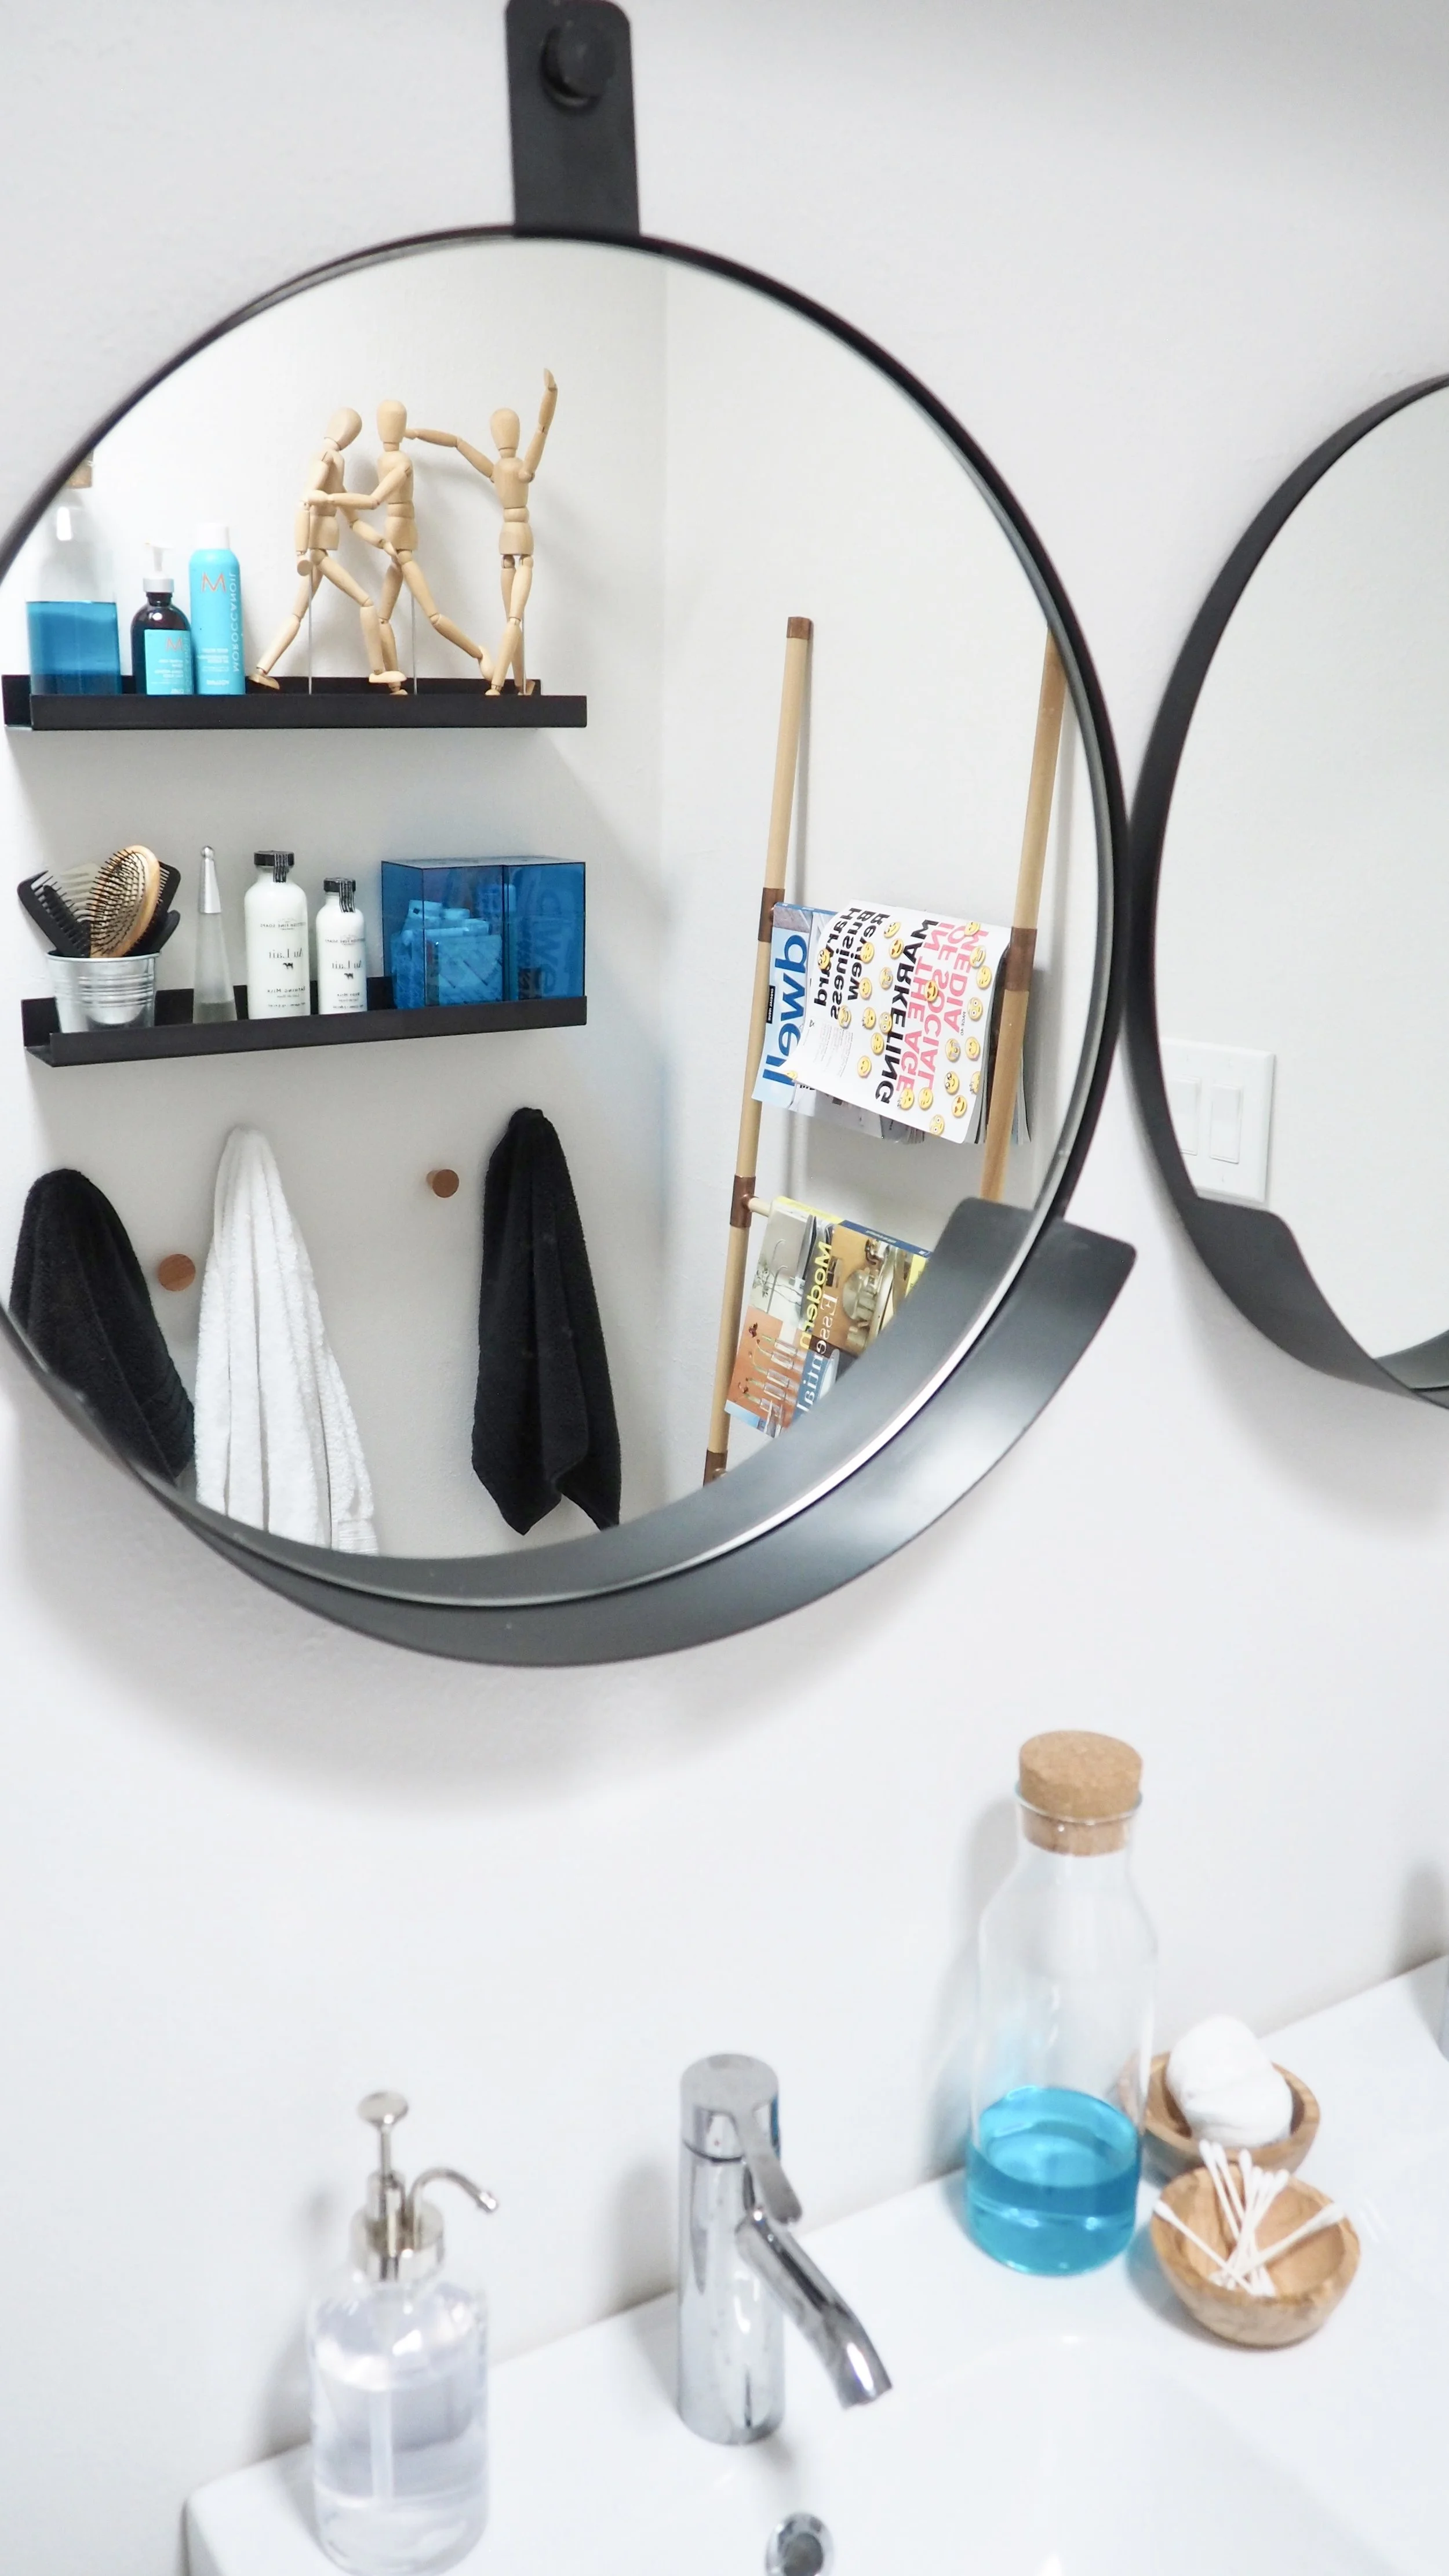
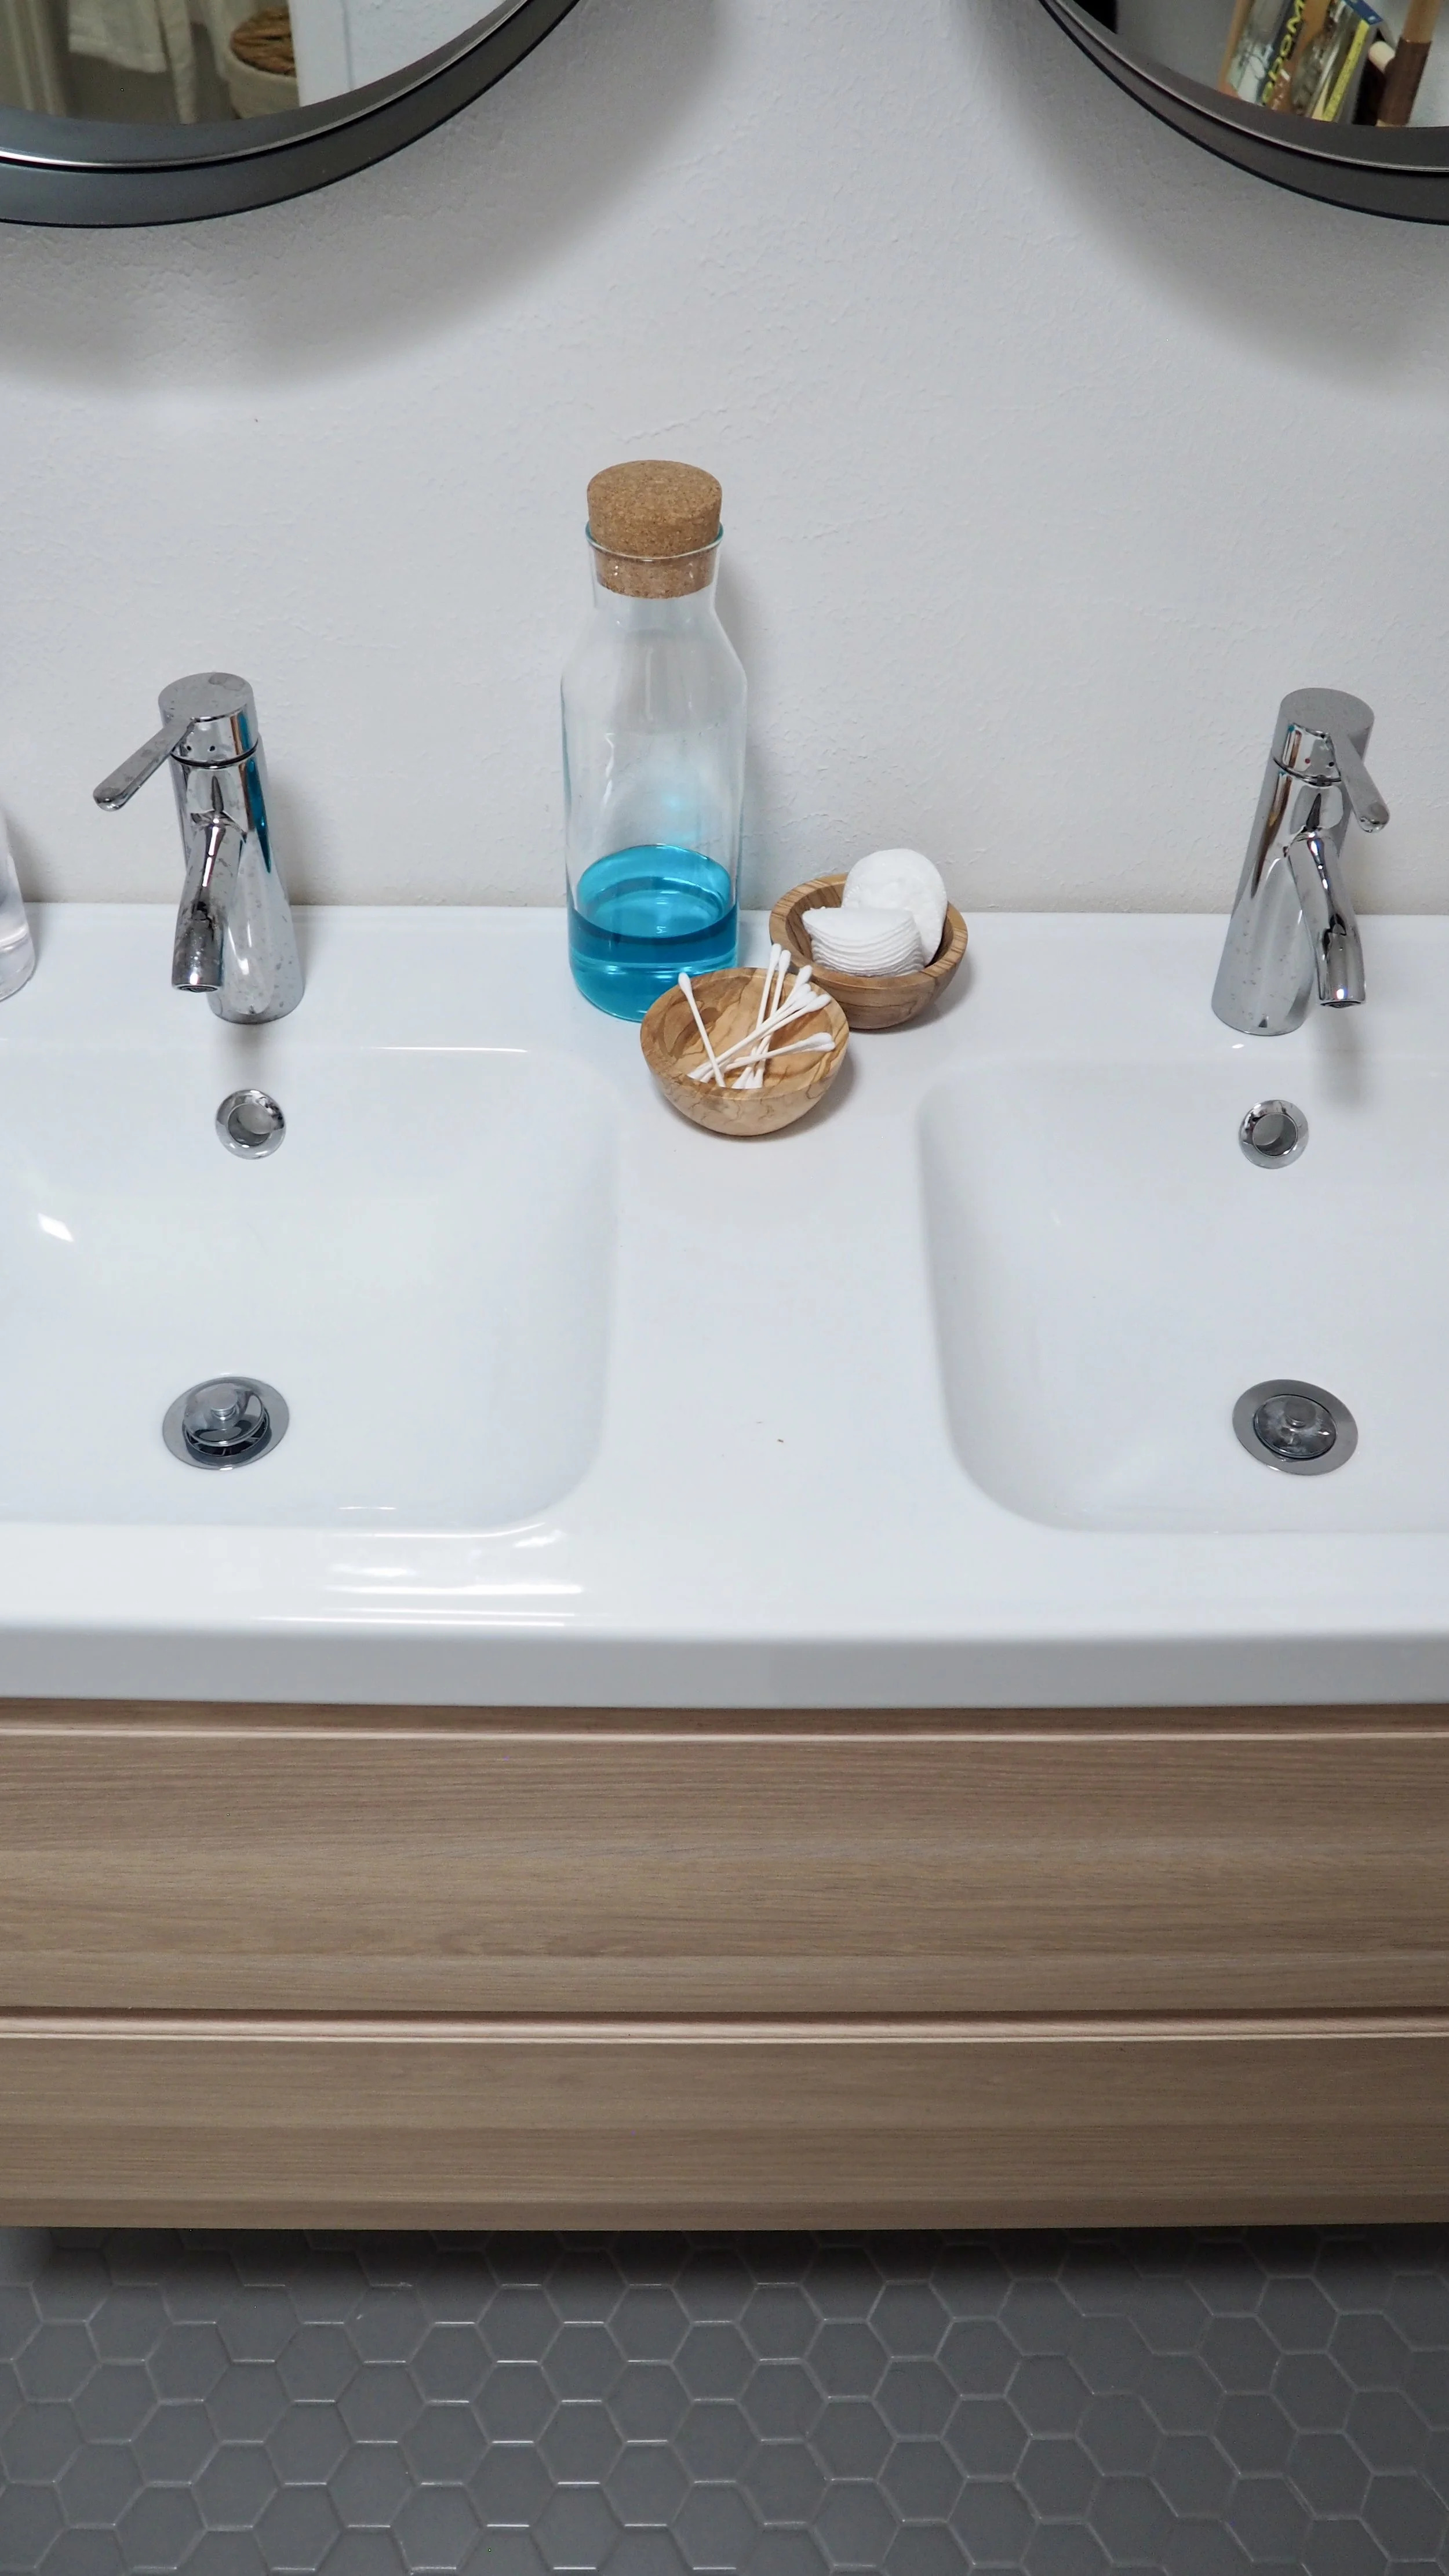
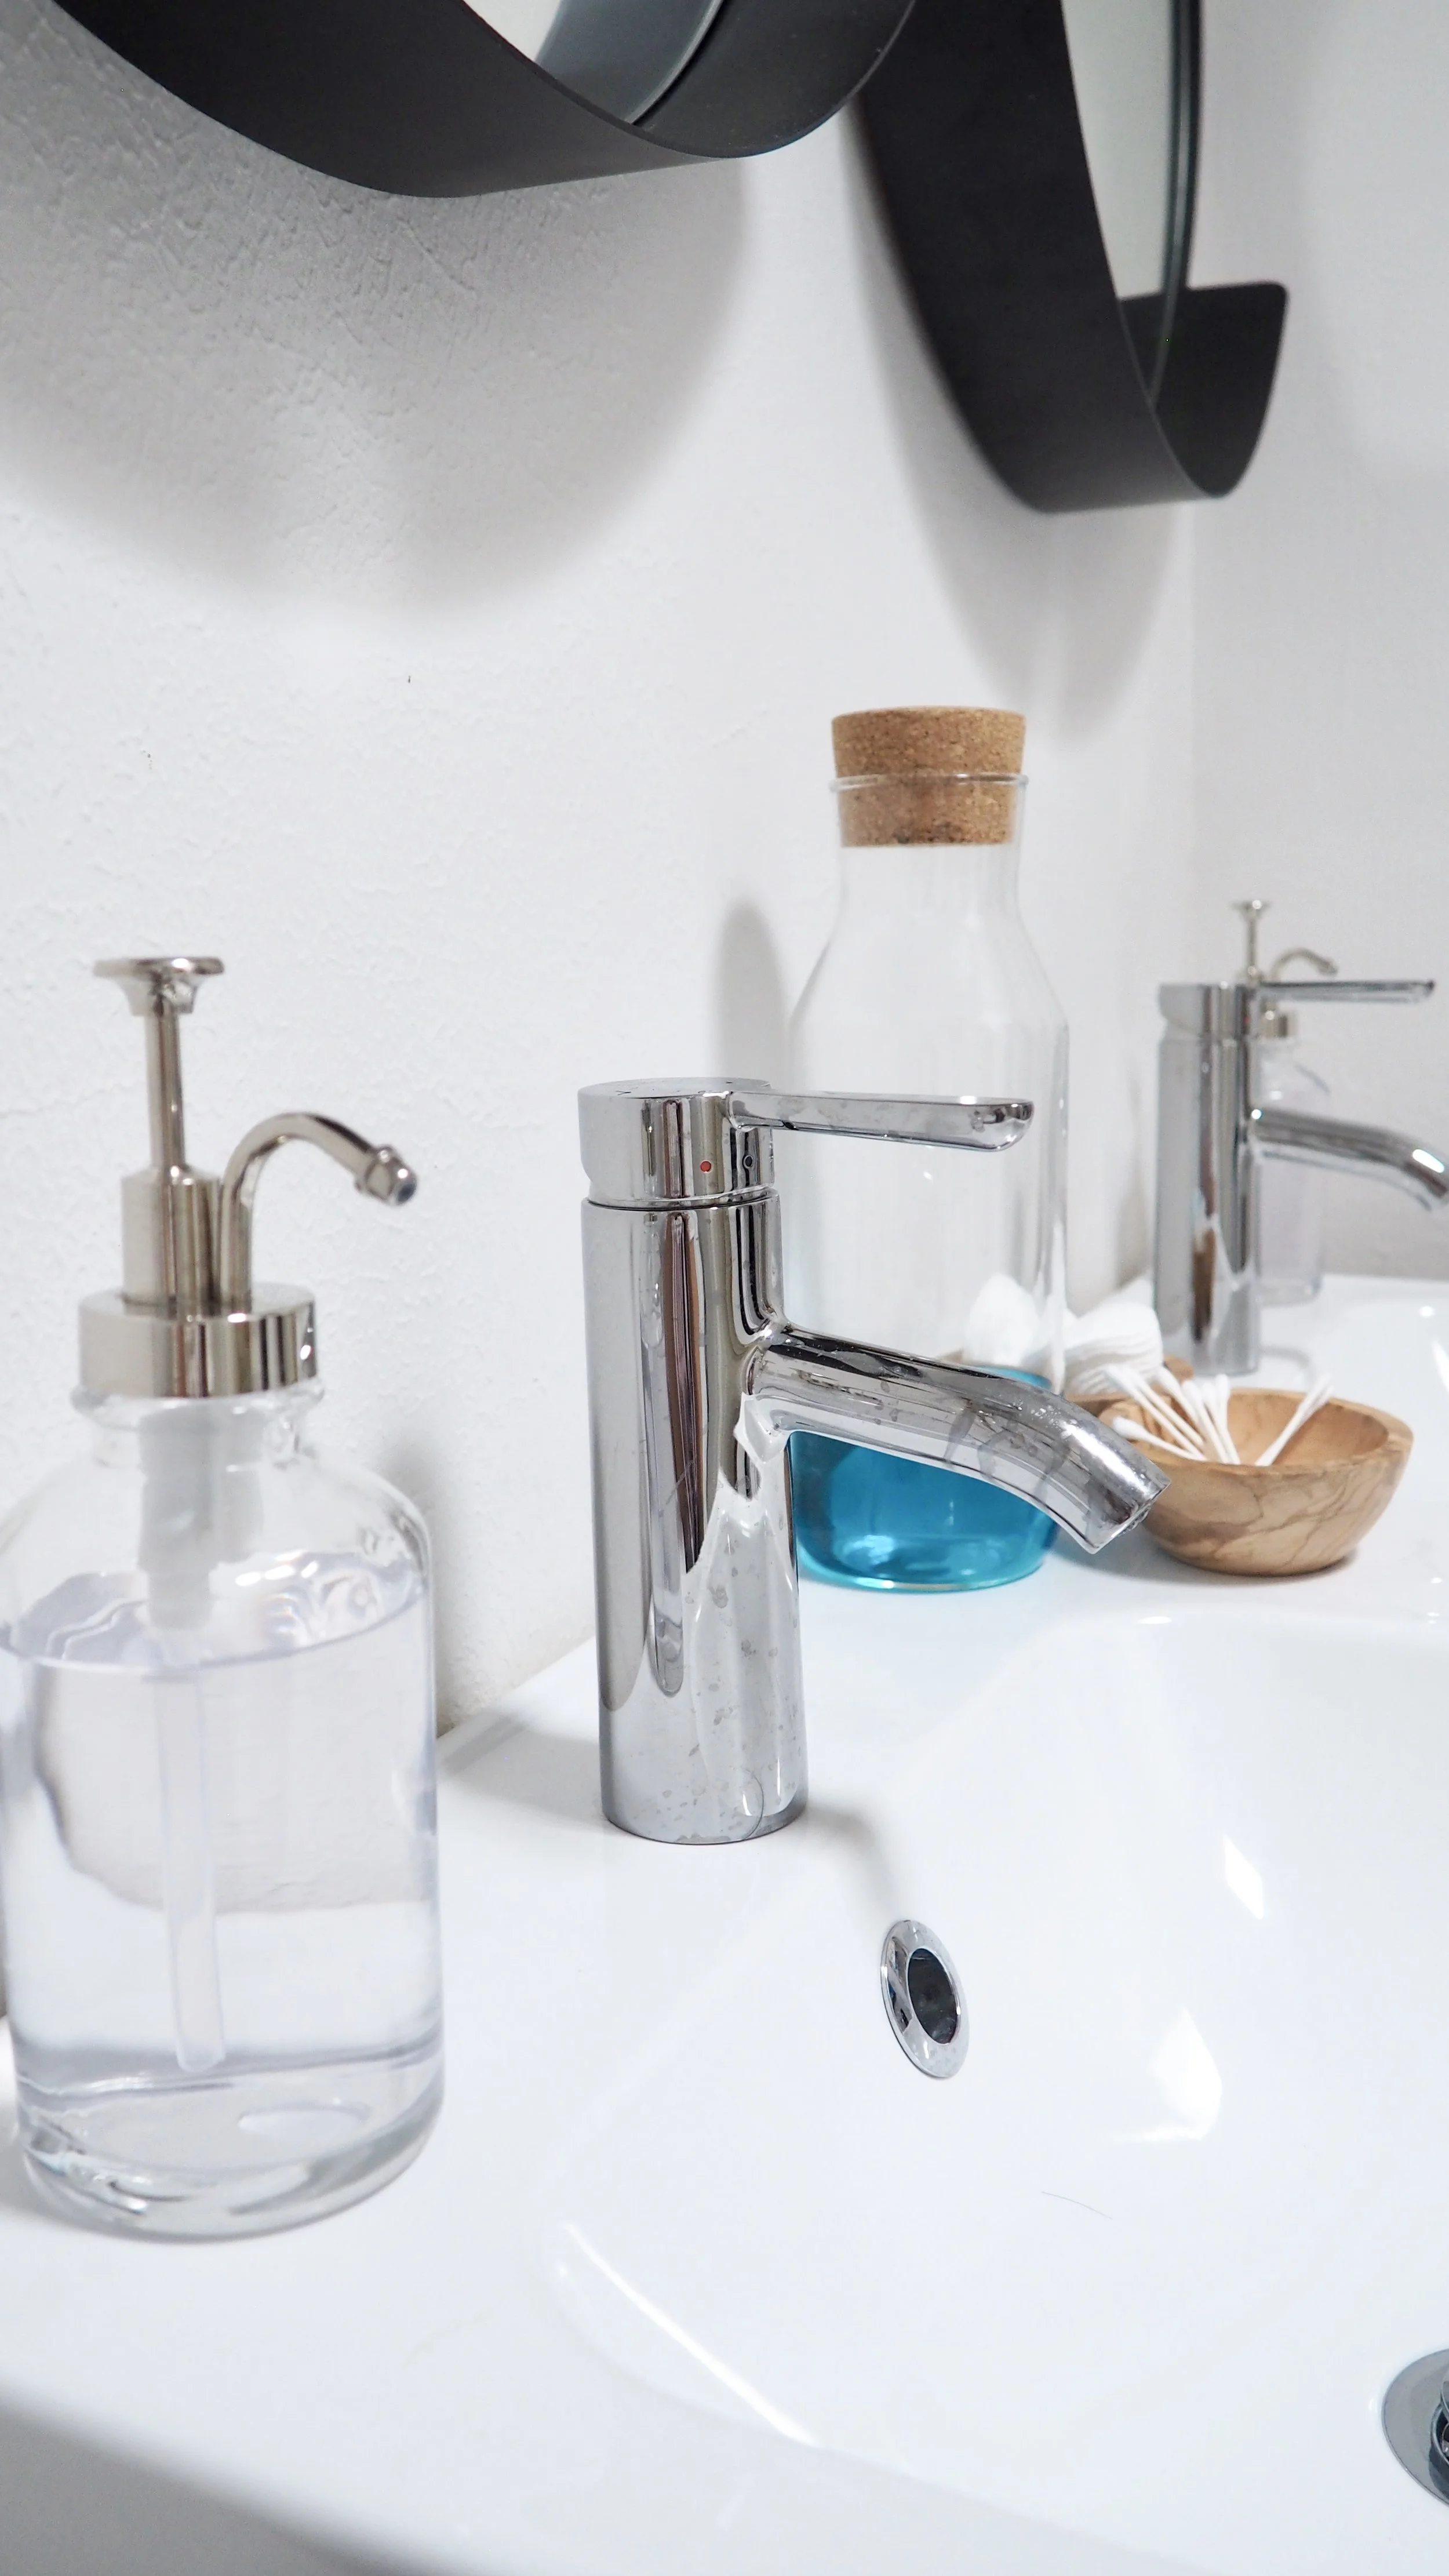
Things that are easy to do (for us, anyways) included painting, hanging things, installing mirrors, lights, switches, shelves, shower rods, etc.
Things that are easy to do for more advanced DIY-ers (not us :): install electrical (e.g. fan), fix drywall, etc.
Things I would always outsource, even if I am tempted not to: tiling and plumbing.
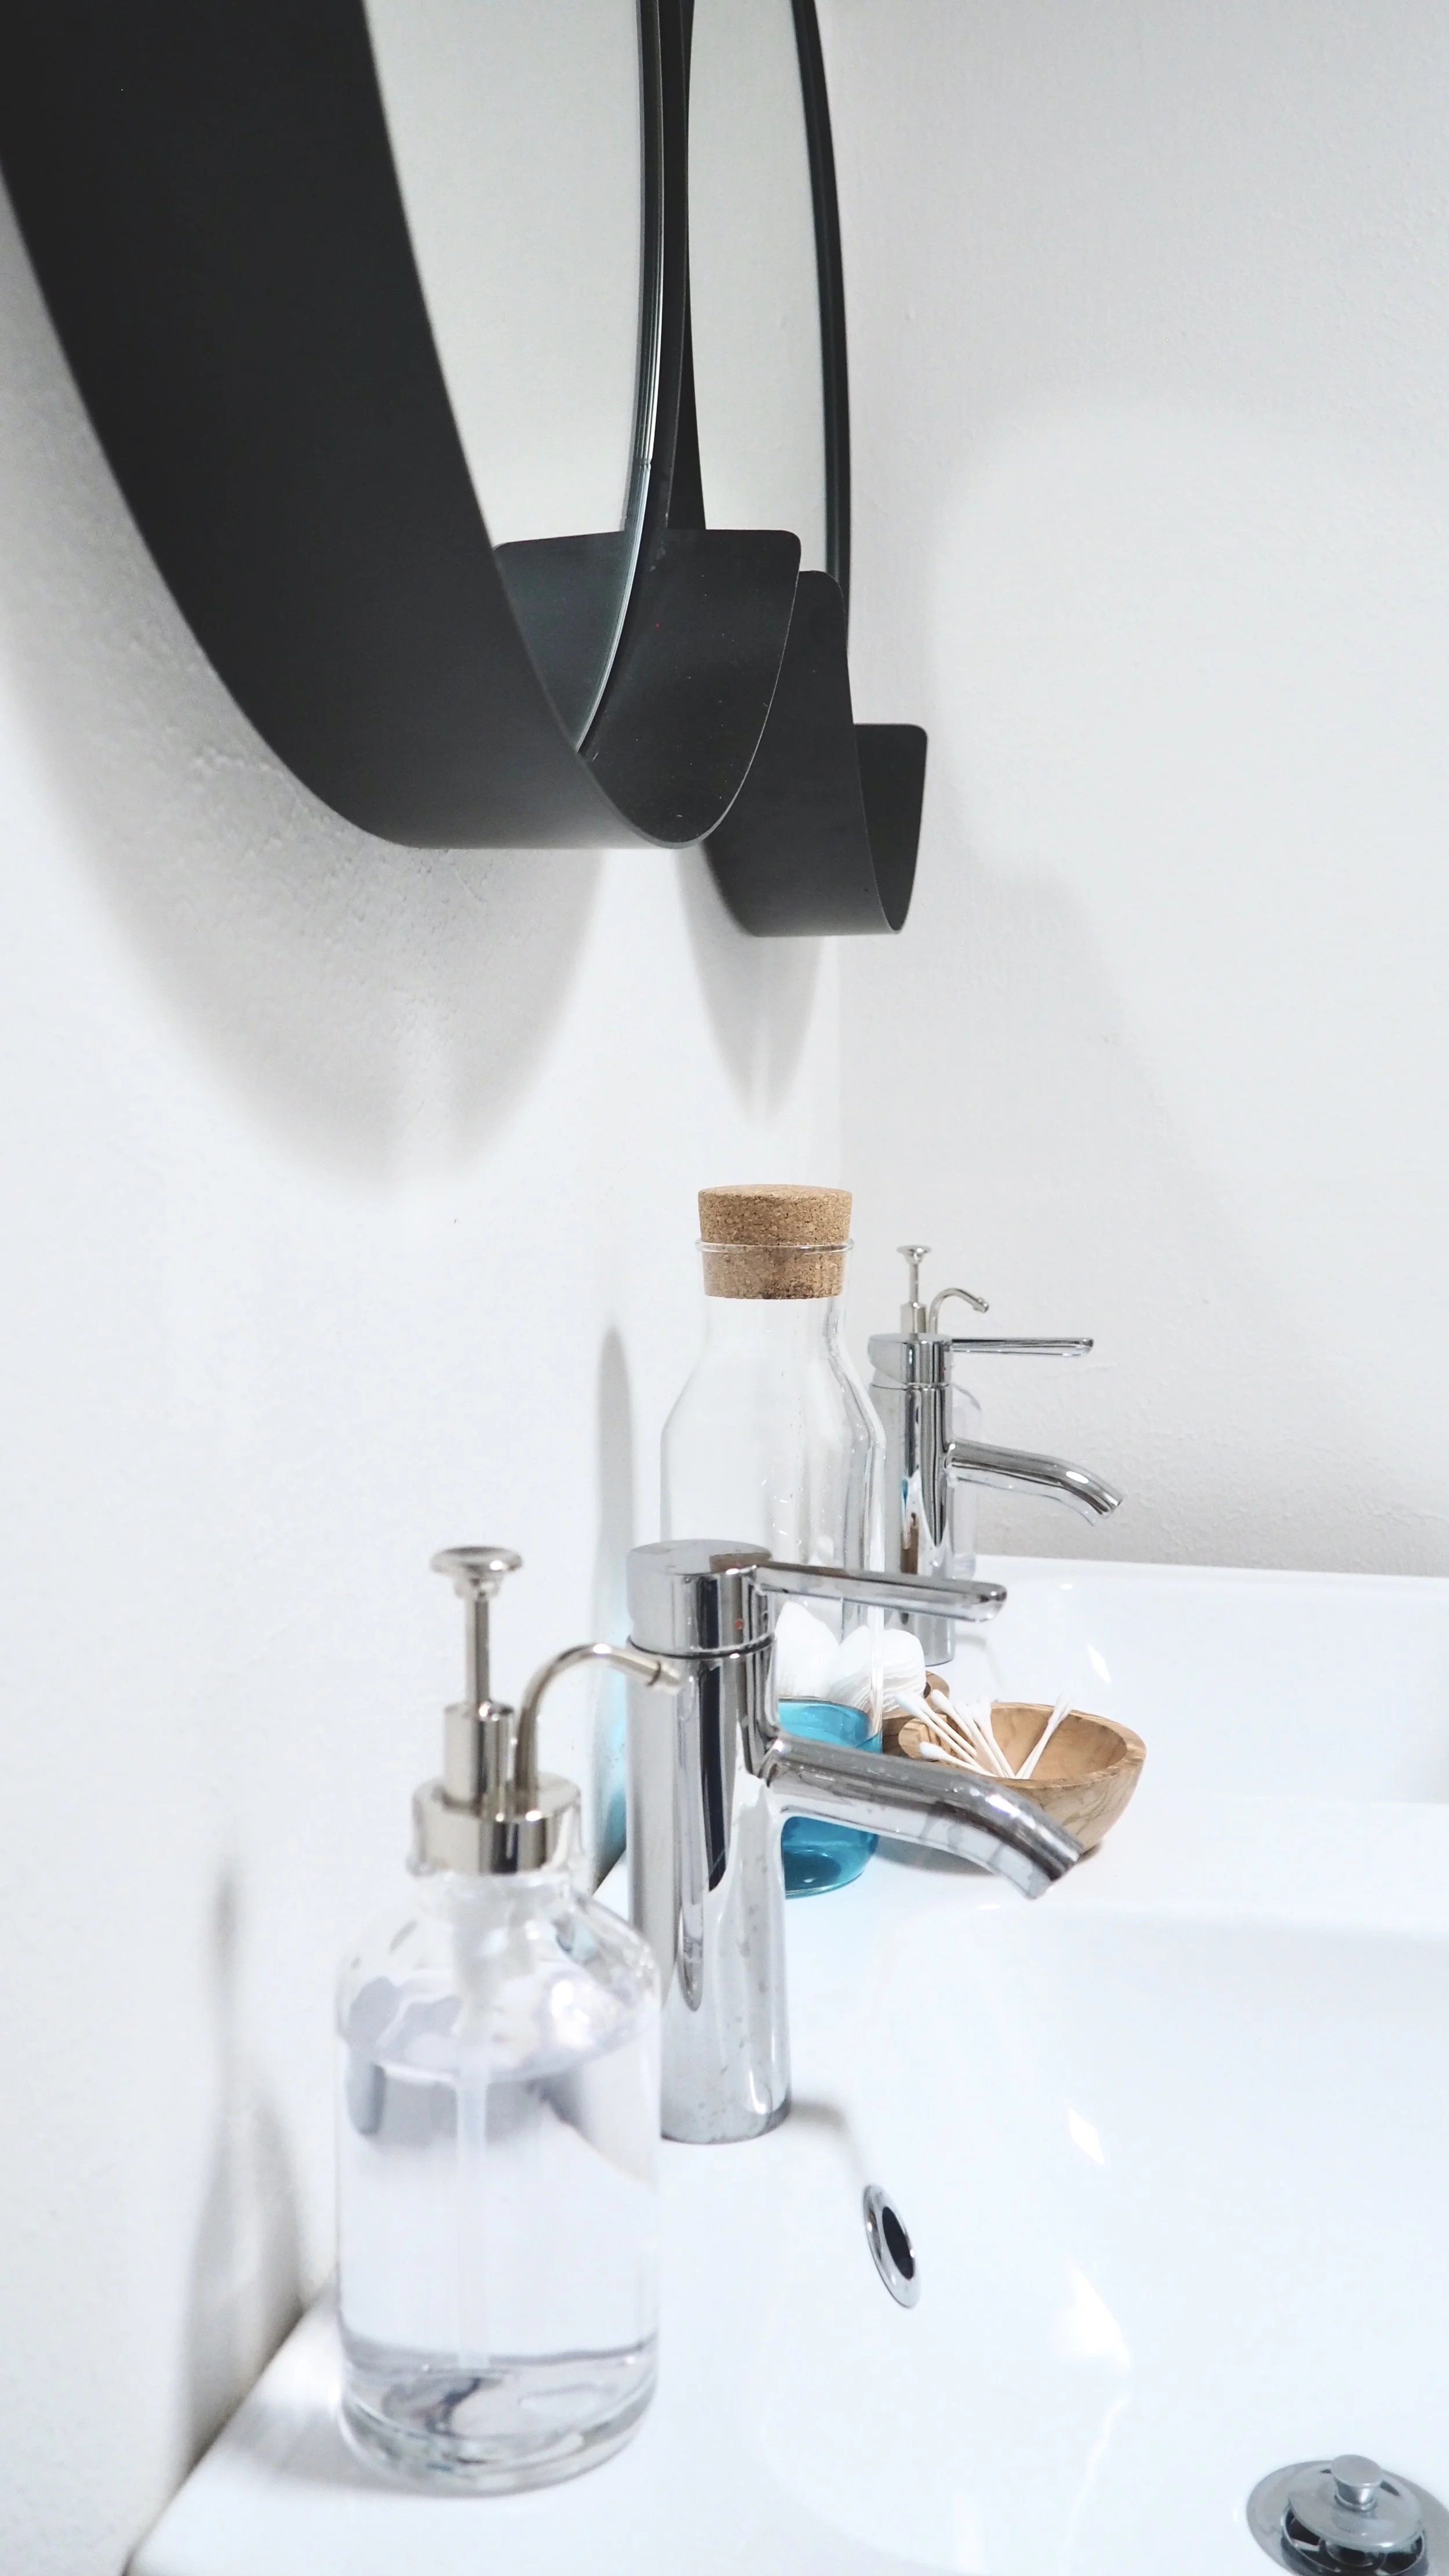
3. Know where to splurge and where to save:
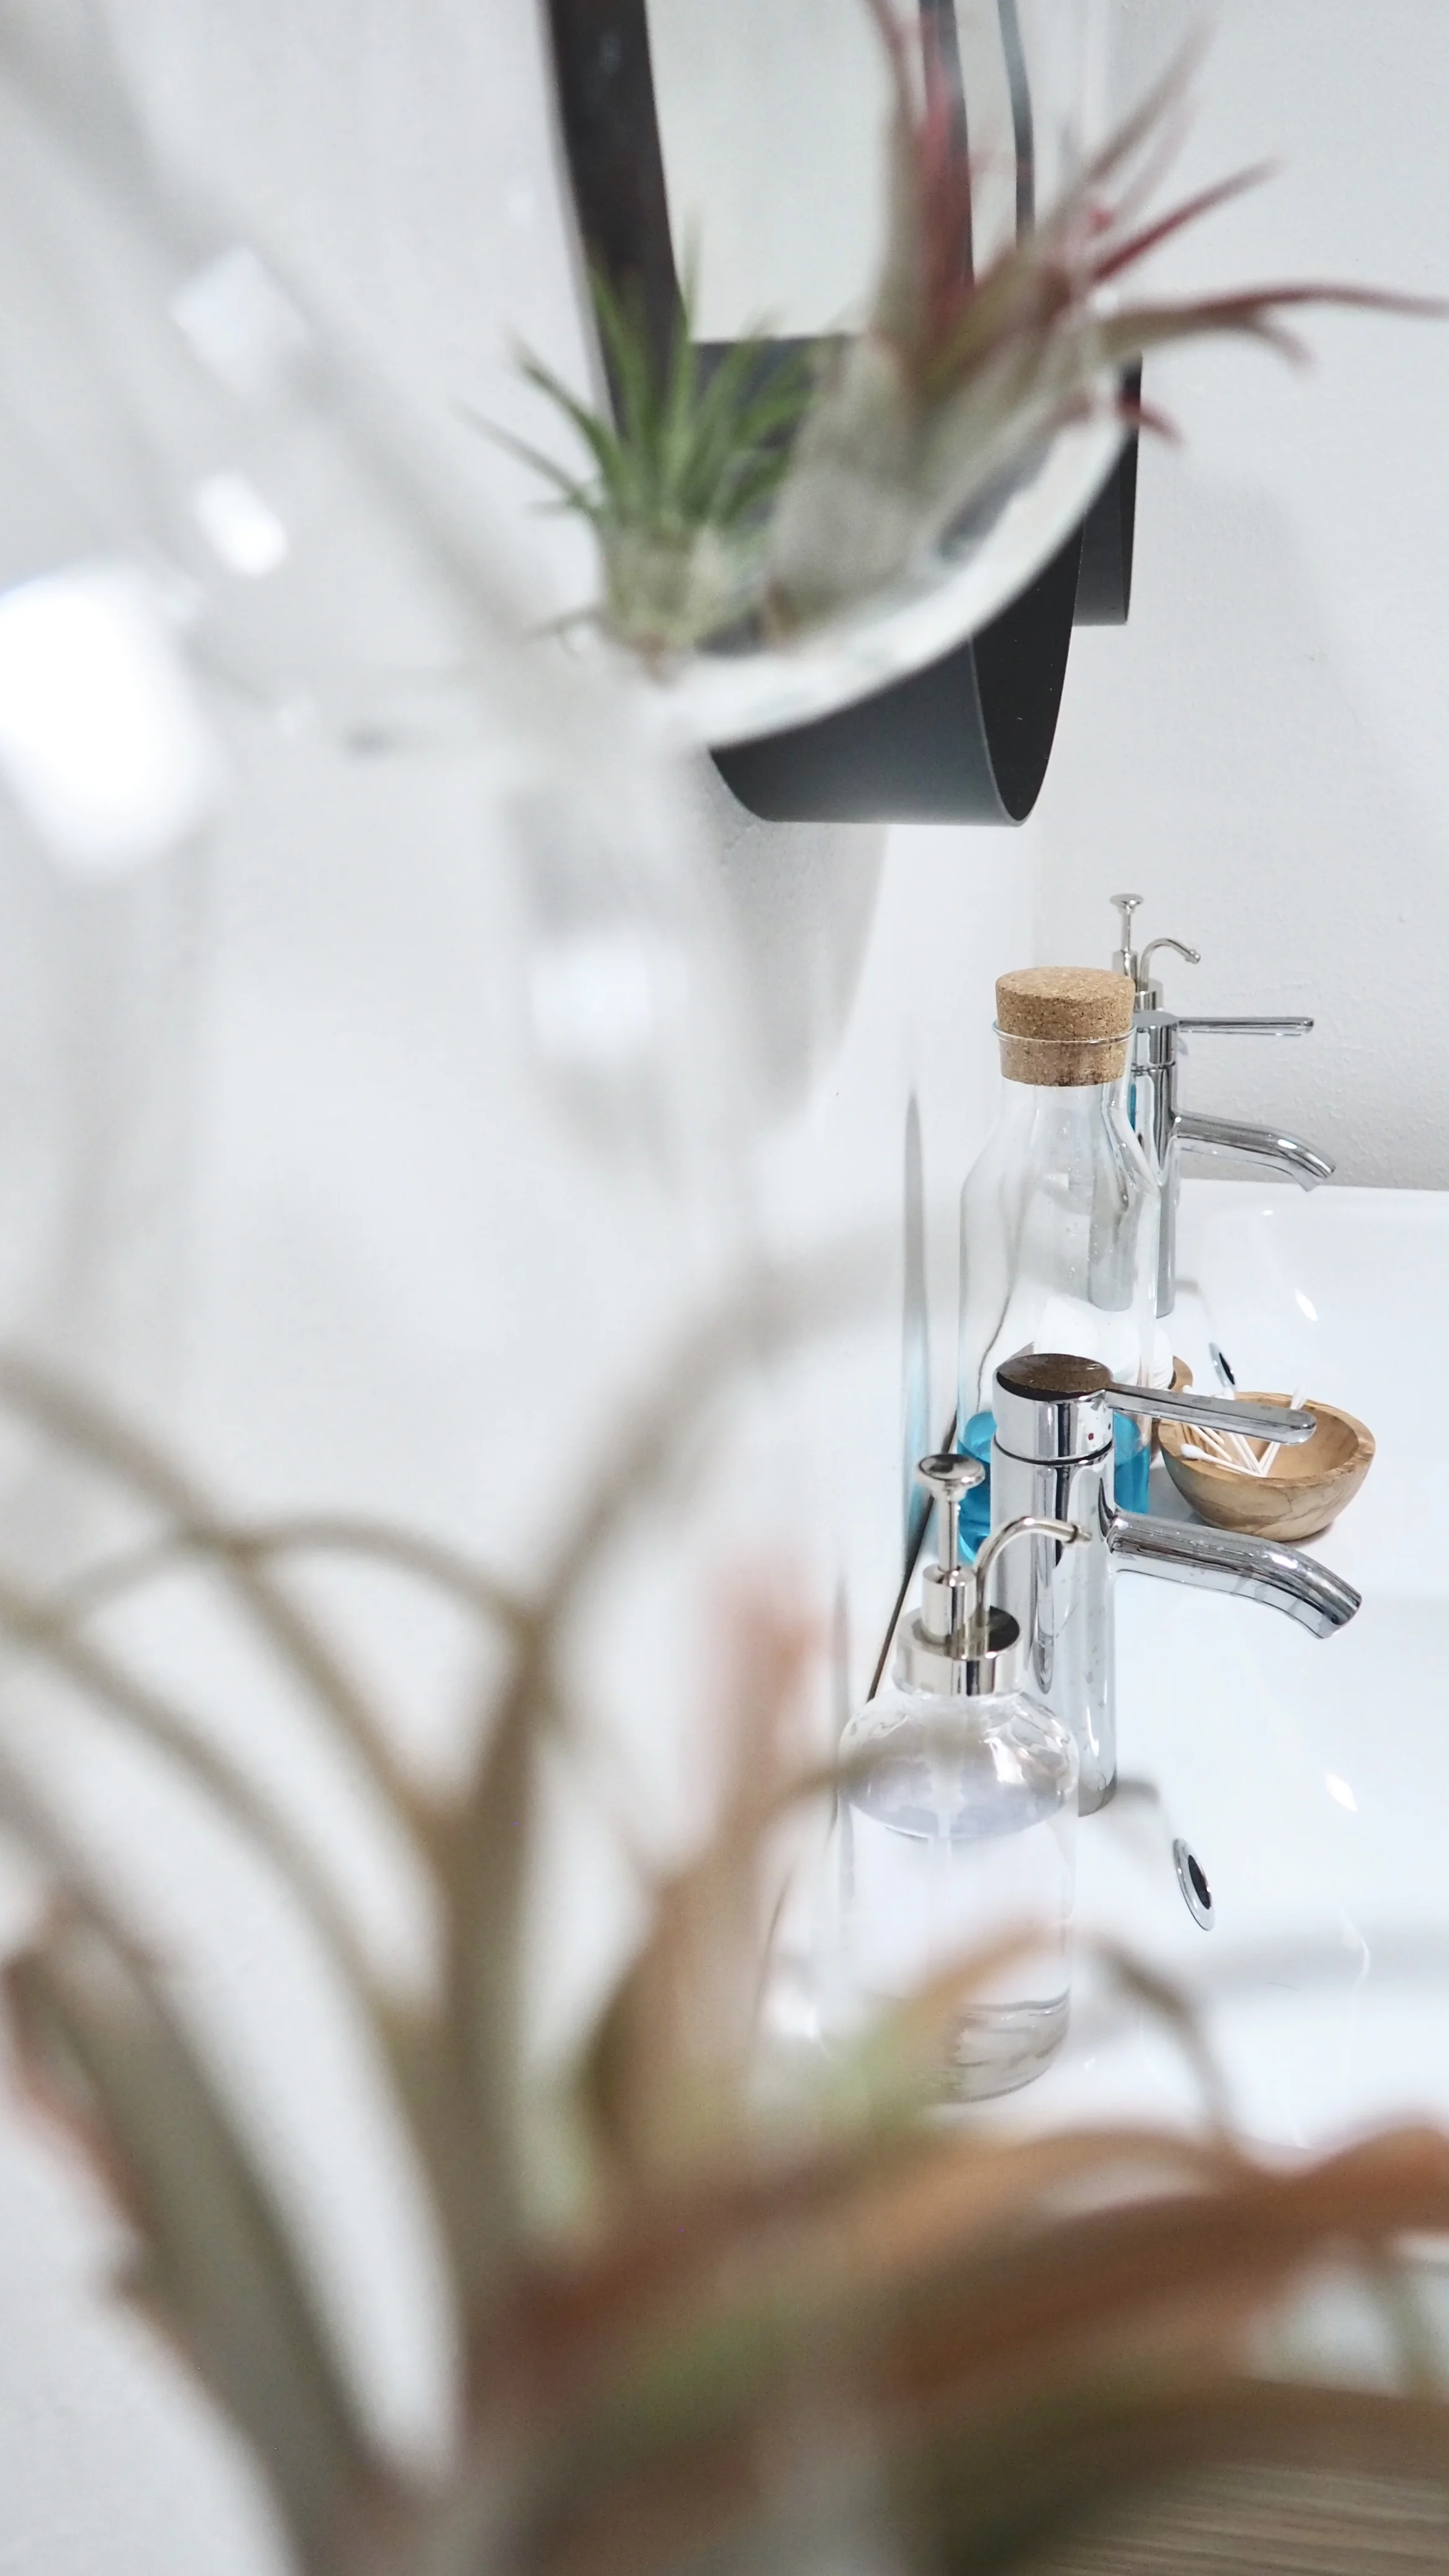
Things I will always splurge on are paint, tile (sometimes) and fixtures. These items tend to look their money!
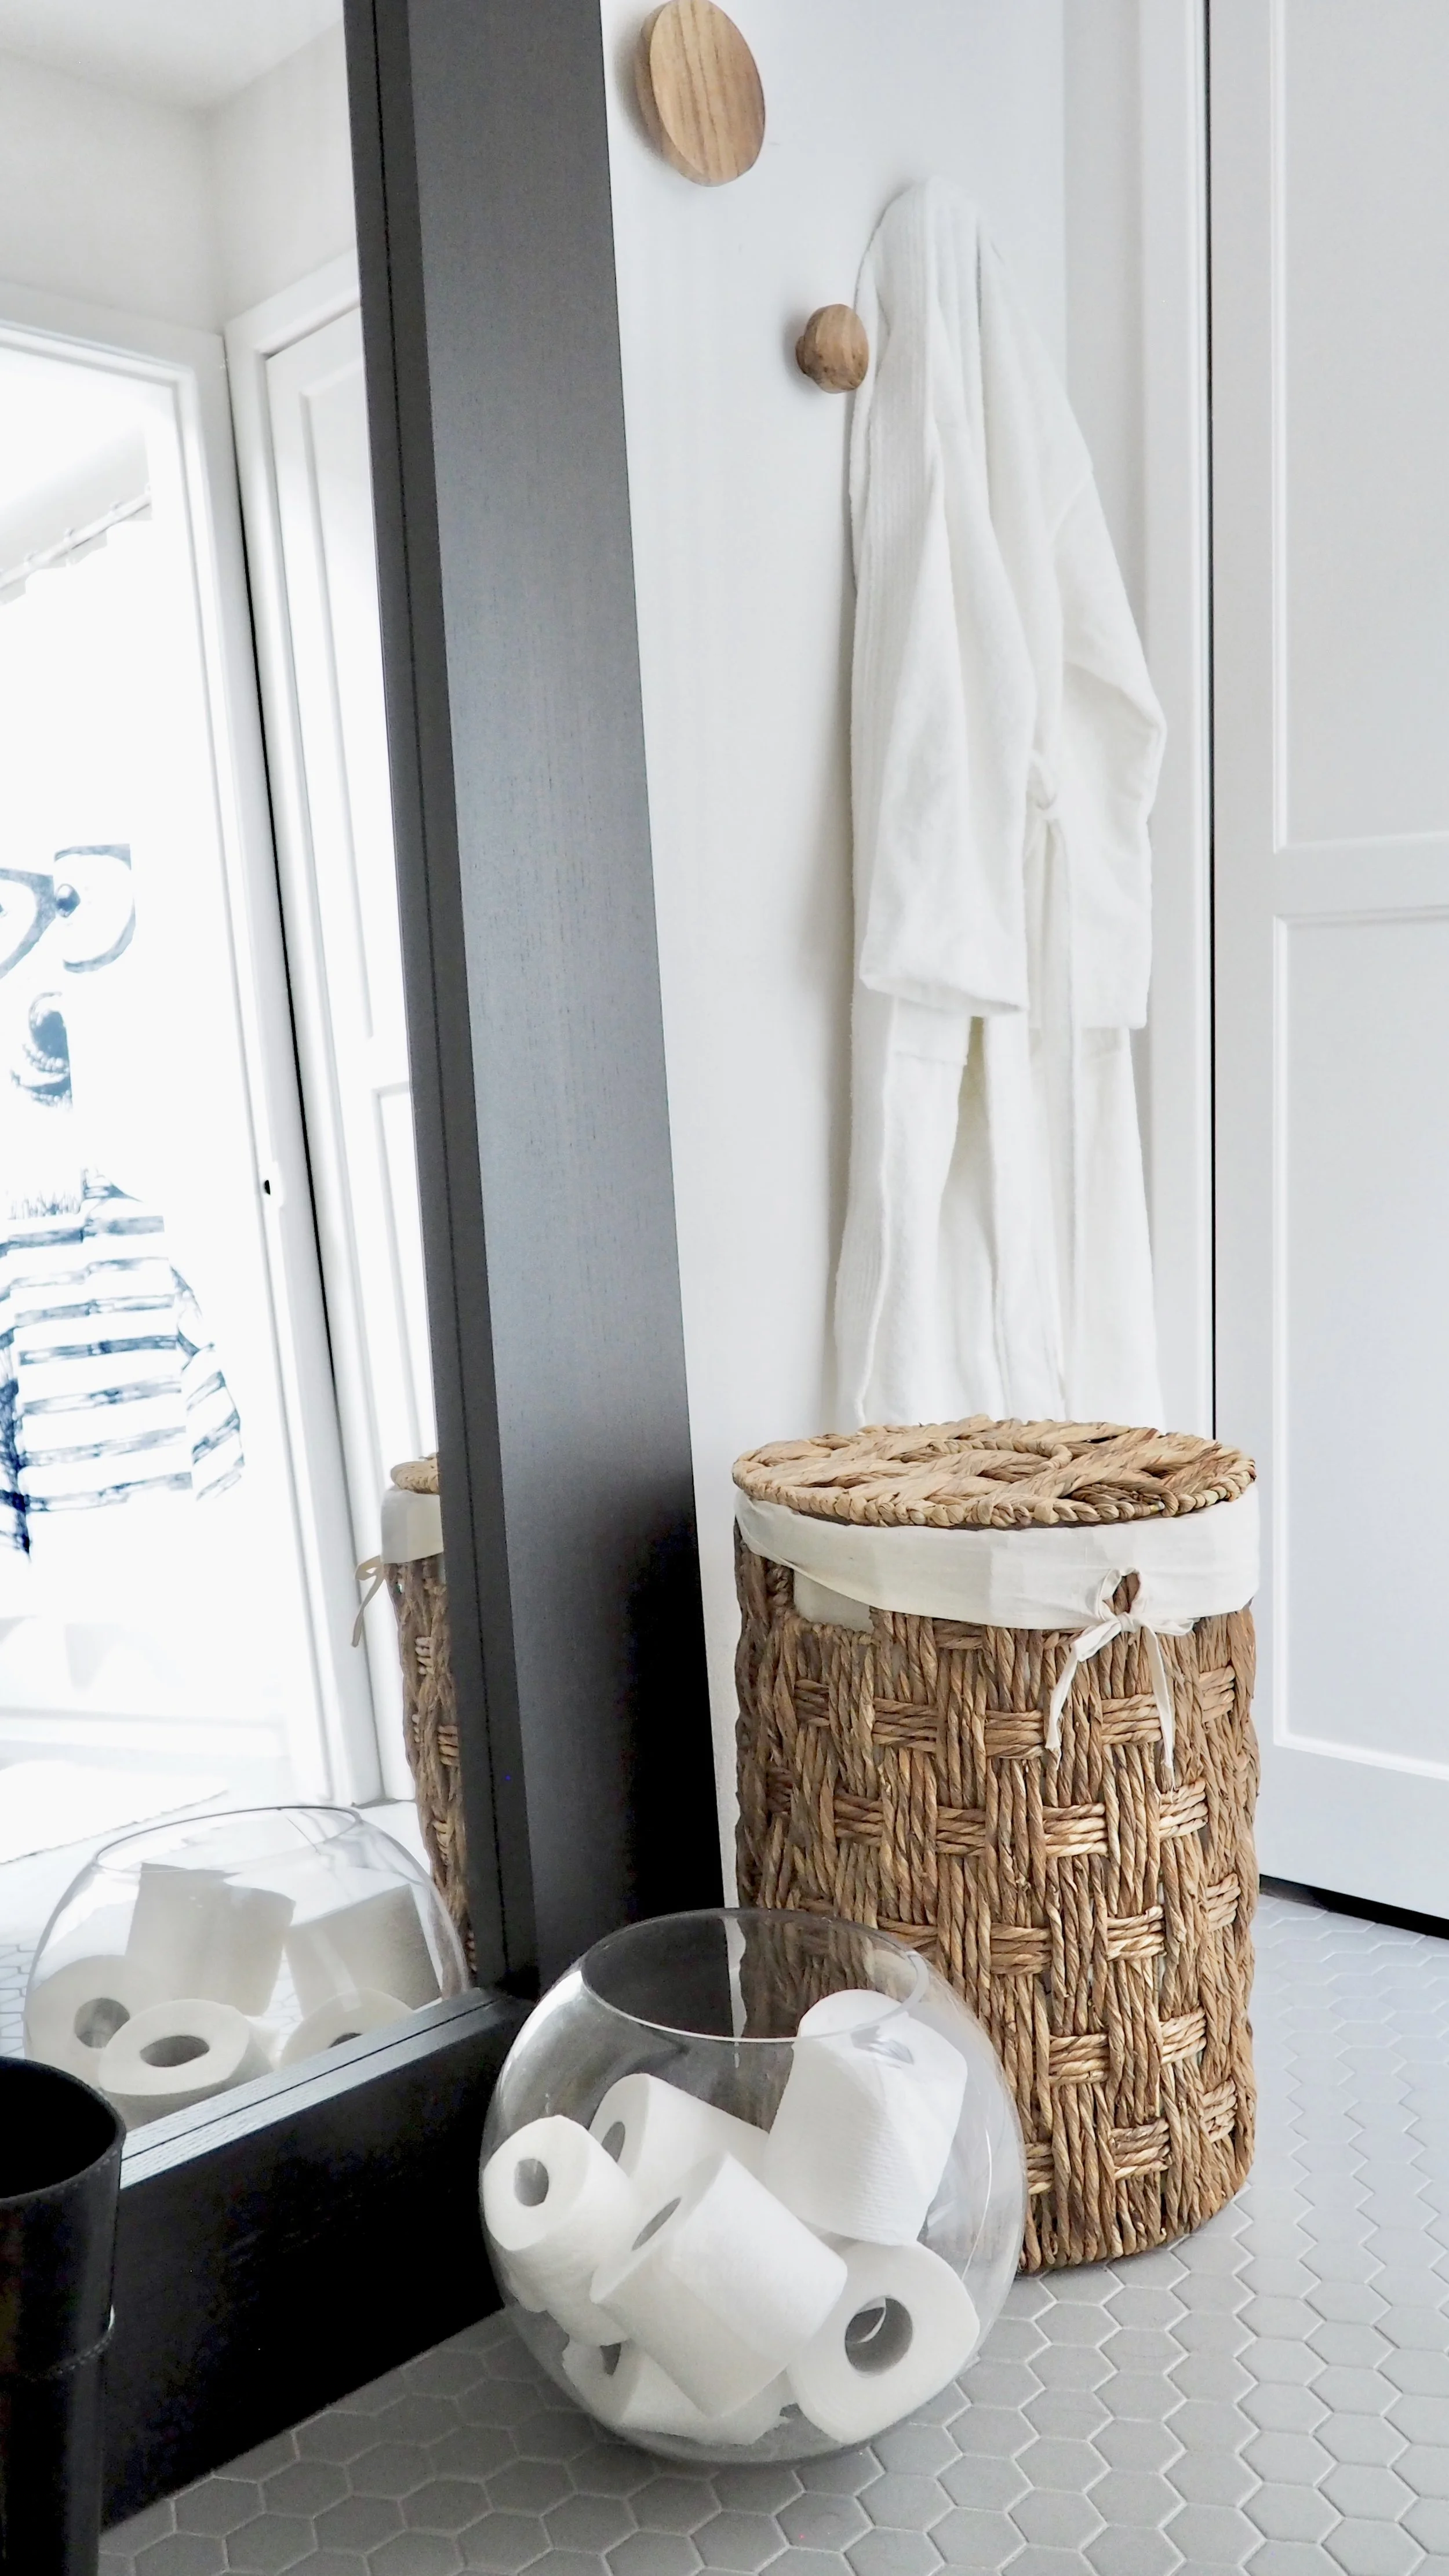
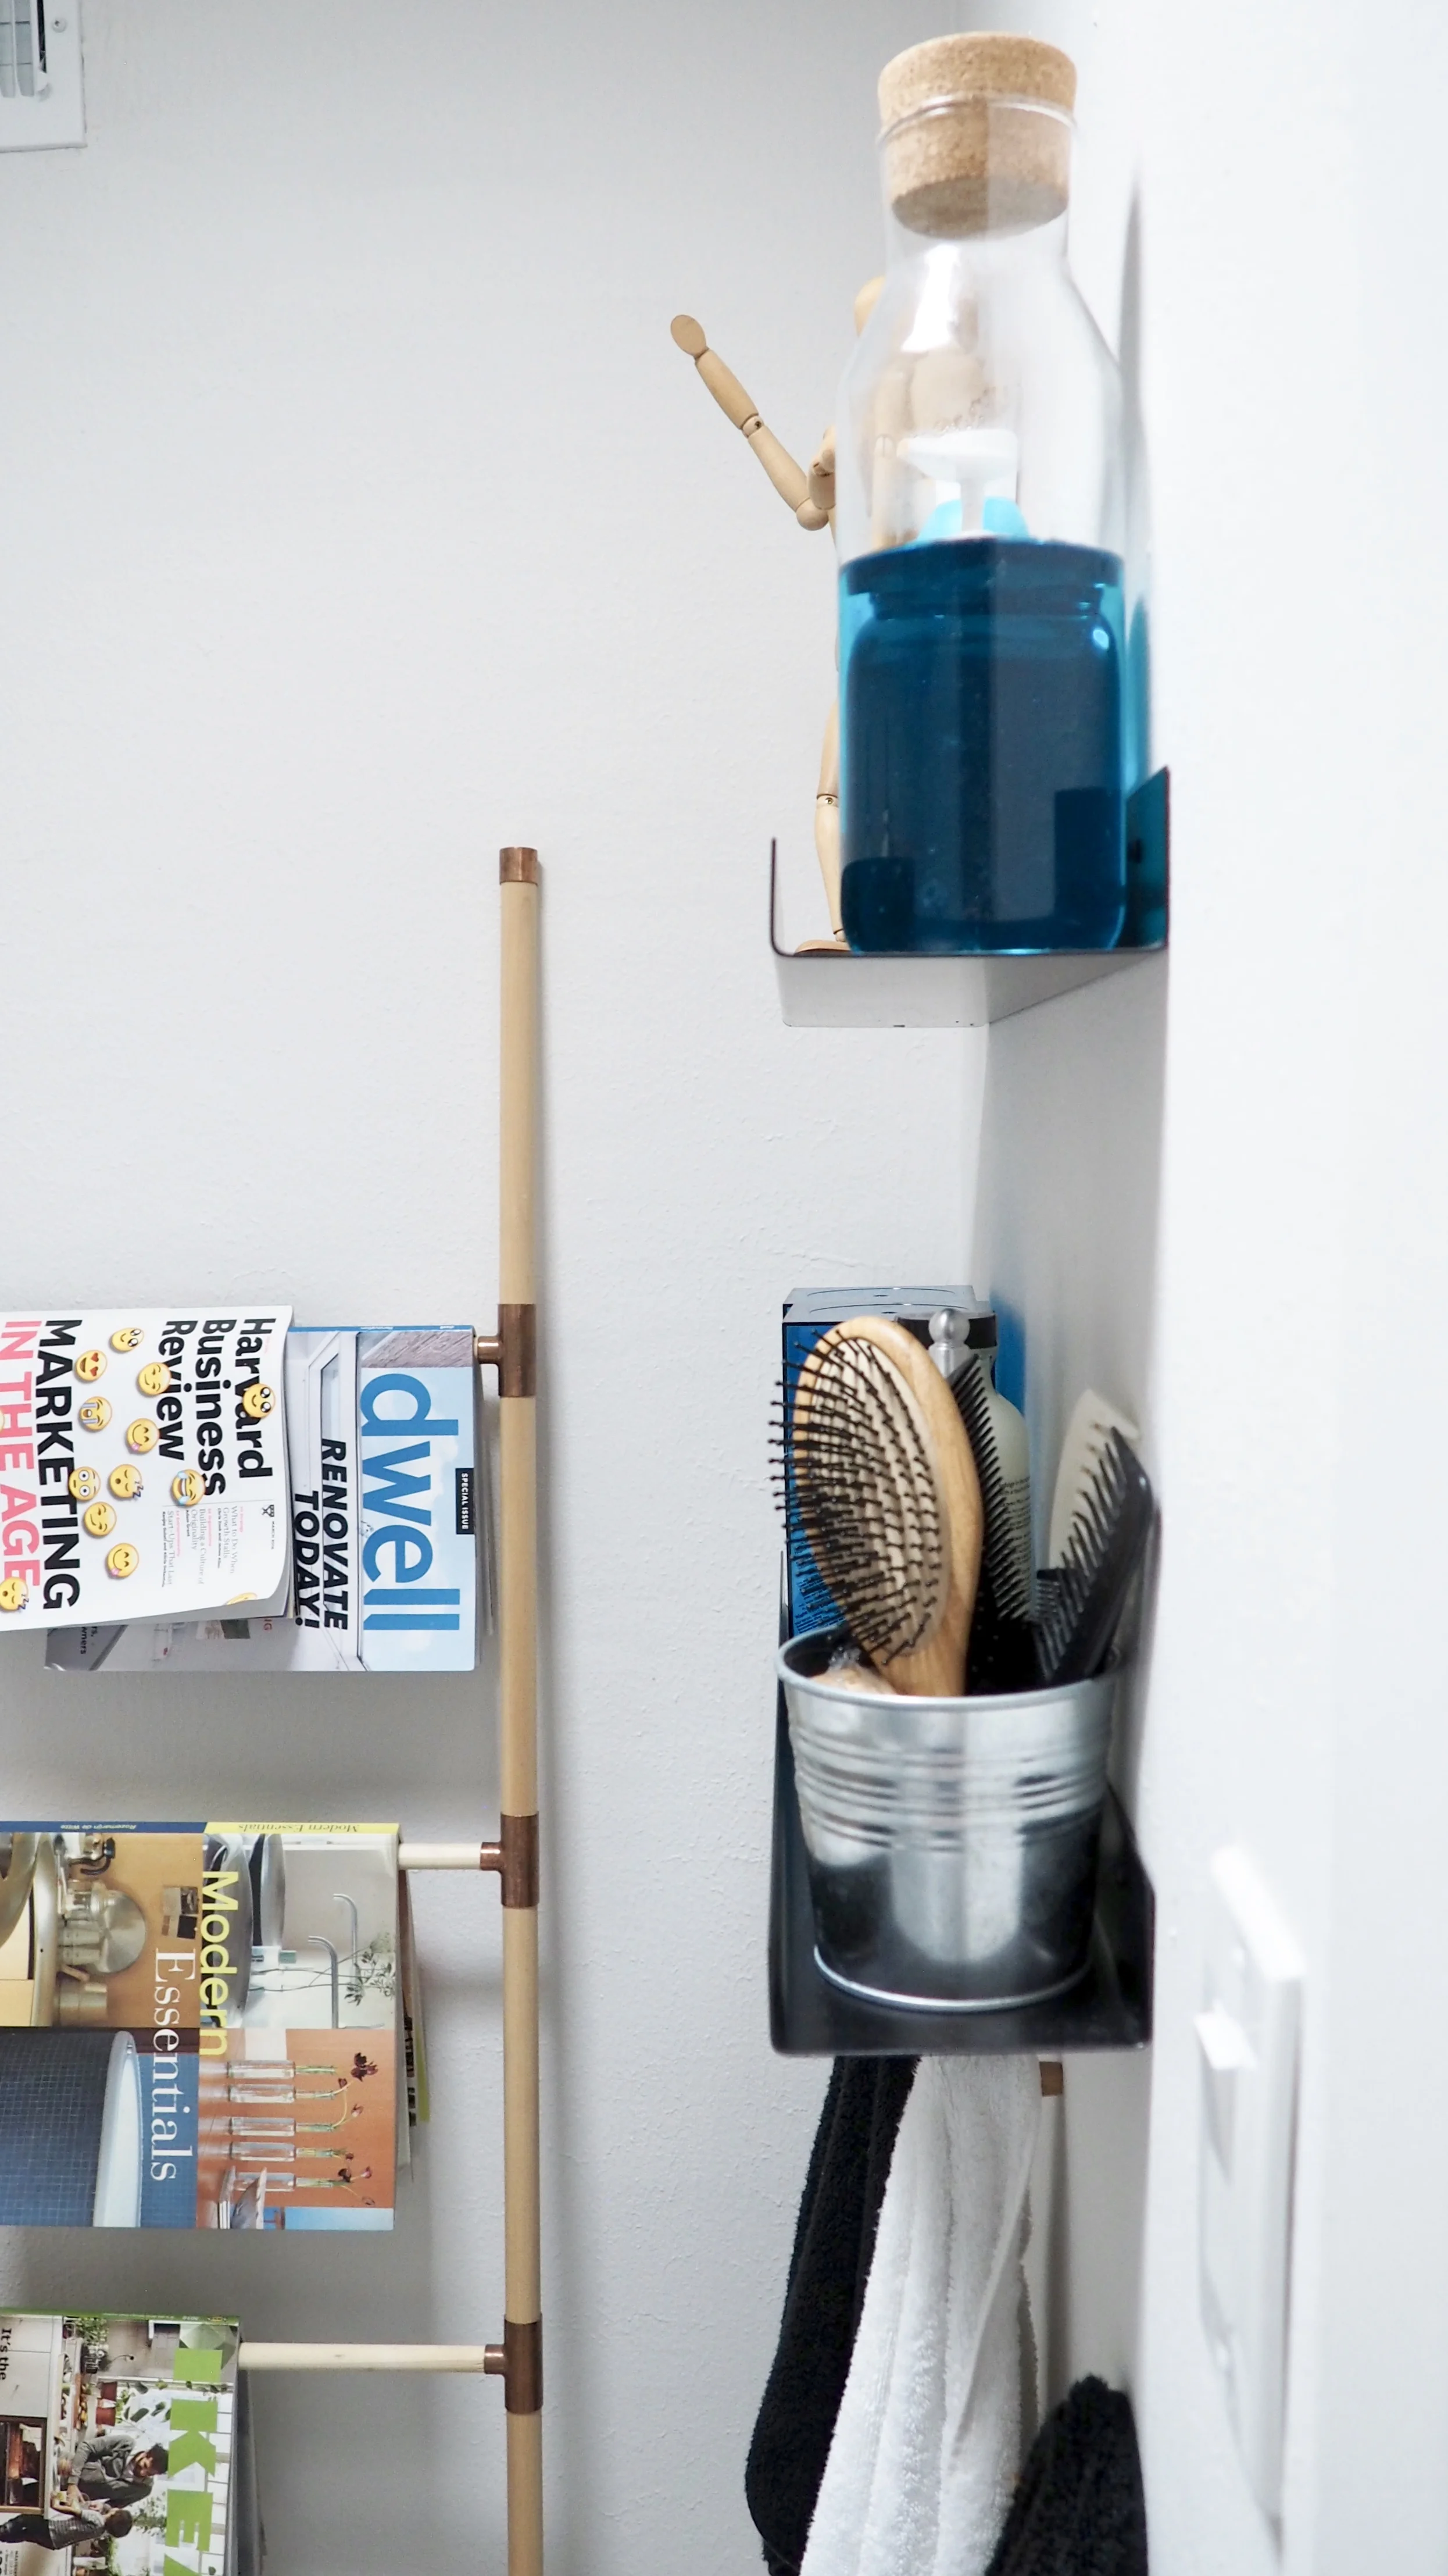
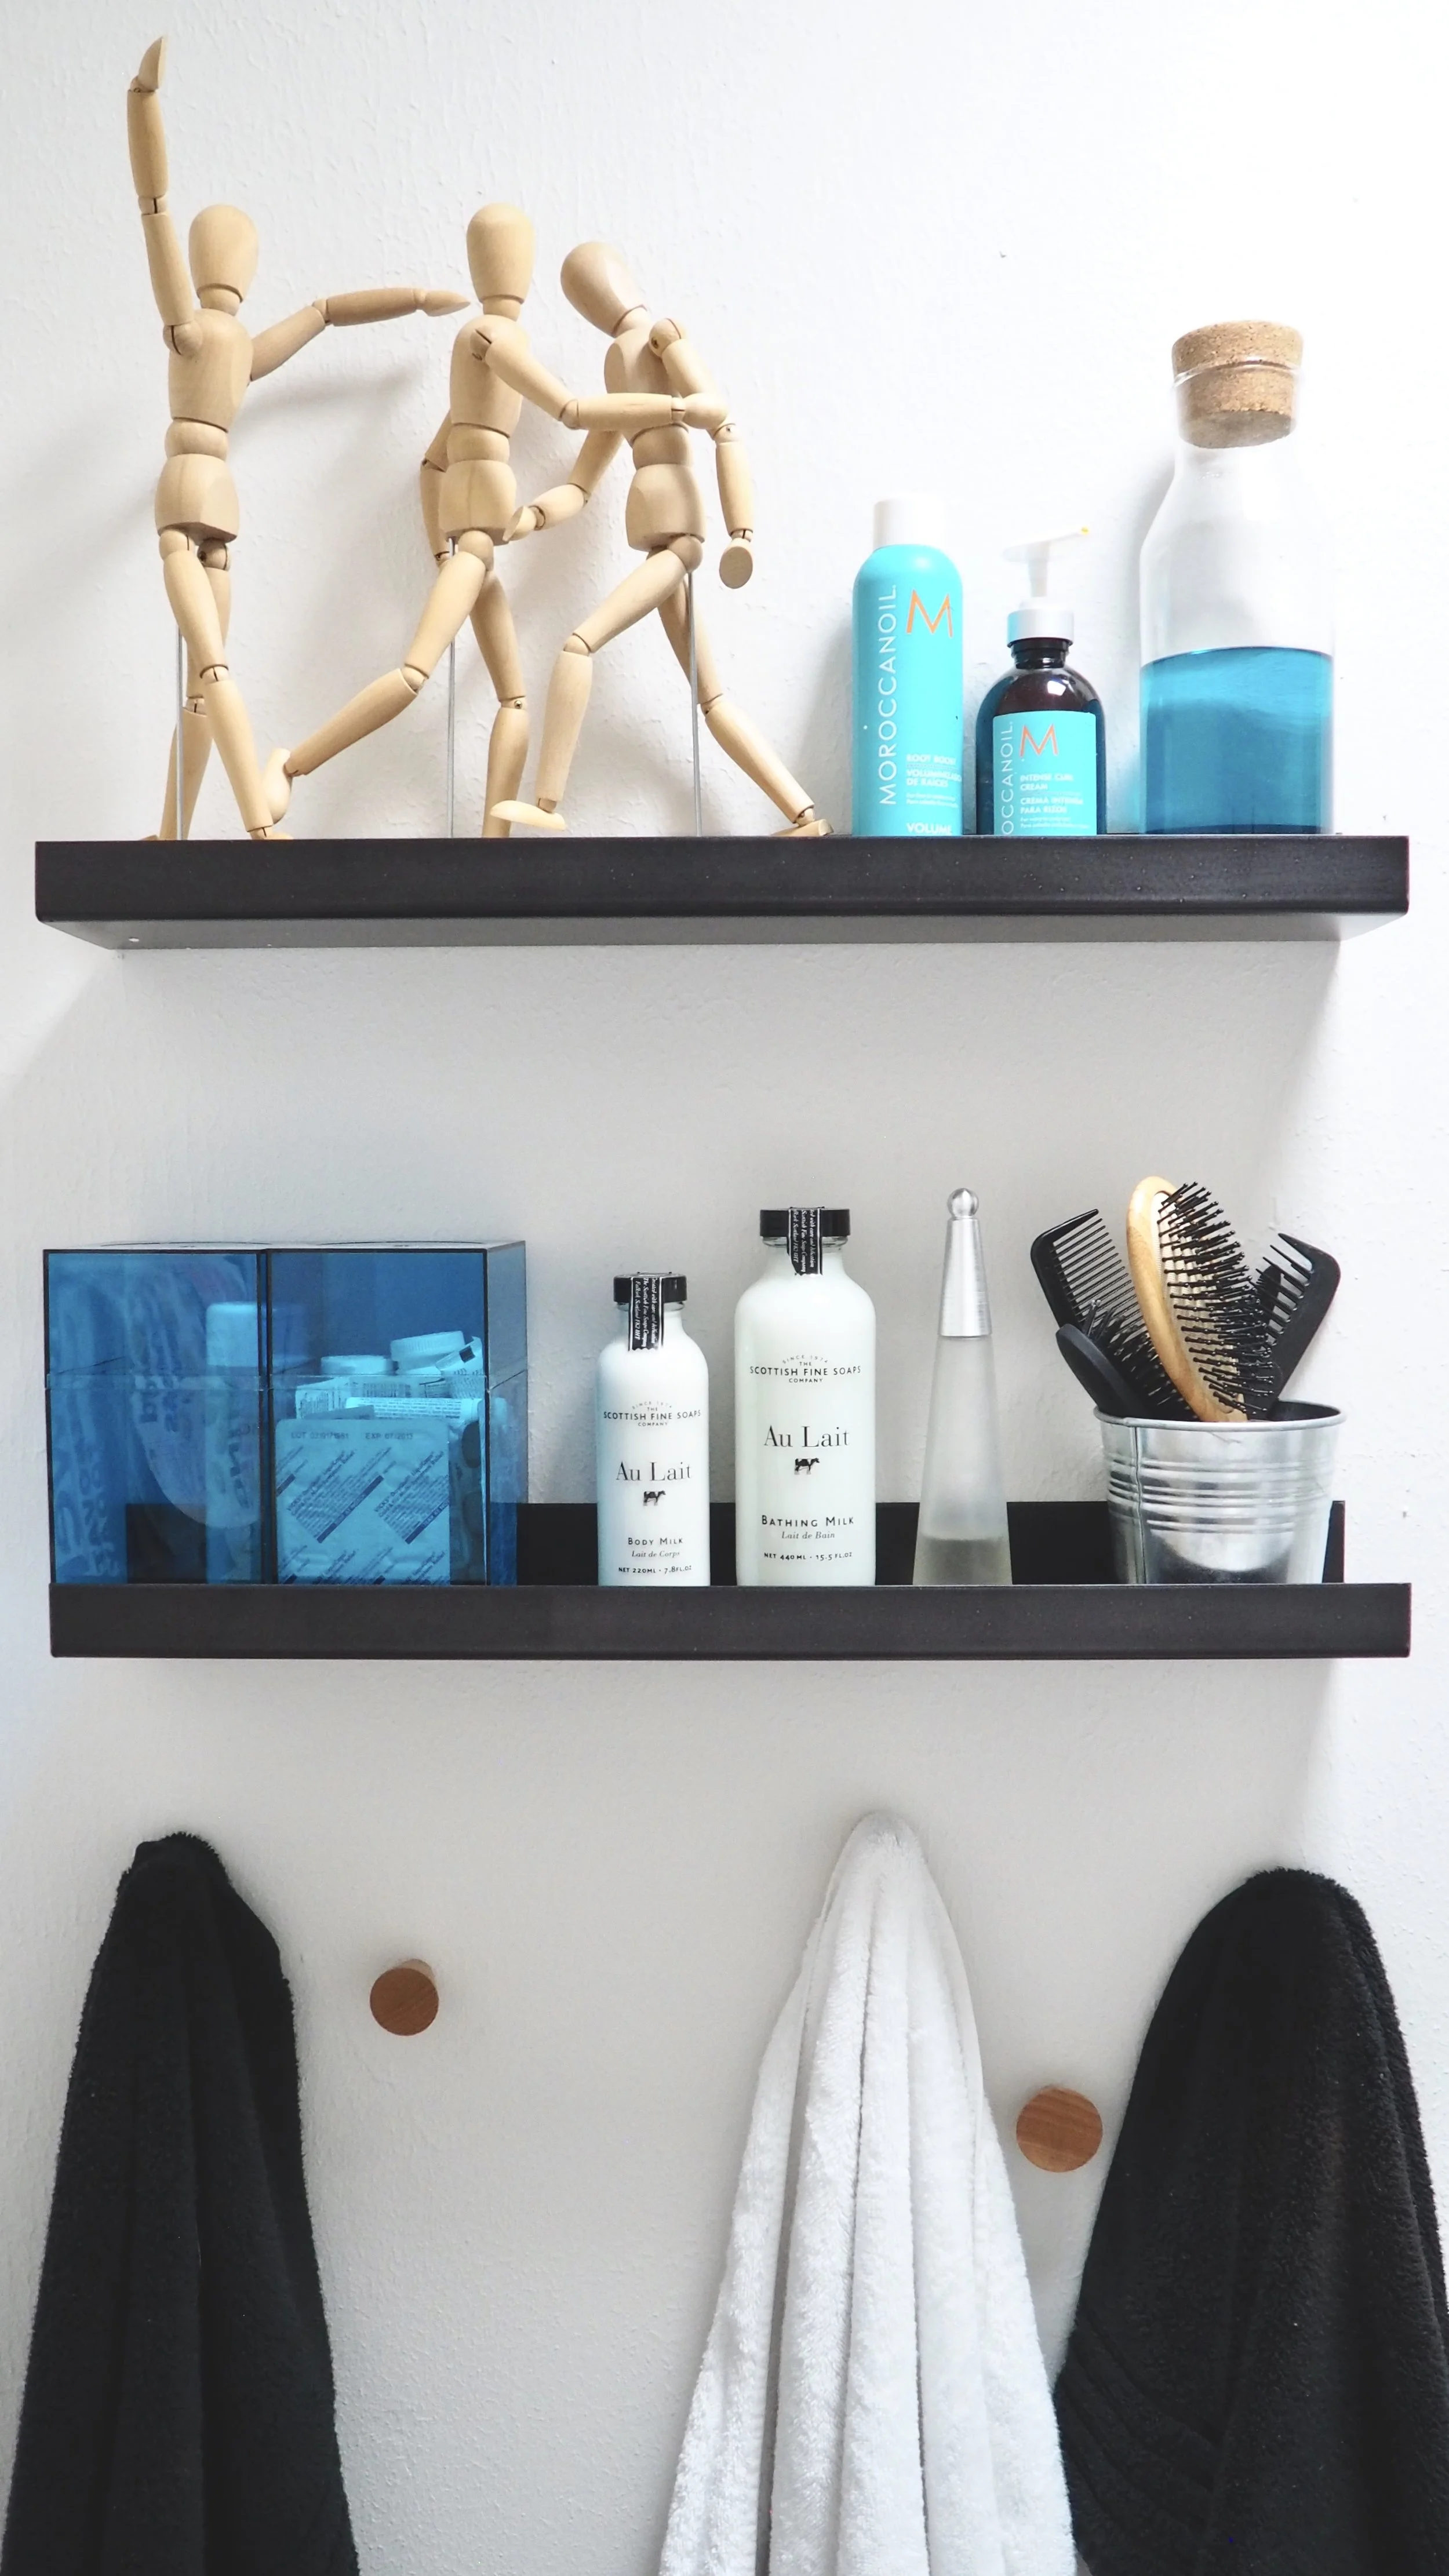
Things I will always save on? Accessories (TJ Maxx and Marshalls are your best friend) and tile (when it's a surround - your floor tile should be good quality because it gets a lot of traffic!). I also always look at used Amazon deals... For instance, our door handle was half the cost, and it was in perfect shape!
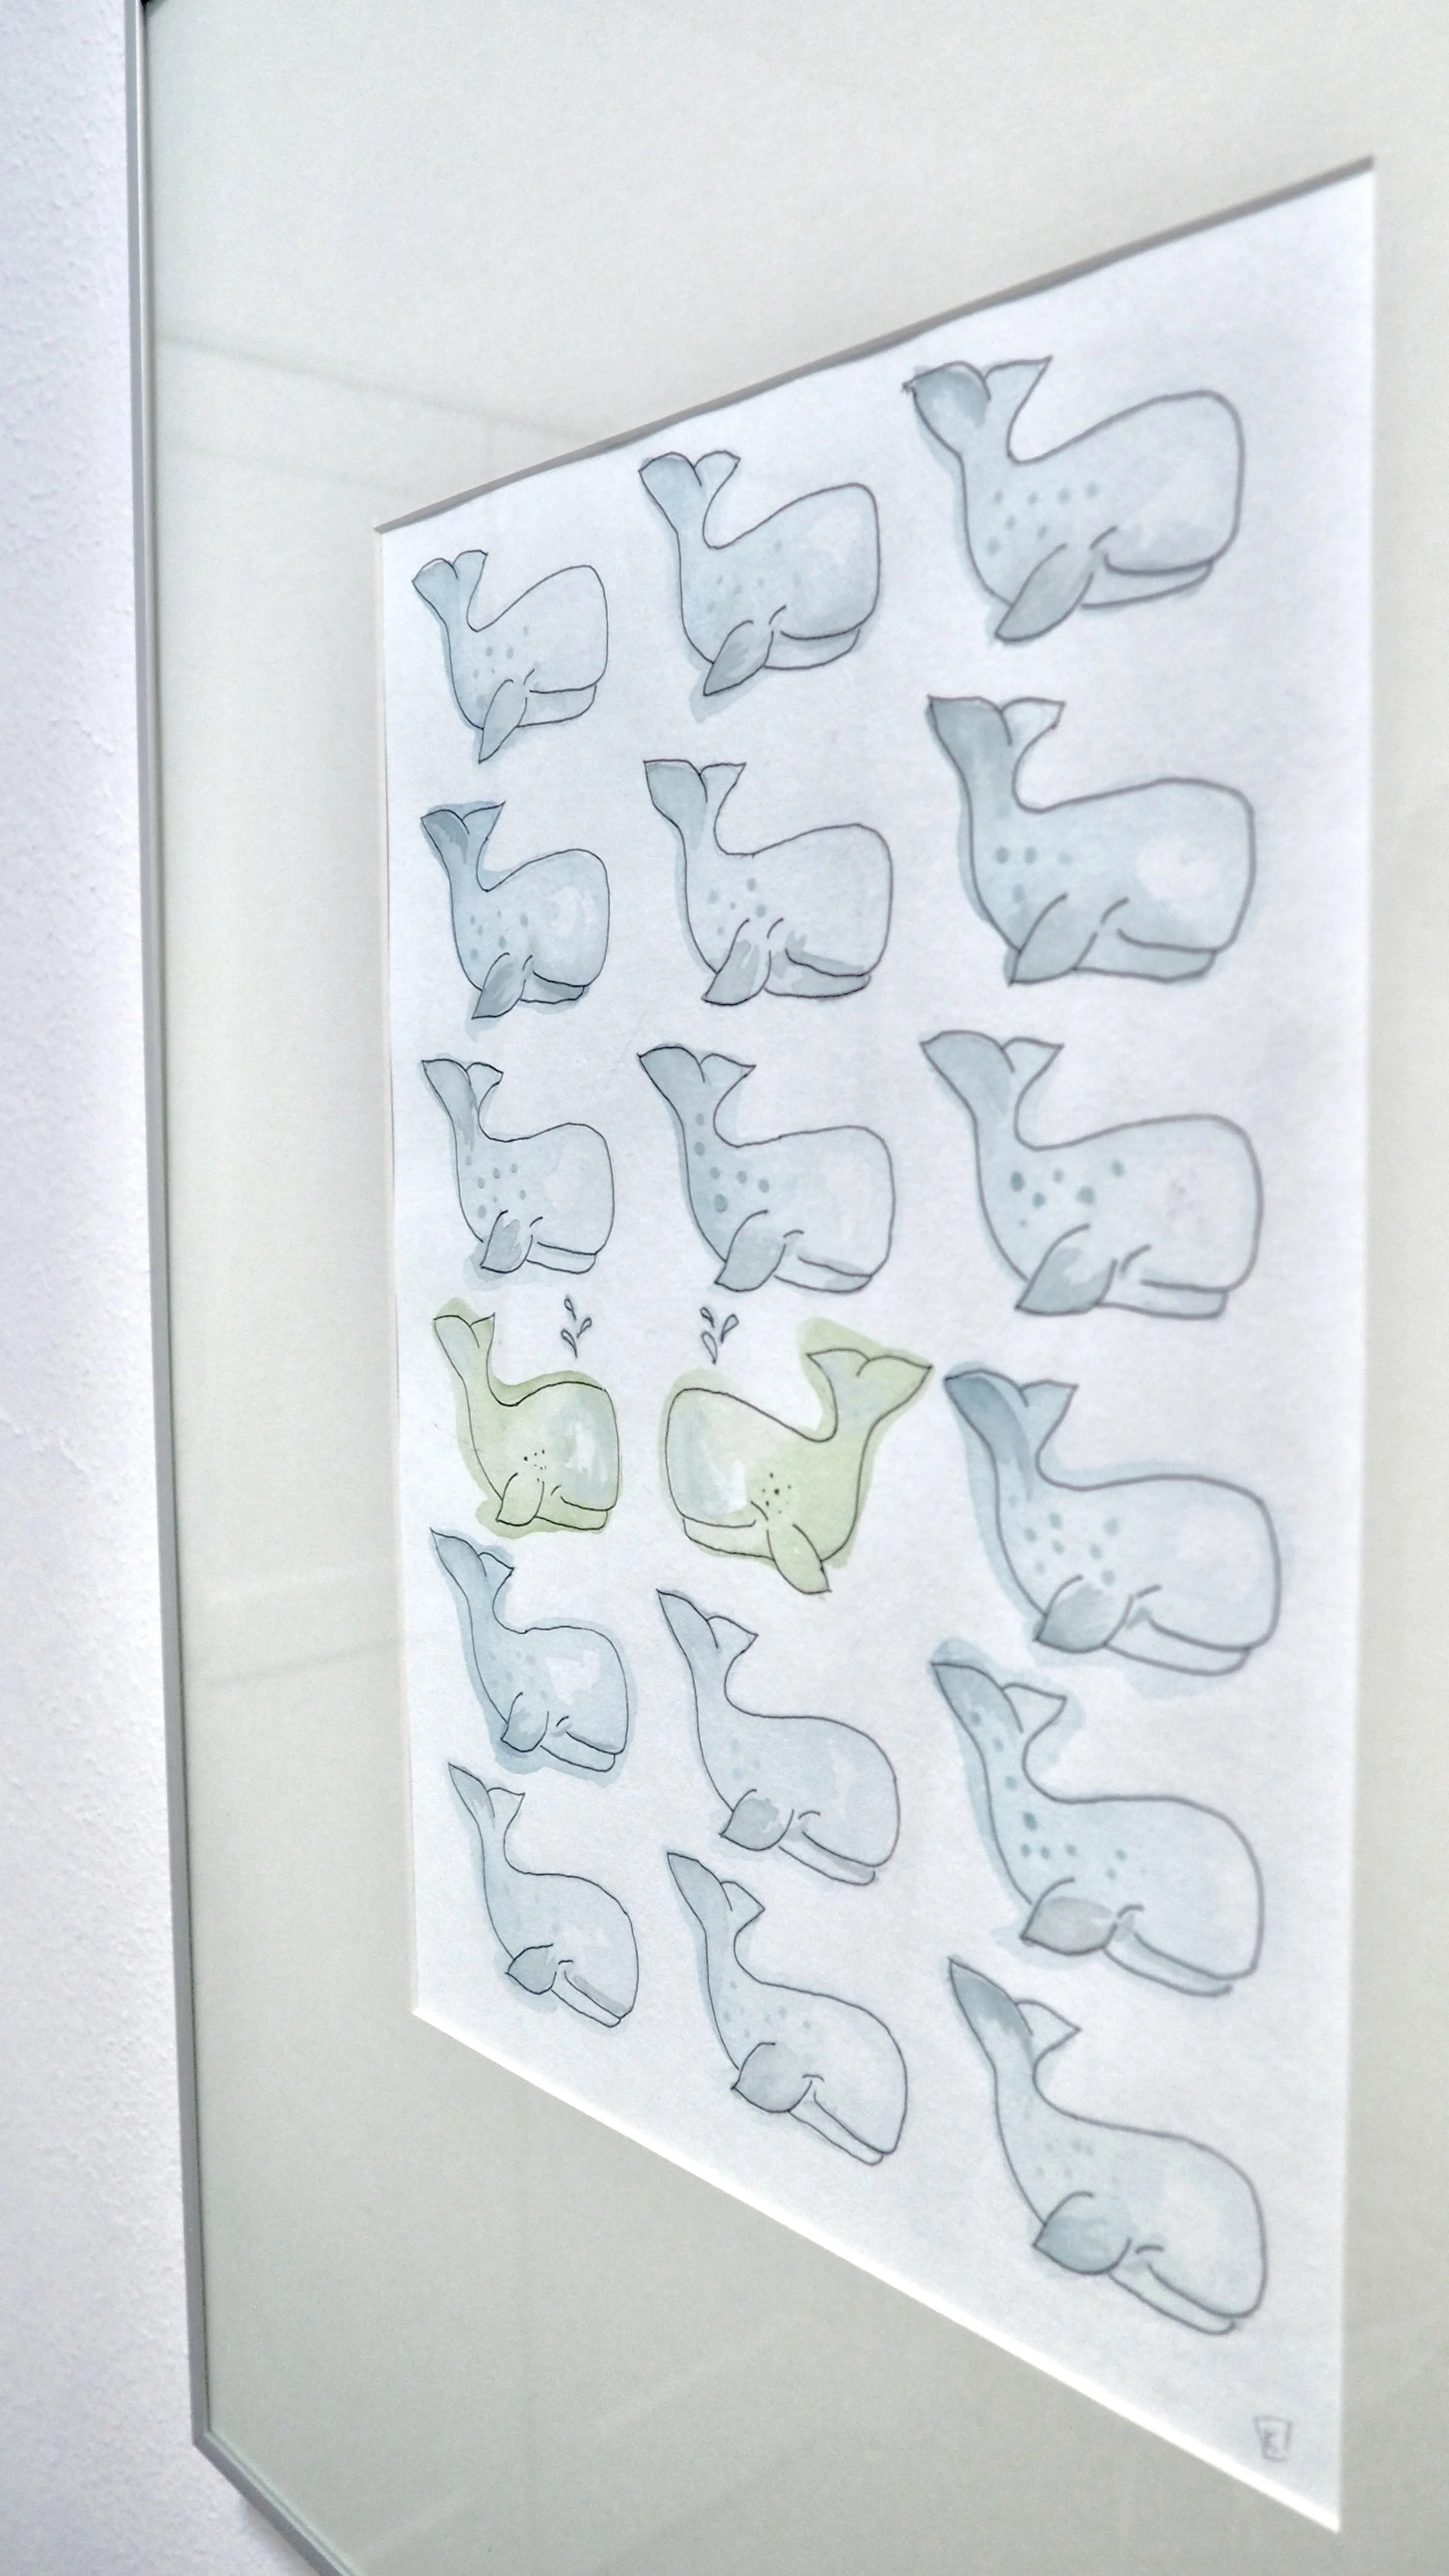
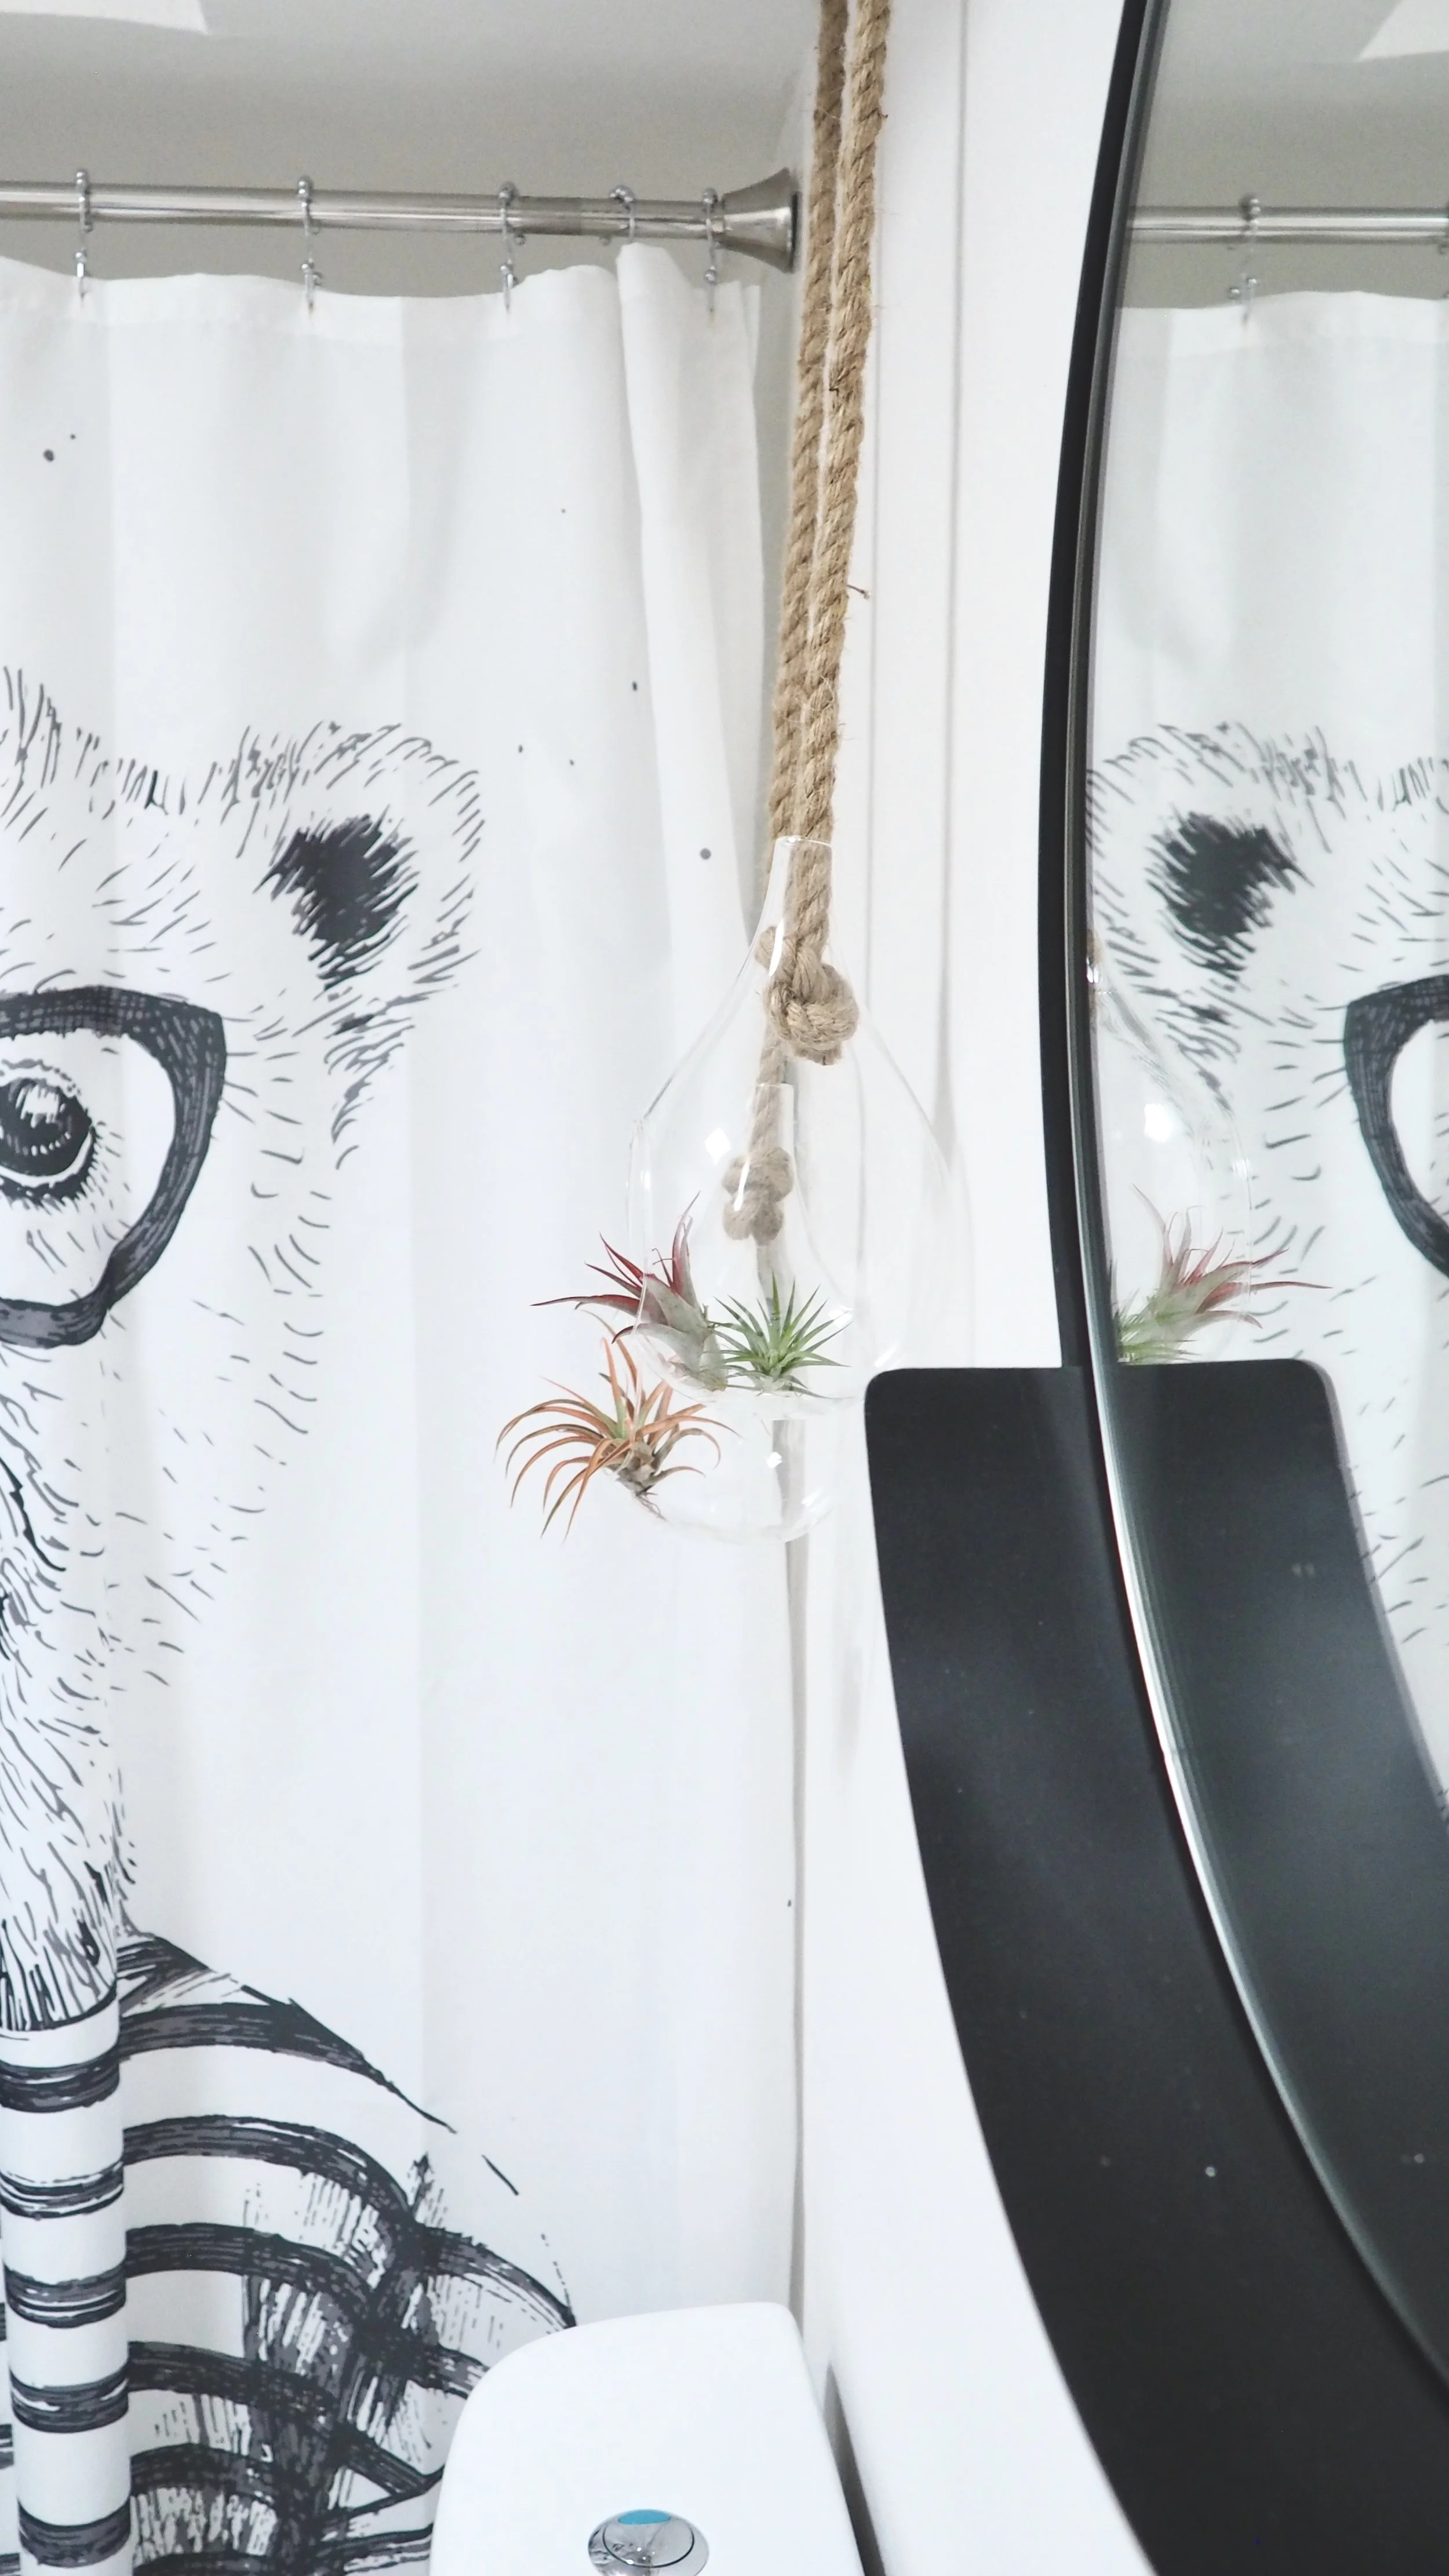
Have a wink - without splurging. My favorite part of our bathroom is this very affordable shower curtain that is just too much fun.
Below is a breakdown of everything we purchased!
And, this is it! Our bathroom renovation in a nutshell. In the meantime, be sure to follow us on Instagram for traveling and design ideas (you may notice we have been busy!). Now back to nursing this pesky fever (yuck!).


A few months back, a co-worker of mine convinced me to join my company's Spartan Race team. He didn't talk it up much: he mentioned it's a long-ish run with a few fun obstacles. You know, no big deal. Something someone who runs as much as me should complete more than easily (read, you don't really need to train for it). Ha ha ha.