Posts filed under Design + DIY

I know, I know... Christmas is still more than a month away...

But if the radio can play Christmas music already, I am allowed to have Christmas posts, right? :)

So, what's in store today? First, an apology... It has been two weeks with no posts and I guess I could offer a great (made-up) excuse for this. But I cannot. I just had a few very great very busy weeks. The good news is that being busy at work and life does pay off after all! Here is a rare Katya brag-episode for you: my proudest career moment of my life (so far) came courtesy of the 2015 Lantern Awards. My team (well, our website) won the big 2015 award for websites! I was never much of a sucker for awards (which should have helped me be very much chill about this one) but heading to a podium in front of hundreds of spectators and your leadership to accept an award is far more nerve-wracking than anticipated. I have a whole new level of empathy for Jennifer Lawrence. DO NOT TRIP was pretty much the only thing I could think of.

But, enough (bragging) about work (I AM SO FREAKING PROUD OF MY TEAM!!!) and onto more appropriate topics for a personal blog...

Oh, hey Christmas! I had forgotten about you (said no Christmas lover ever). This year, Christmas decor takes a bit of a different meaning for me... Mainly because I will be out of the country for most of the holidays. And it just felt like decking out a whole tree for an absentee home owner is rather overdoing it. So what is one to do when they still crave for some festive decor?

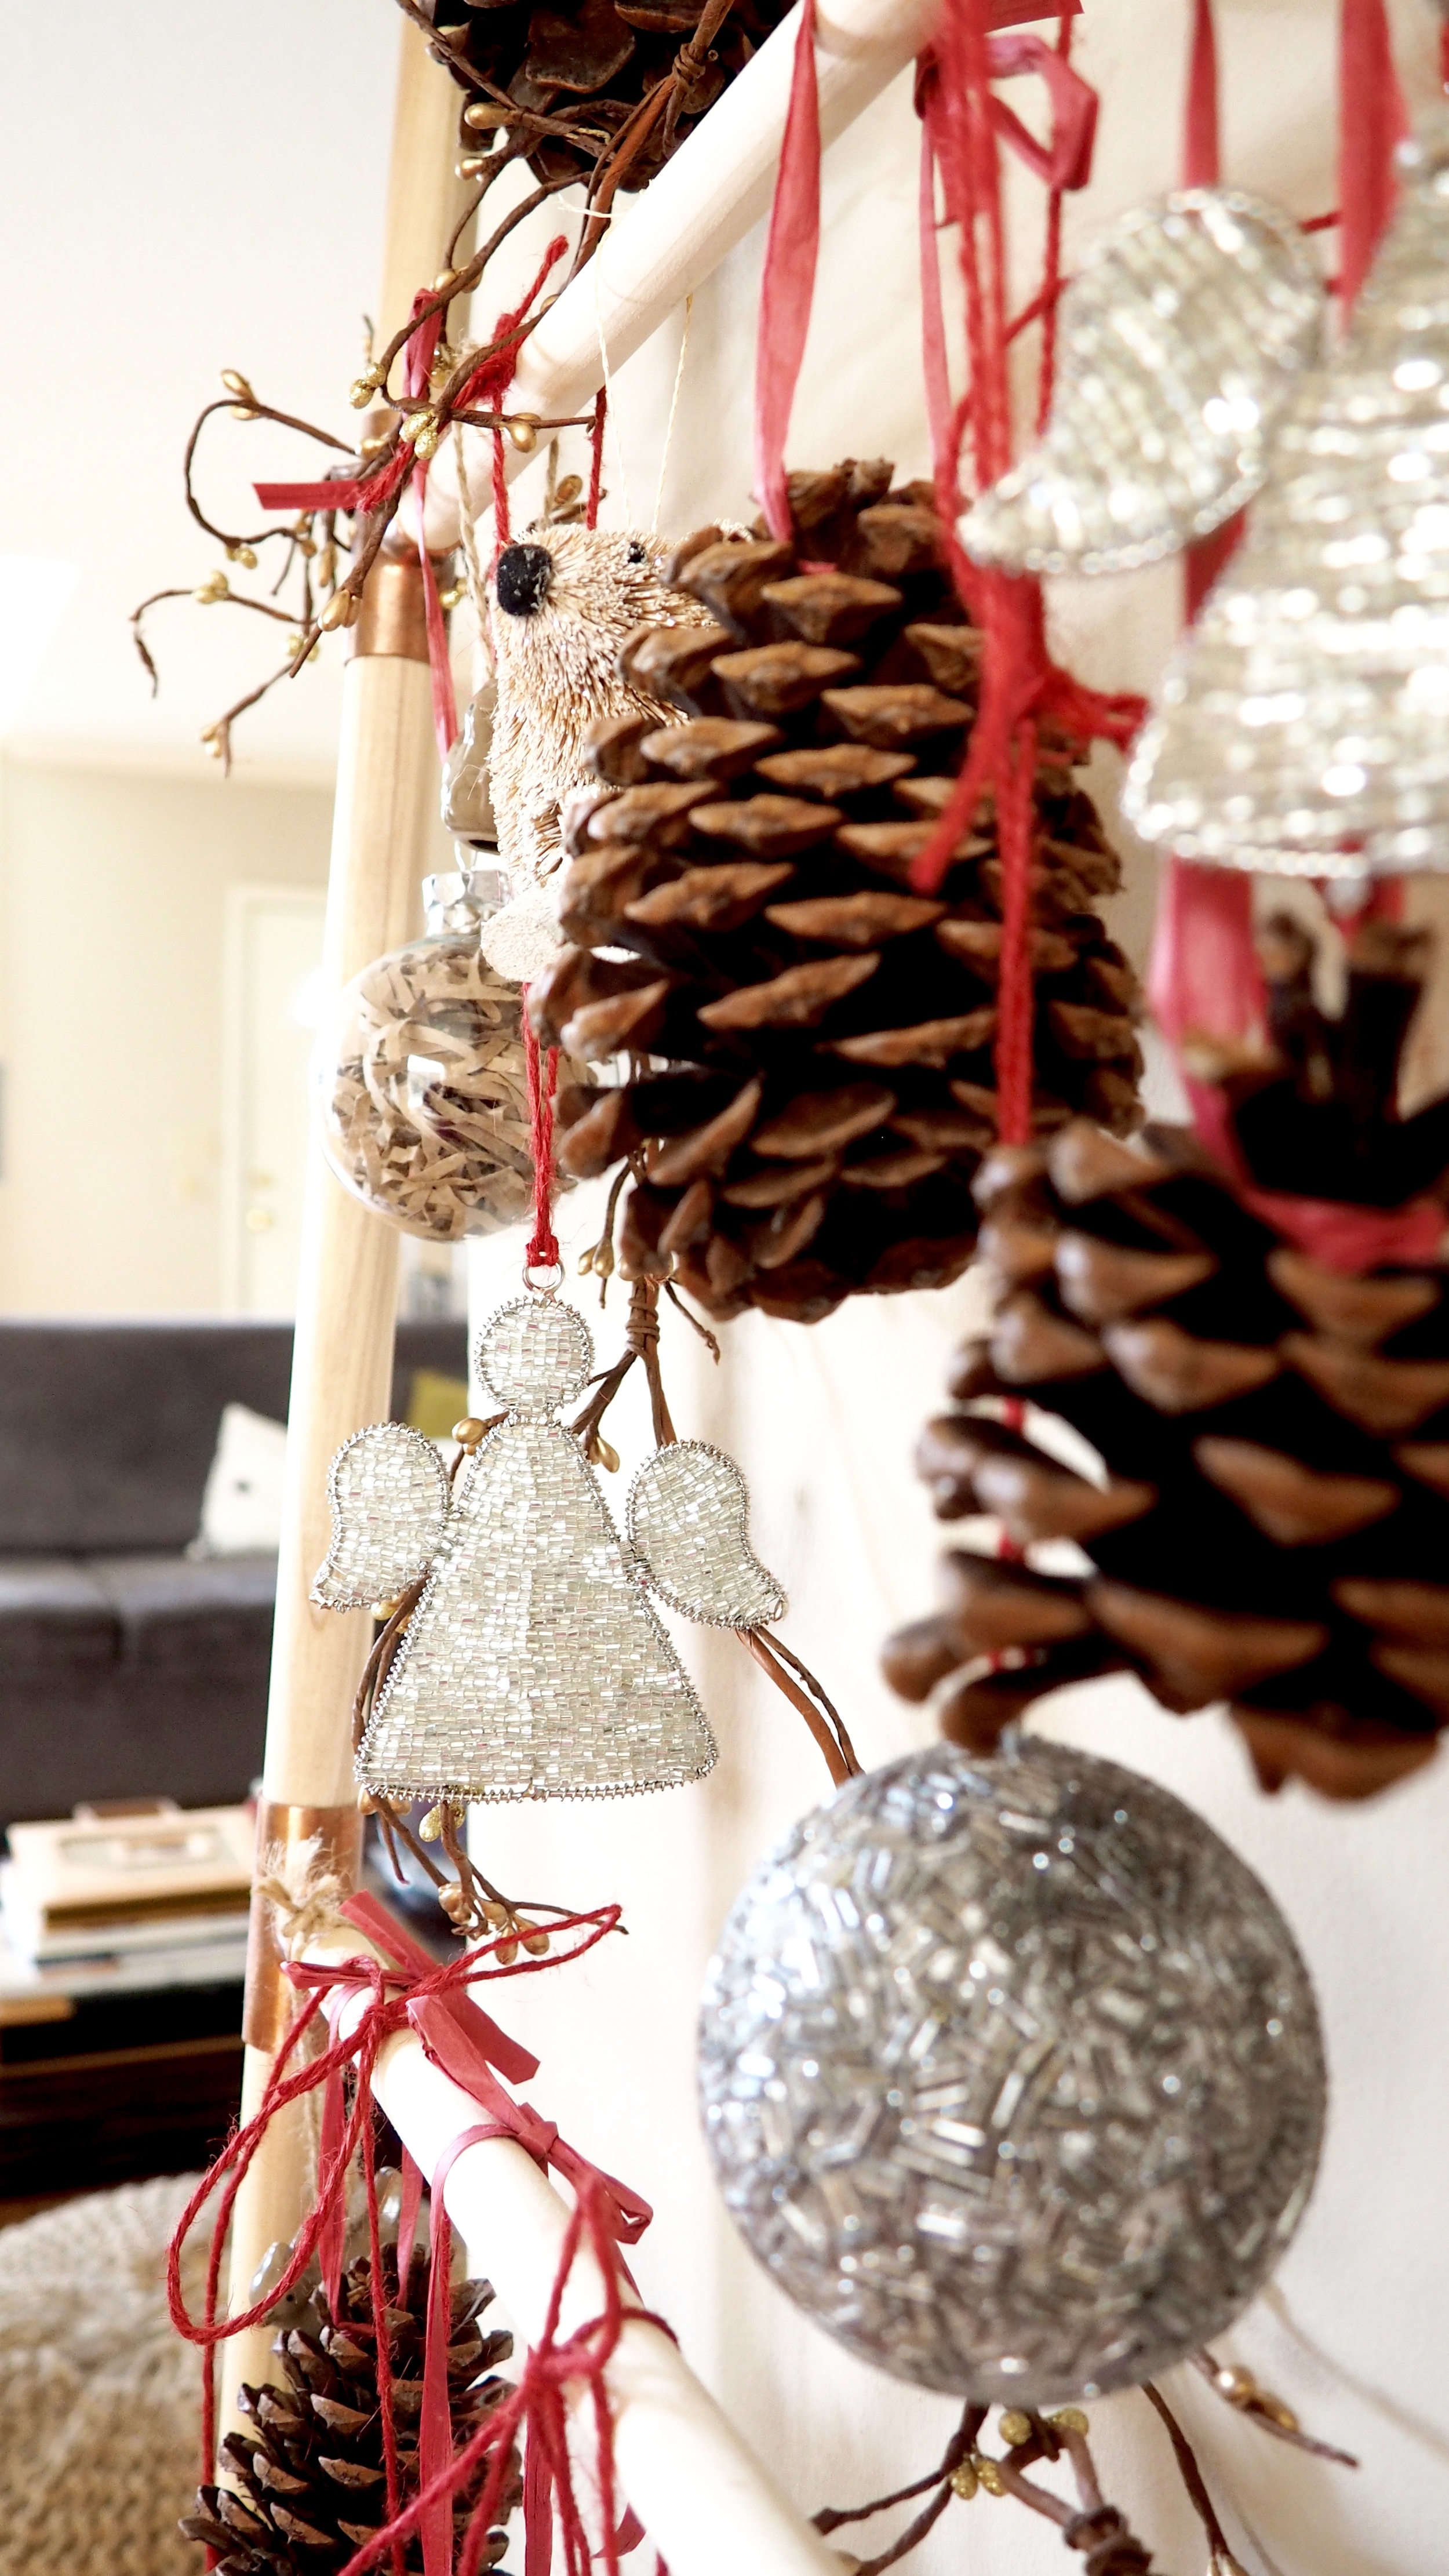
Deck out something else, of course! Enter, the ladder-turned-Christmas-tree DIY tutorial! Promise, it's a simple one...

First, start with building your ladder (an even simpler tutorial can be found here). Next? Deck said ladder with as many ornaments as it can safely take. Try to be somewhat intentional with colors/textures/finishes and voila! You got yourself a very neat conversation starter. Most people's reaction is... Hm? A Christmas ladder? And in my mind, I am rather thinking... "You are welcome, world!" The only thing that hadn't been Christmatized before is now officially here! And what's not to cheer about that?? 

Inspiration via Pinterest. Execution via several Tj Maxx shopping sprees. :)

Happy Monday and... so glad to be back! :)

Posted on November 23, 2015 and filed under Design + DIY.

Funky in the Daylight, Spooky in the Twilight

Happy (Belated) Halloween! I am proud to say that two days later, my house seems to finally be back to its normal state of cleanliness. Because this "party animal" just threw her very first Halloween Party and the results were spooktacular (if I may say so myself!). But let's start from the beginning...

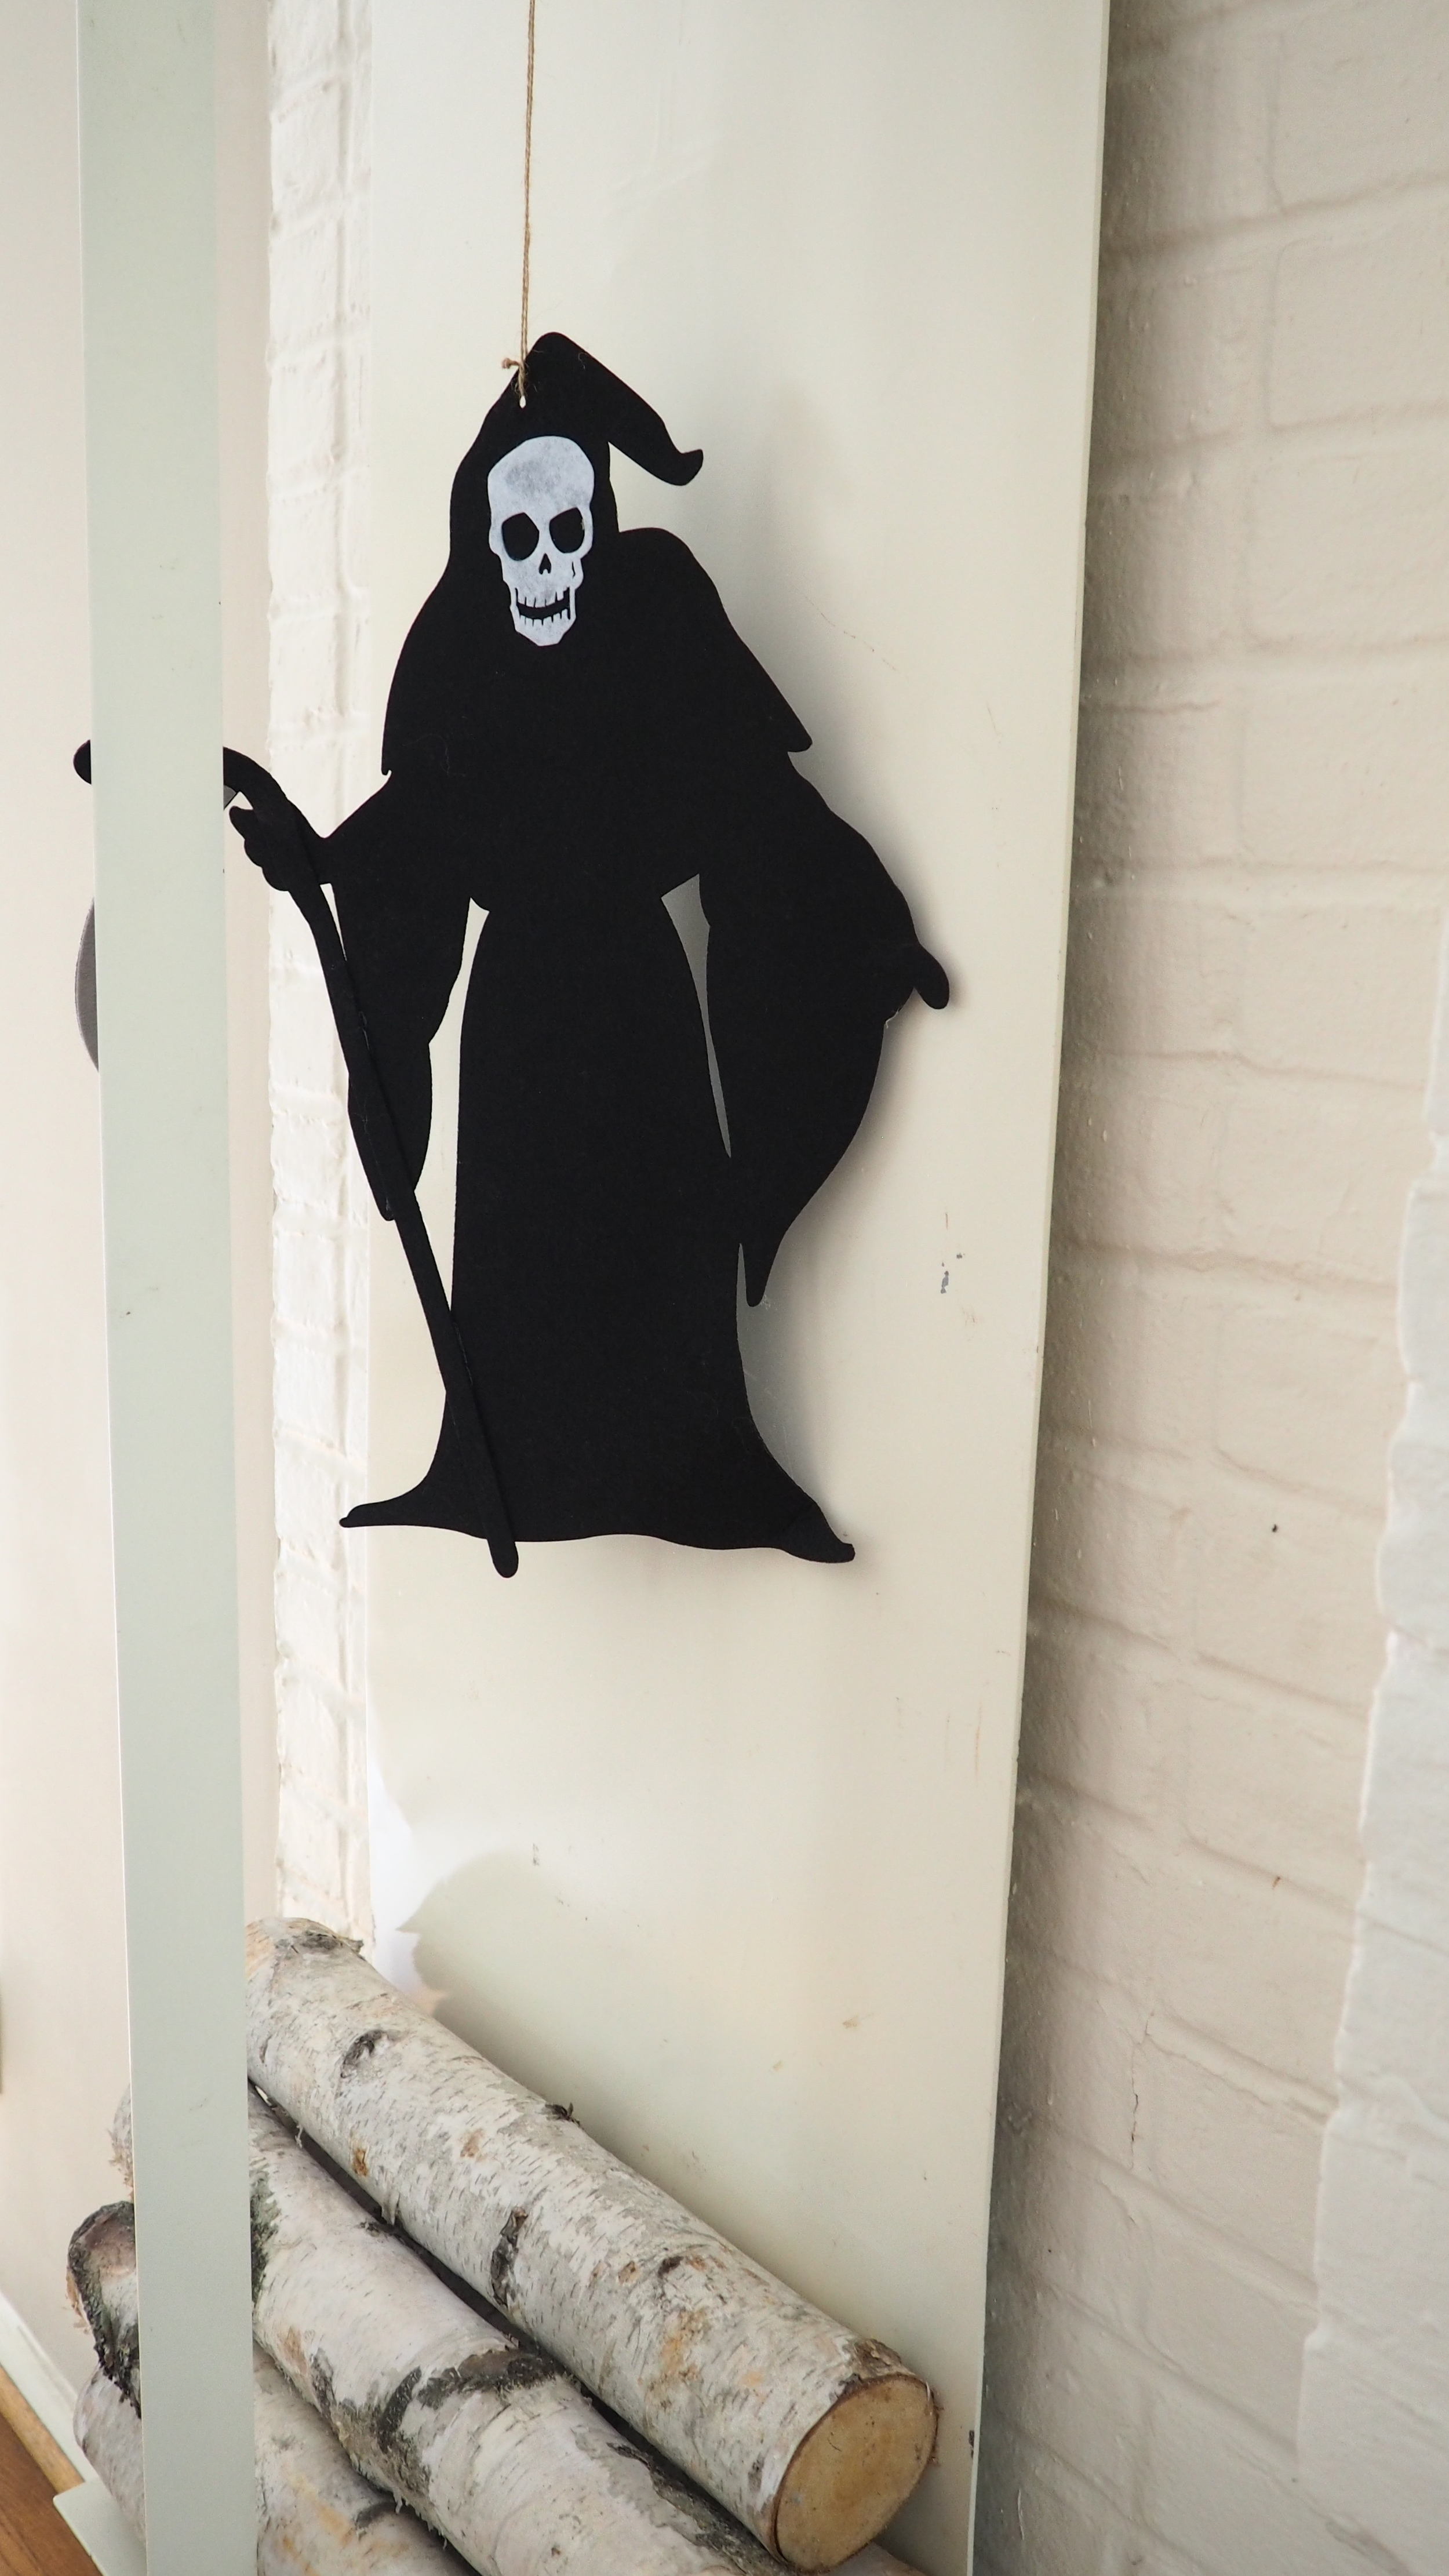
First? The daytime decor... I had been in the Halloween spirit for a while, mostly thanks to the subtle festive decor that didn't make my house look like a haunted house for a month prior to the actual party. The trick here is the word subtle. Nothing stood out as particularly Halloween-y... I started with a bunch of glass skulls throughout the house (courtesy of the Dollar Store, nonetheless), and a ton of tiny human skeletons and not-so-tiny bird skeletons. The day of, I added a few zombie decals (which are ridiculously frightening, especially when your peripheral vision is not that great) and a few obligatory hanging death sculptures.

Next? The nighttime transformation... by graciously adding food, music, and a ton of people. A few of my highlights here...

  • My friends are creative... they arranged my stick figures into a zombie apocalypse dynamic sculpture. Absolutely priceless.
  • A Bloody Mary bar is the most genius idea I have ever had that is also doable within 2 hours of a party. You will only need olives, celery, great Bloody Mary mix, slightly-above-average vodka, freshly cut lemon, and a ton of salt and pepper. 
  • Cheese, cheese, cheese and twice as many crackers is by far the most popular snack. 
  • Dry ice pumpkin beer chiller! Holy cow! That was the coolest thing I have ever seen. Courtesy of my other creative friends.
  • Dry ice in a water bowl. Close second-coolest thing I have ever seen. This is addictive!

And what's a Halloween party without a costume? Superhero theme, here I come! Without really trying. Because I was happily surprised to realize that runners own a ton of black spandex. Add one lace mask for $7.99 and a pair of self-made cat ears and voila! Catwoman reincarnated...   

Oh, hey there! You probably also noticed my co-hostess with the mostest's incredible costume! She was Harley Quinn! And her make-up was swoon-worthy...

So there you have it! I survived my first hosting gig and lived to tell the tale! I have to say that this was a ton of fun. Perhaps we have a tradition in the making? Happy Monday!!

PS: You could say it got a little tight in my 1,395 square feet...(Images courtesy of several unauthorized iPhone cameras :). 

Posted on November 2, 2015 and filed under Design + DIY.

I just can't seem to stand still...

I recently learned that there are a few positive things that happen when your doctor tells you to stop pretty much any activity (and especially running and tennis) for 6-8 weeks. First, you get a chance to perfect your crow pose (I am on week two of almost daily hot yoga workouts and I have to admit I am starting to really like it). And second, you get more free time than you have ever had to spend on home projects!

Today, I wanted to catch you up on the latter (I also think yoga deserves its very own post because it has had quite the positive impact on my wellbeing and you deserve to know all about it!). 

Without further adieu, let's dive into number 1: freshly added patio lighting! (installation was courtesy of my incredible friends Matt and Britney who had a thousand other better things to do on a Wednesday night but instead, they were hanging these with me for three hours!). 

I had been planning on installing lights on my patio ever since I got rid of my ooooold awning above the dining room. What pulled the trigger this time around was Britney (same friend from installation fame) spotting these guys at Costco. Three light strings, a few installation hiccups, and a remote control later, my patio now looks like a French cafe at night. LOVE the results! And, it's finally cool outside and I get to enjoy it!

2: mulch. My flower beds were needy. Mostly needy for water but also for some rich color that would contrast the freshly planted blue succulents. Today saw the addition of 2 full bags of brown mulch (well, soon-to-be three because two is apparently not enough): 

3. more (stylish) comfortable seating! Not so much because I needed it but because I came across this Acapulco-style chair for a mere $60. And goodness, it is so comfortable:

4: and speaking of succulents, I have added a ton of new ones... I decided that if I want to have a pretty yard, planters is the way to go. It's a mere function of having  a crazy (sweet) dog chasing lizards he knows he can't catch all day long:

And, last but not least, since it's October already, I have added some 5. much-needed splashes of Halloween decor. Come to think of it, needed is perhaps not the right word. Rather, it is wanted. Because this blogger will be throwing her very first official Halloween party and she cannot be more excited or terrified (pun intended) of the outcomes! 

And all of this without (technically) violating my doctor's orders! I call this one success of a week. Now, T-4 weeks to go... I wonder what "trouble" I'll get into next!

Happy Sunday!

Posted on October 4, 2015 and filed under Design + DIY.

Out with the old and in with the new! Well, sort of...

There is a first for everything! And this self-proclaimed designer had one of those just this week: my very first reupholstery project! And you must be thinking that this is going to be one of the most epic DIY posts on this blog, right? 

Yeah... Wrong. I think it is safe to say that reupholstering is never going to be my area of DIY expertise. It's just too overwhelmingly hard! I think I must be admitting to another first here, by the way: owning up to something I am unable to do...

But back to the project! I have had this very interesting orange chair for a few years. It is sort of an egg chair replica, but not quite. Major differences include price (the cheapest egg chair costs more than $6,000 and this chair was technically free - it came with the house), the seams (mine sports quite a few more seams making it far easier to reupholster but quite less cool) and, I dare say, comfort (I think my chair is clearly the winner here, merely a result of more seams and thus more cushioning). 

The only problem was that it looked like this... (And, oh, hey there, dad!). 

(A little side note here: let's just agree that taste is an ever-evolving thing... So, hey, hold back your kind judgment on my lapses of design judgment from 8 years ago :) (e.g. dear Ikea footstool, I am sure you sounded like a great idea back then but black velvet and two pets just don't gel well!). 

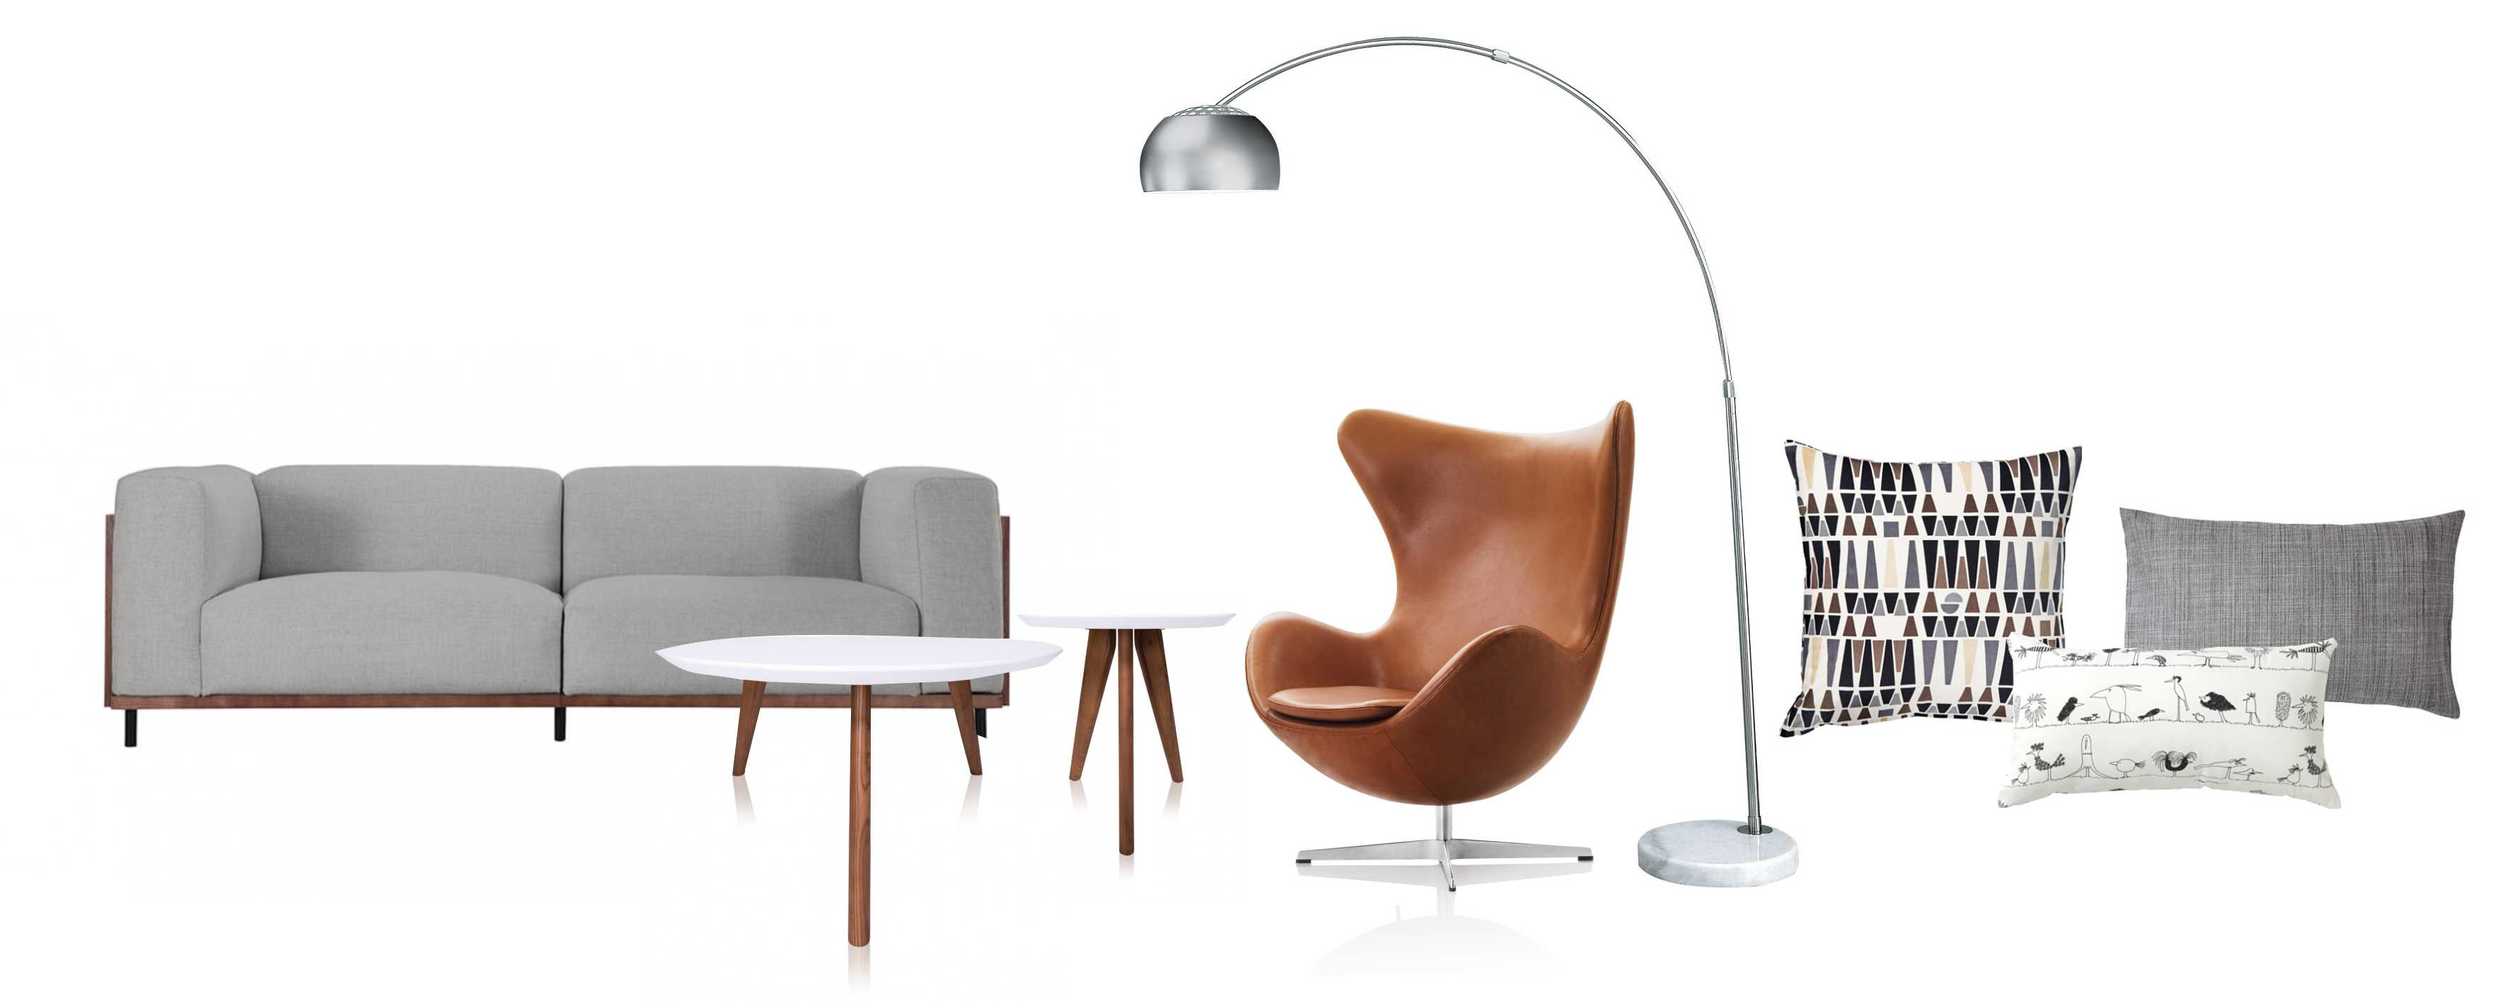
So, as you can see, the chair had some gorgeous lines and some seriously awful color. Therefore, for the last 6 years, it hid upstairs. That is, until my most recent living room rearrangement, during which I moved my two (replica) Barcelona chairs in front of my large windows thus effectively removing all sitting furniture from my sitting area other than my sofa.

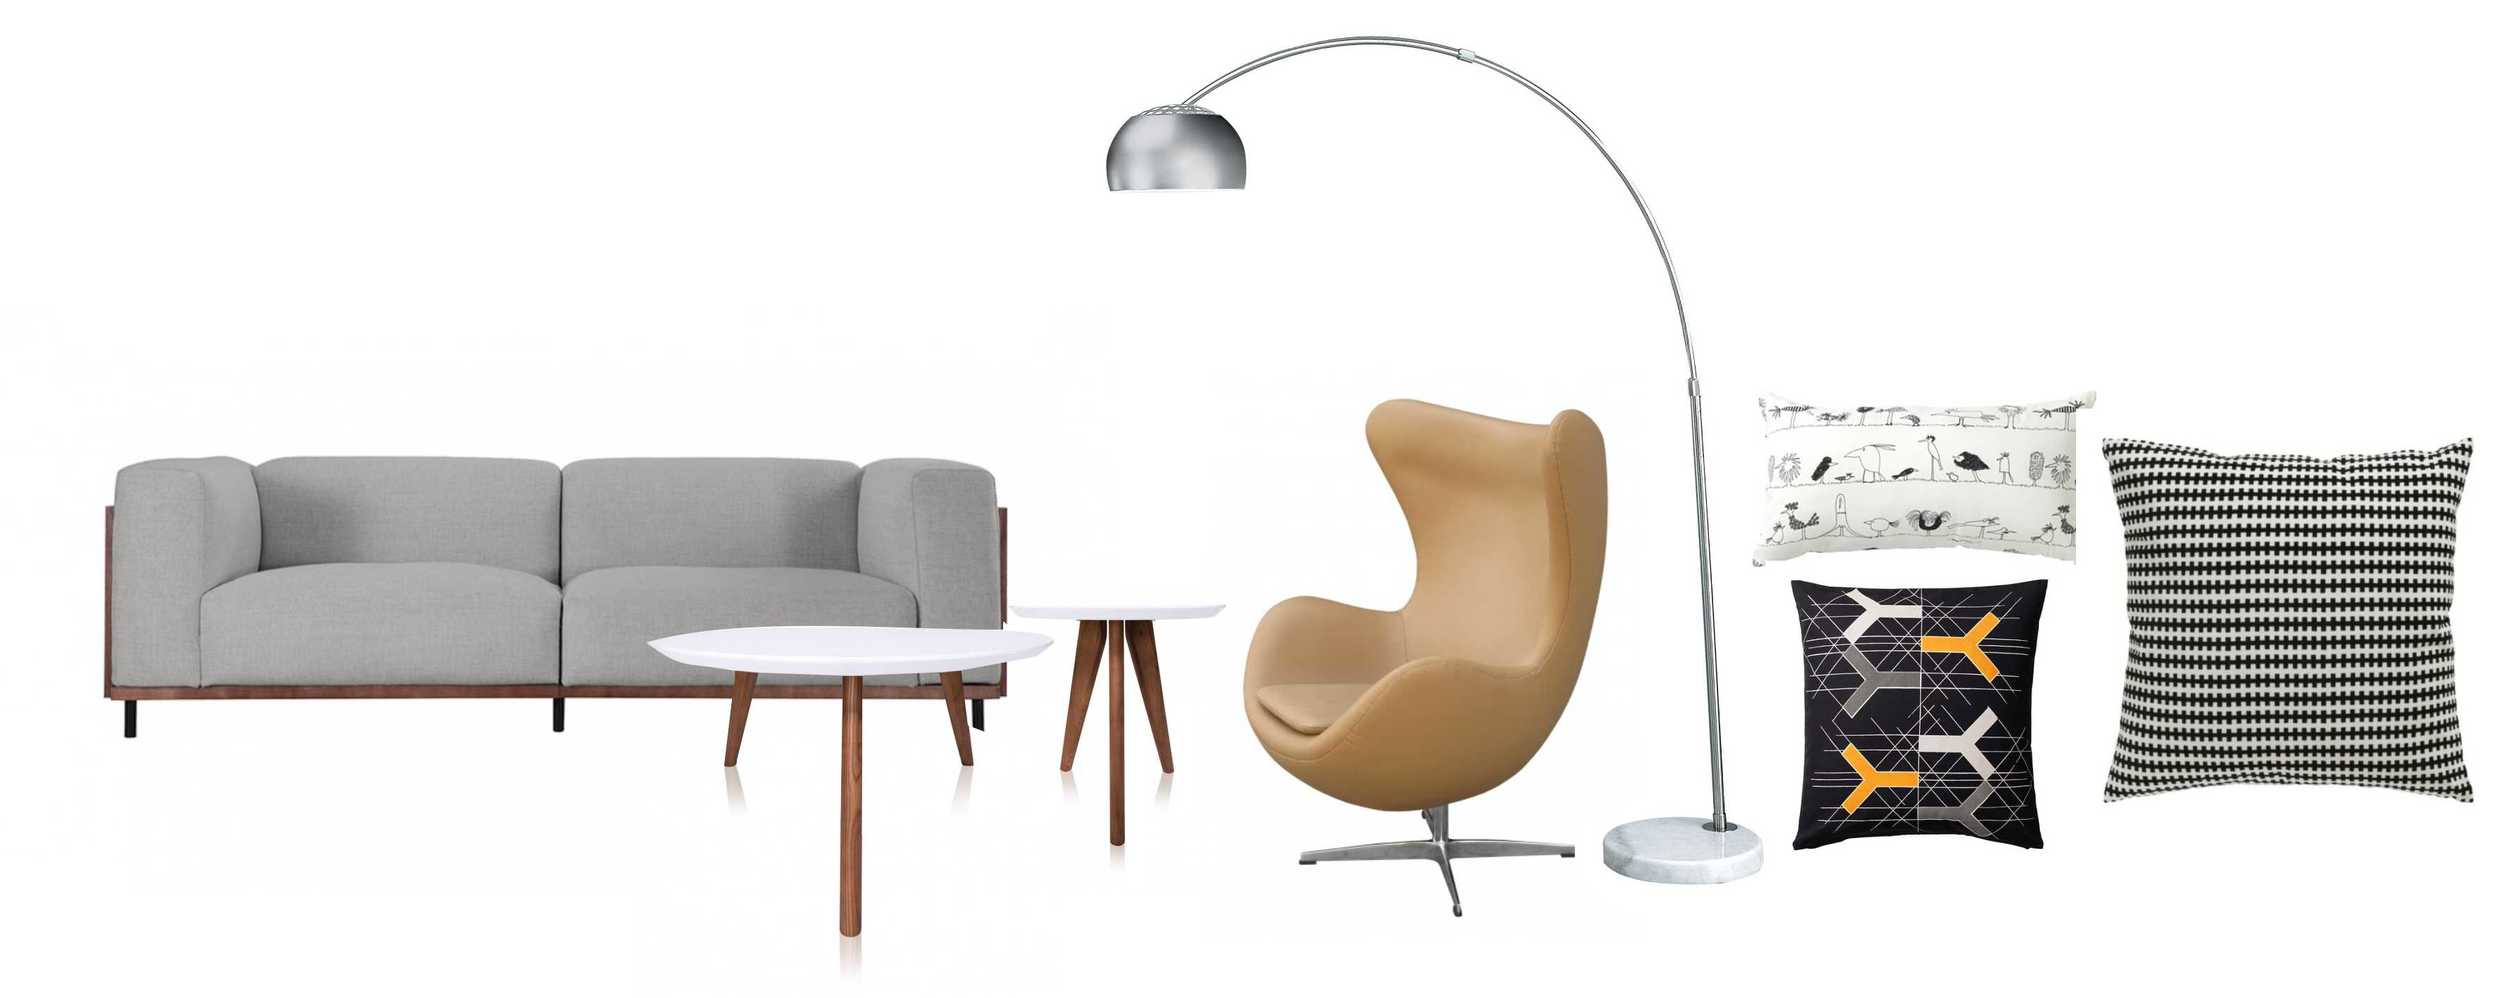
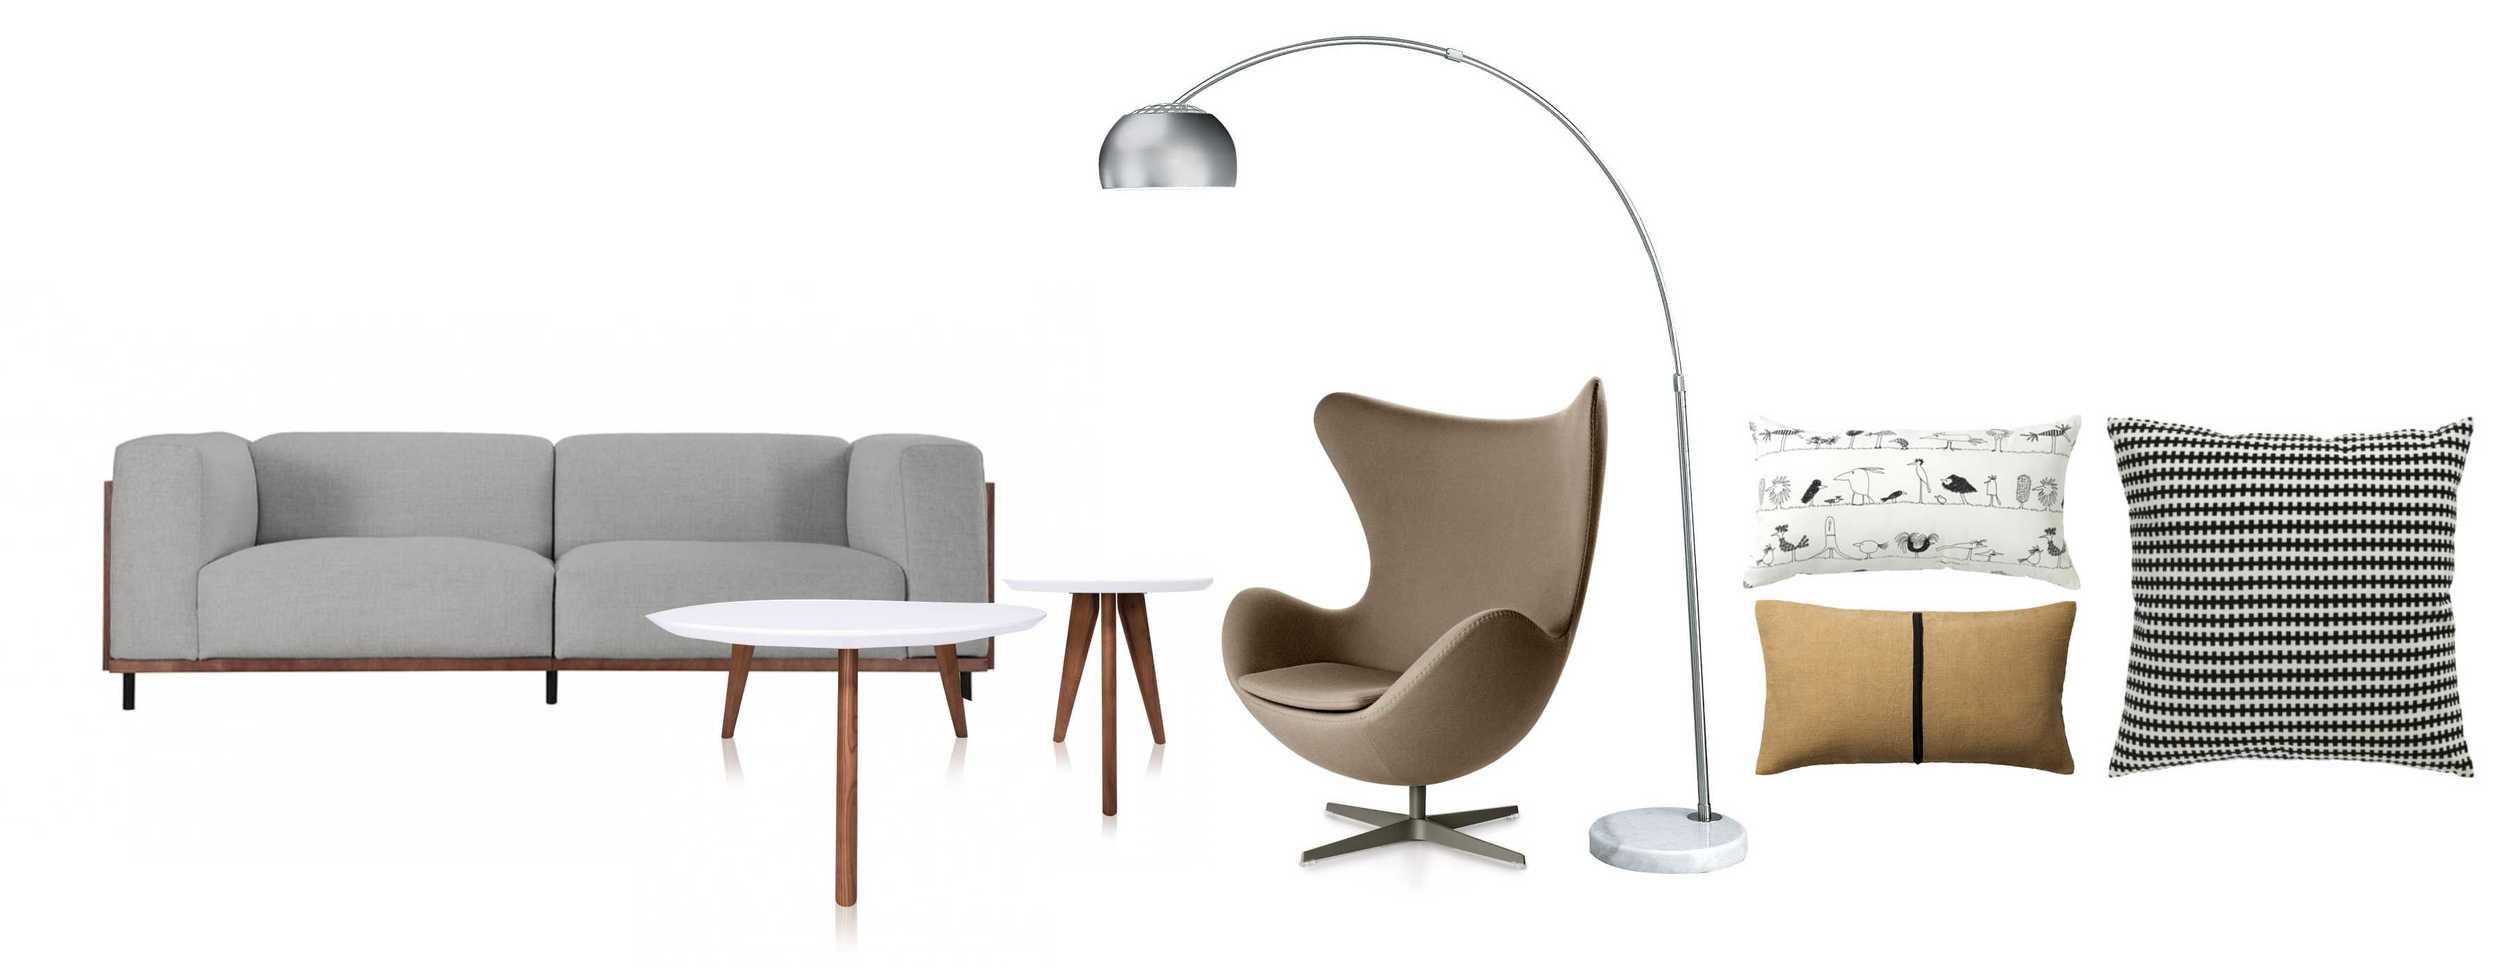
My initial thought was to proceed with procuring a brand new piece of furniture. But three to four failed almost $1,000 purchases later, I decided I can be smarter about this. Enter this thought: "What about that orange chair?" Yup, the seed was planted and so I started thinking... If I were to reupholster the chair... what color would it be? Hmmm.... Options, please?

I love having options :). And I took this one to a vote (because I couldn't make up my mind). Everyone overwhelmingly voted for number three. And since I clearly spoiled the surprise by having a picture of the chair at the beginning, you have probably noticed that I picked none of the above. To be fair, I had every intention of going with the popular cognac color. But something quickly dawned on me as I was going through the piles of fabric at High Fashion Home. That all of these designs assumed white floors! What about my awesome rich wooden floors underneath? Yeah, that will quickly get you to a nice brown overload. Which led me to selecting the very polar opposite instead: a creamy and soft white: 

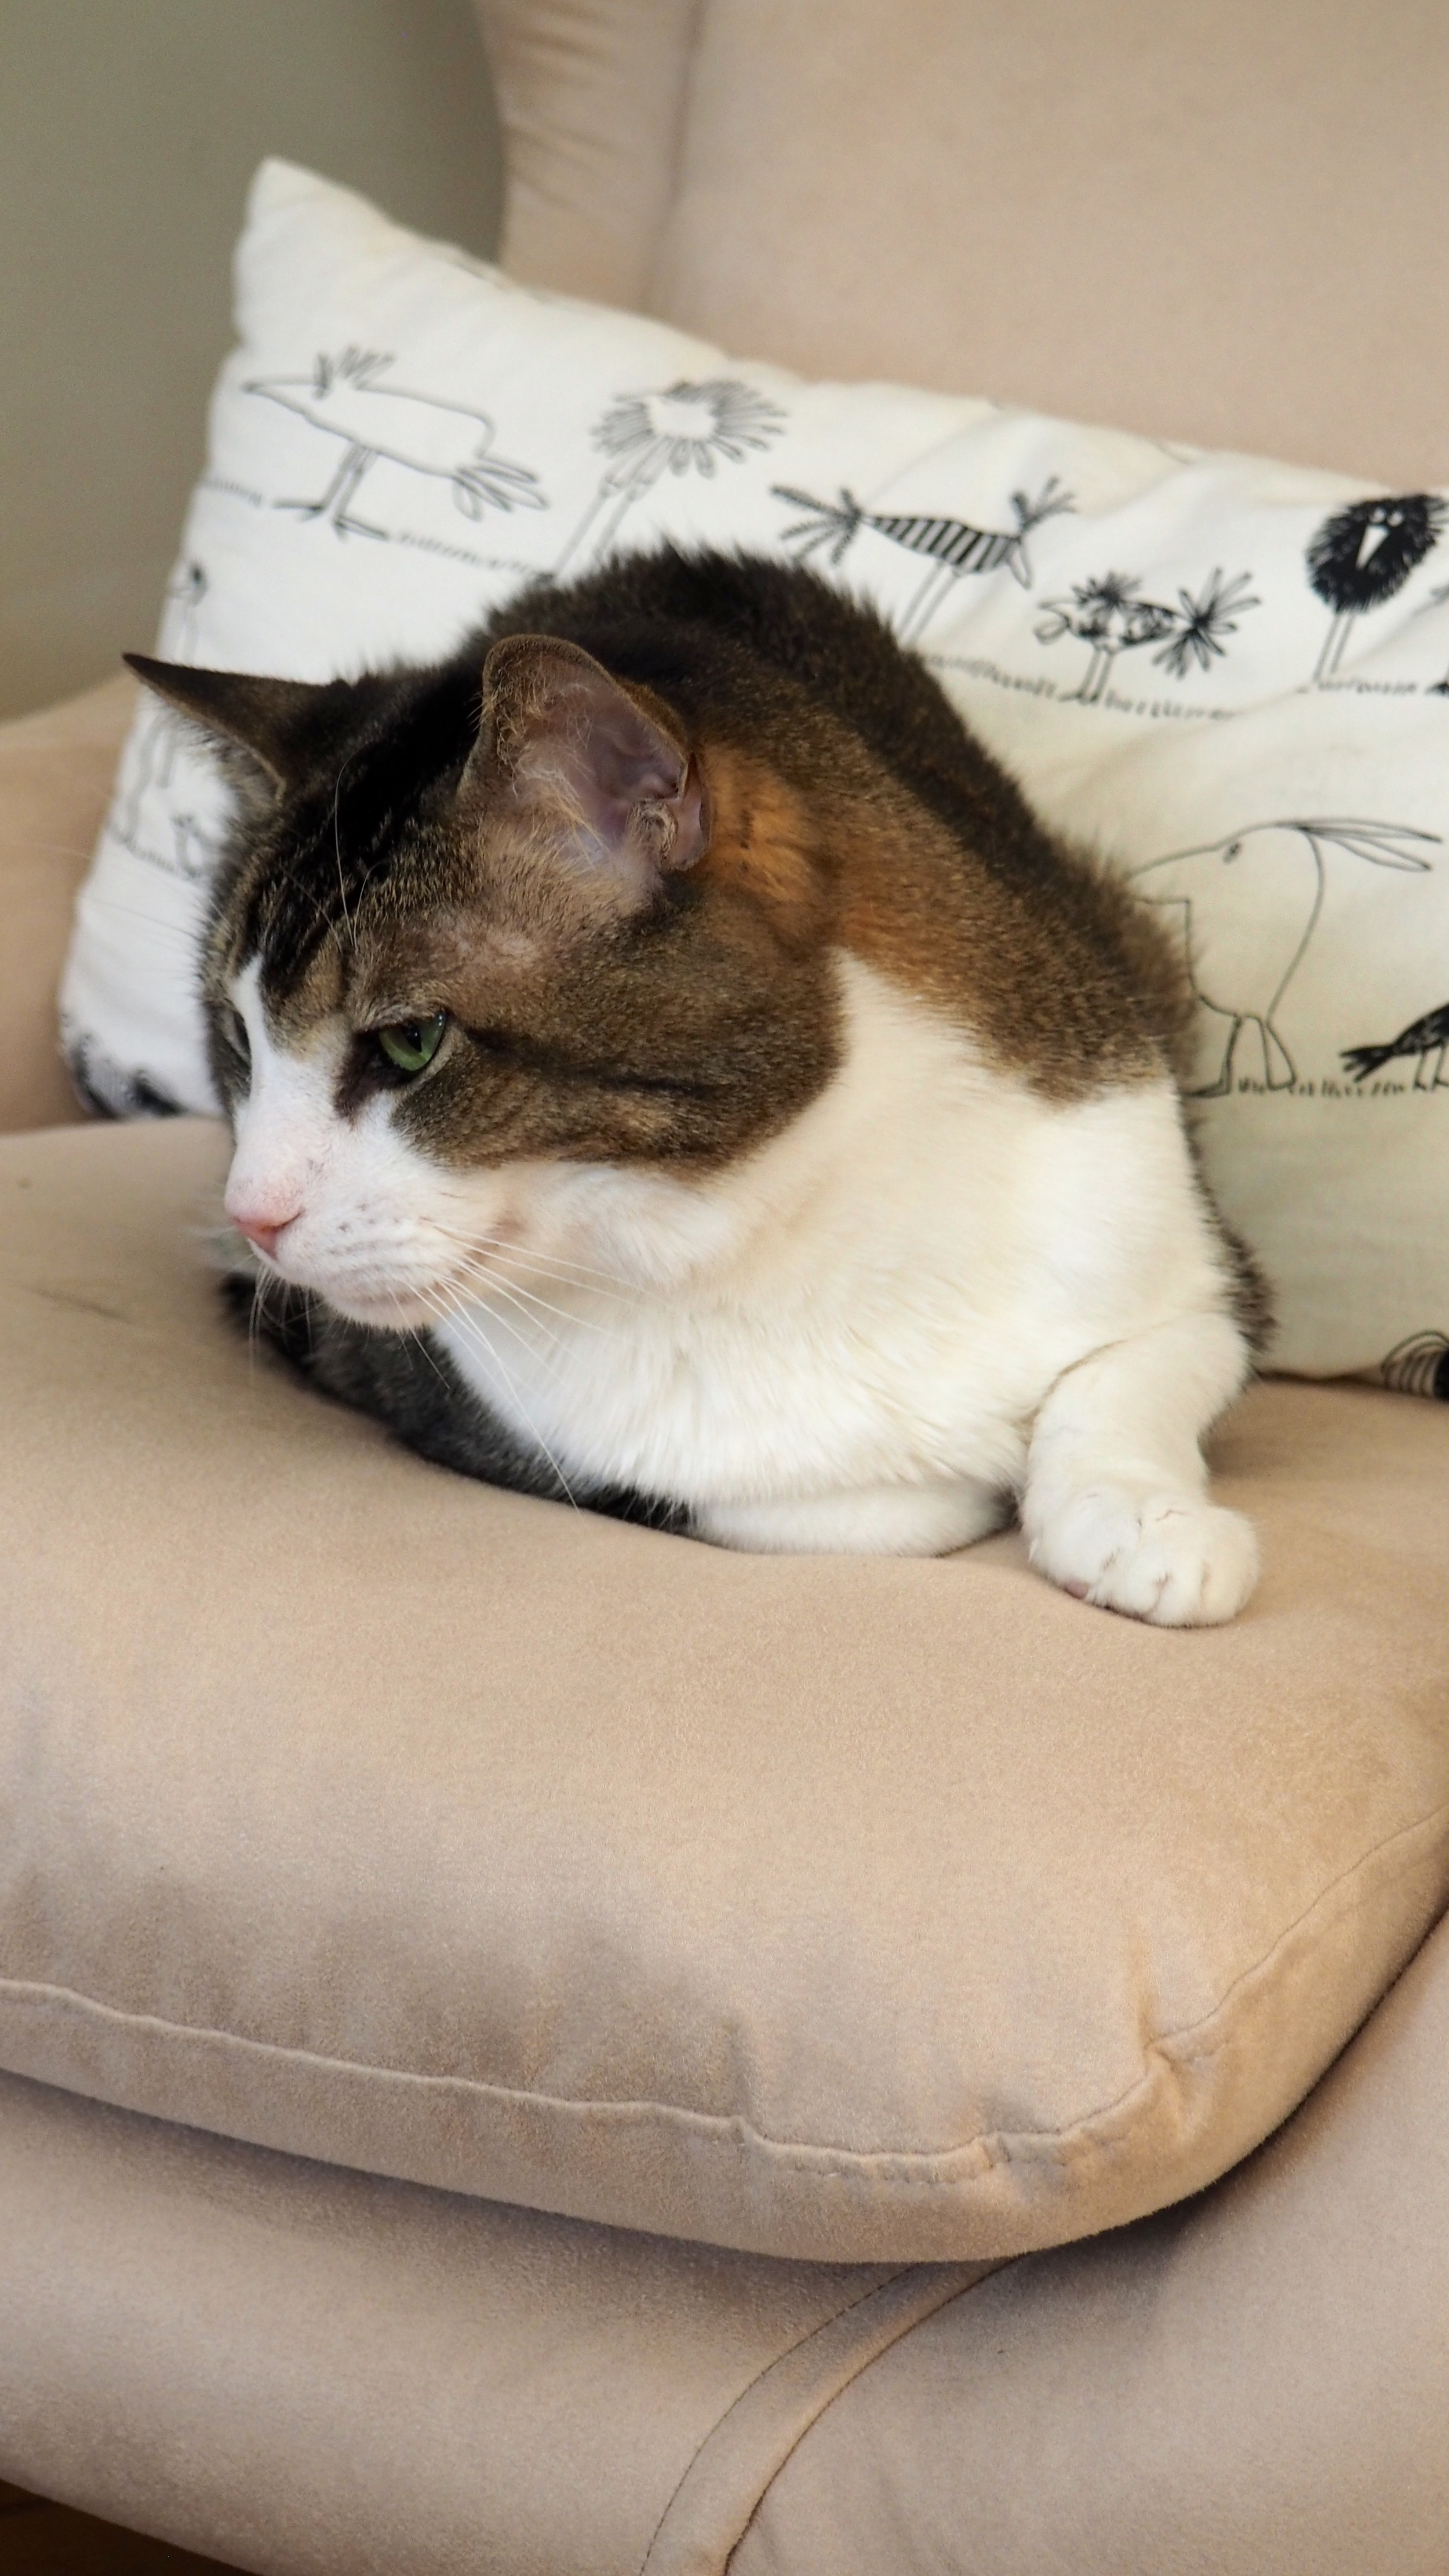
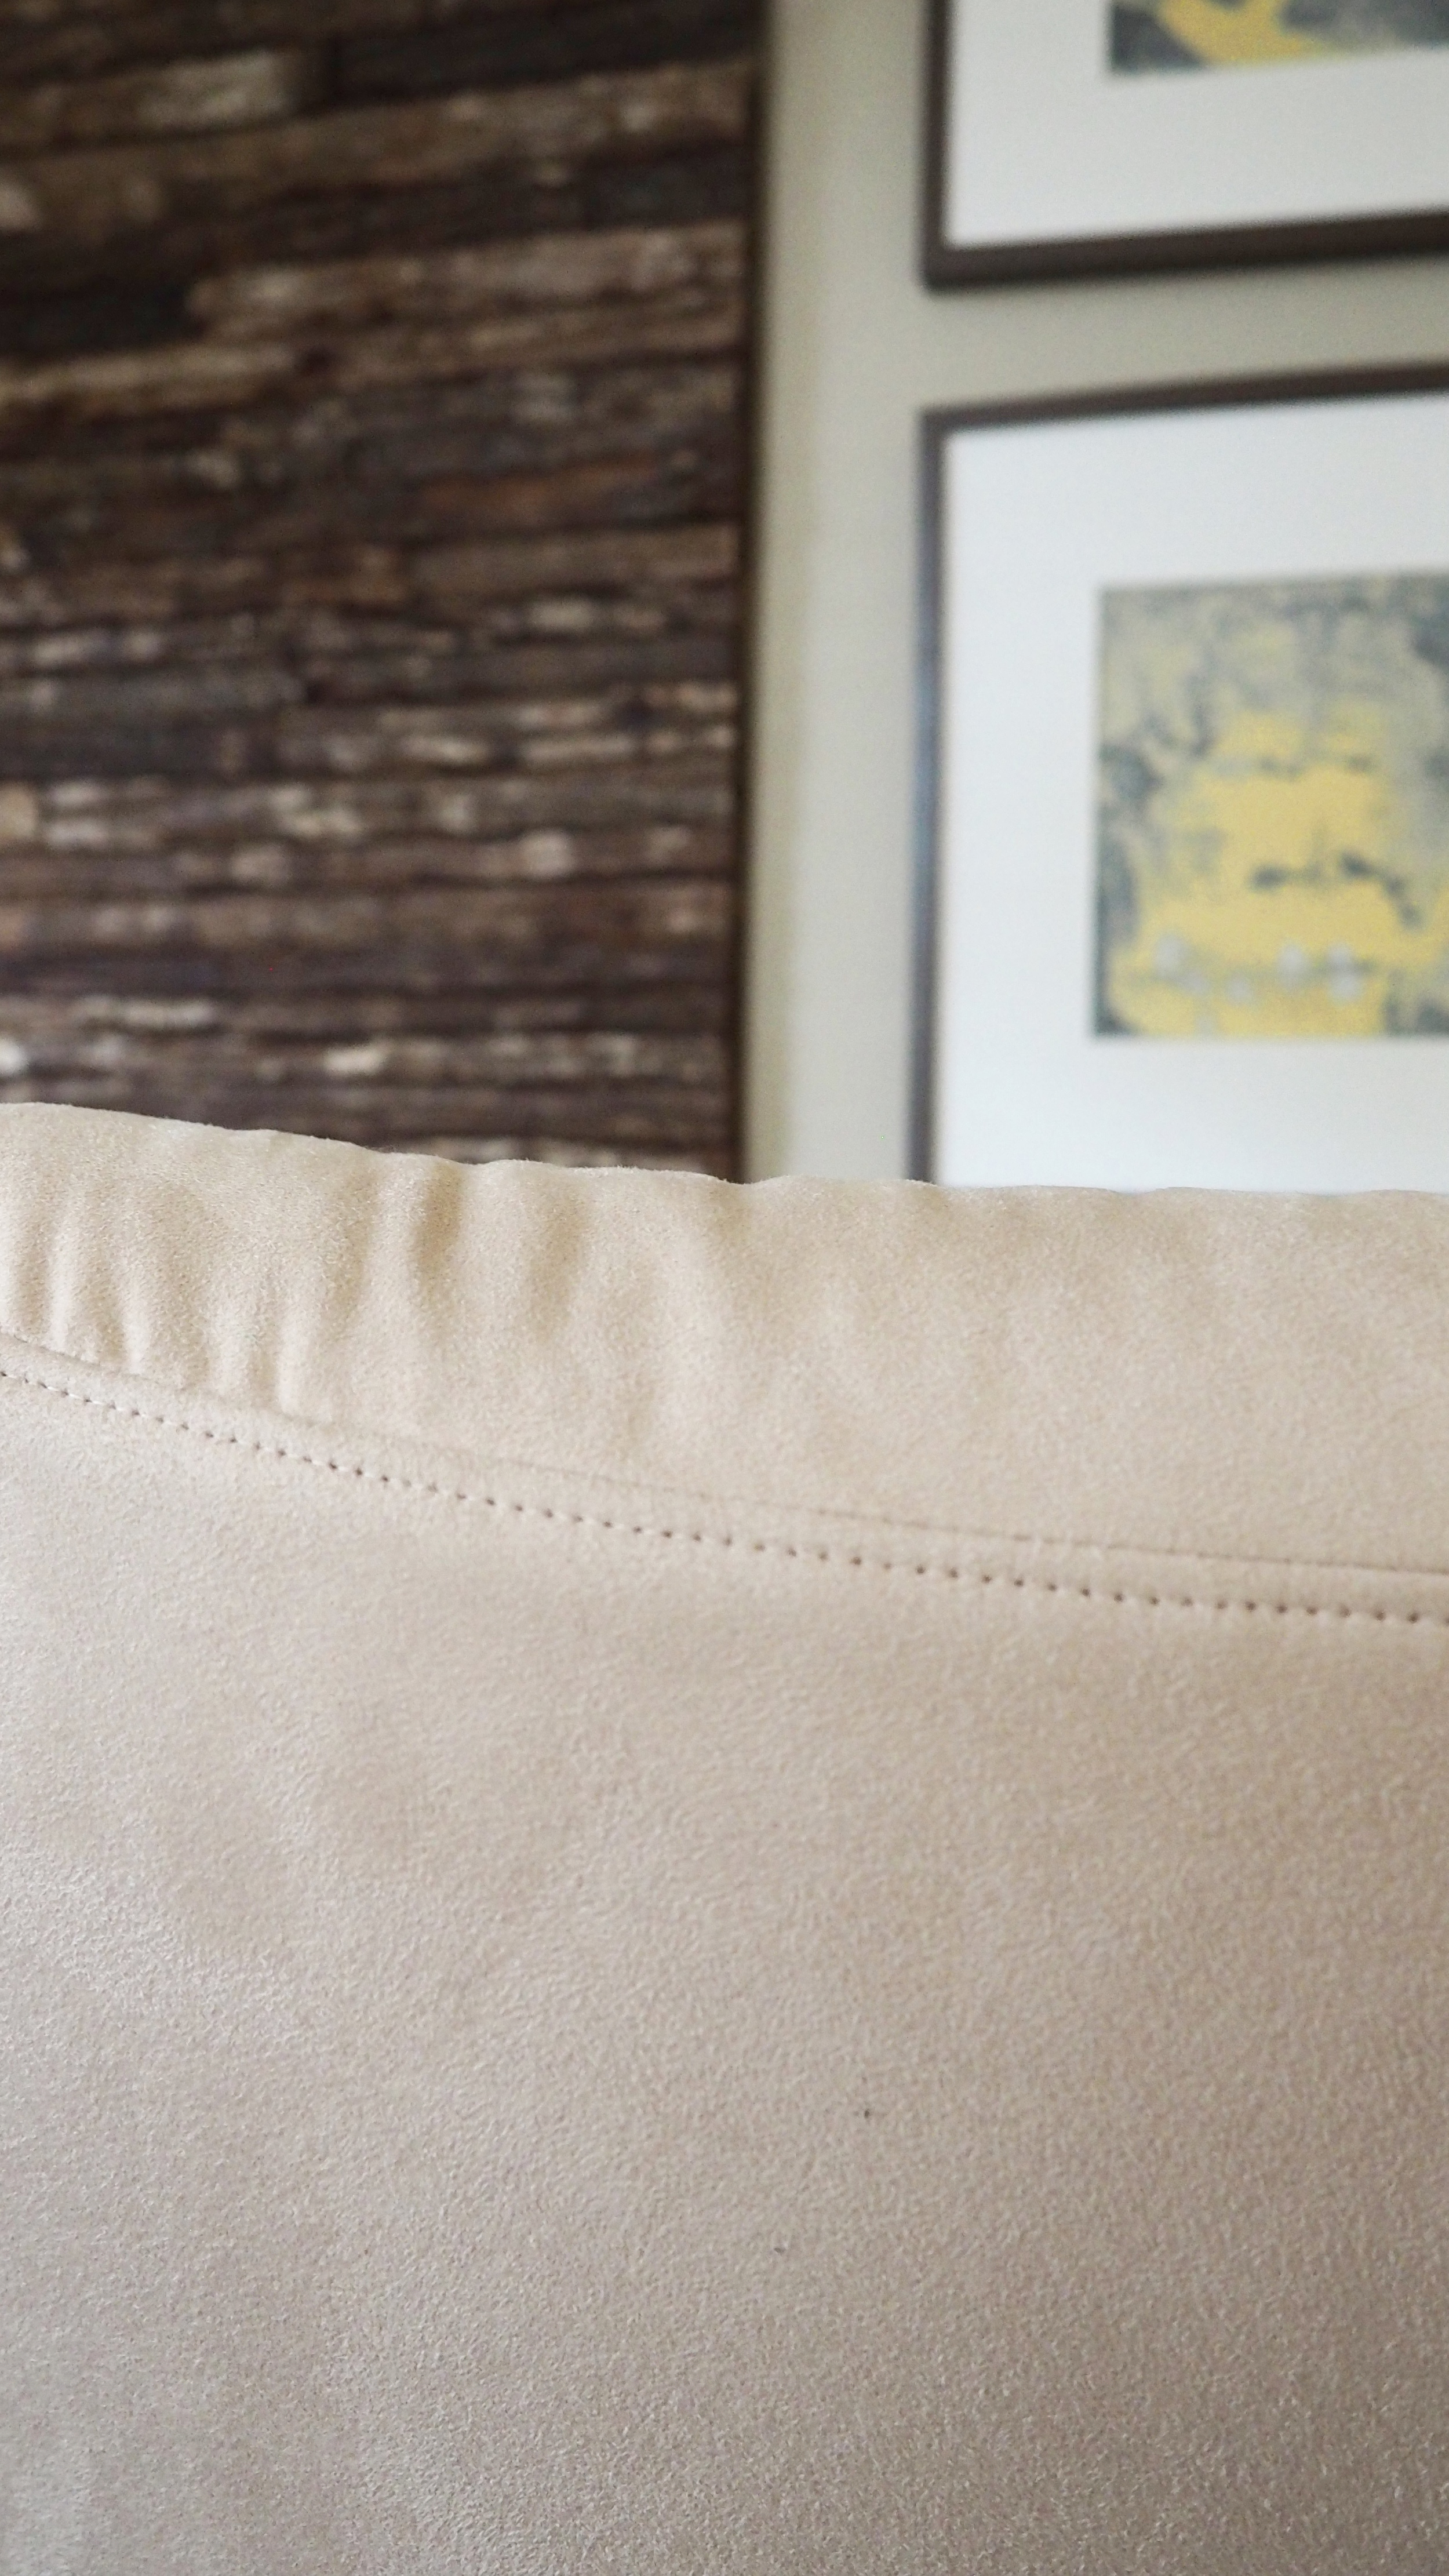
A few key things I had to consider (aka lessons learned) when picking the fabric. First, stretch. In reupholstering such crazy shapes as this chair's, one should always go for fabric that has just a bit of stretch in it. I didn't (mistake!). But thankfully, it was a mistake I didn't have to deal with (see there? outsourcing is always a smart option). Second? The type of fabric. In my experience, microfiber is the only fabric that can stand up to both having a dog and a cat (and as you can tell, Rebel is already taking a liking to his new digs). And last, but not least, price. There's always a possibility for a bargain - you just have to look long enough (e.g. about three hours in the fabric section of the store). I needed 8 yards for this project and I found the perfect fabric buried way, way back that was $15.99/yard with a healthy 50% off. A total steal!

So, there... for the small price of $265 ($200 for labor plus $65 for fabric), I got myself a gorgeous classic chair to my color and fabric liking. And even though it may be an oldie, we certainly taught this chair some new tricks, don't you think??

Happy inspired Monday!

Posted on September 21, 2015 and filed under Design + DIY.

Clean slate no more: Chewie's new stomping grounds!

Right on time for this great Houston weather, I am happy to announce that the patio is finally (almost) done! Despite this being its version 3.0 (or maybe 4.0? I have lost count already), it still feels like it is brand new! So let's dig in... 

First off, why? Well, you may recall that I recently uncovered my wonderfully-looking pavers hiding under a ton of dirt and who knows what else... Which, unexpectedly, proved to be quite the inspiration. I do not often undertake re-design projects without planning a good few months/years in advance (talking about you, dear kitchen, that are still waiting patiently in the project queue!). But this was a different story. It just felt like it was time to invest in something a bit nicer and more durable. And that I did! Here was my project purchase list:

Beautiful, durable and comfortable seating, the key component to any successful and functional space. That took a lot of research, mostly due to my obnoxiously frugal spending habits. And... I am proud to say that this deal will be remembered as one of my most undervalued purchases ever! Not only did I get the last available set, but I was also able to snatch it up for a mere $409 (notice it's already a good $200 more??)! Add to that (or rather don't), no tax or shipping. Yup, you read that right!

But wait, there's more...

Fun accent chair, tables, and accessories, or what gives any space its character. I got lucky there too... A local store that is part of the At Home franchise (previously known as Garden Ridge) is currently going out of business. Or, in other words, everything in the store is 40-70% off. That is off of their already very affordable prices! I was able to knock out everything on my accessories list right there: pillows, accent chair and two ceramic side tables. All of this for less than $150. Just one such table can cost you more than that! Instead, I scored two of these for $35 each!

Last but not least, some shade. Houston gets a "bit" sunny in the summer. Which makes for a great incentive to invest in an umbrella. Preferably, one that looks good too :). The image below shows exactly how HUGE this umbrella was when it arrived. And that sadly did not even include the base. Which, on purpose, weighs more than 100lbs. Multiple groans, bruises and failed attempts later, I was actually able to roll it into place and set everything up. Shade really never looked or felt this good before. Promise.             

I still have a few things that I would like to add to this patio. On top of my list are these string lights that just seem too perfect to pass up. But yeah, you could say both Chewie and I are very happy about this new arrangement :). 

Posted on August 31, 2015 and filed under Design + DIY.

The power of a power wash...

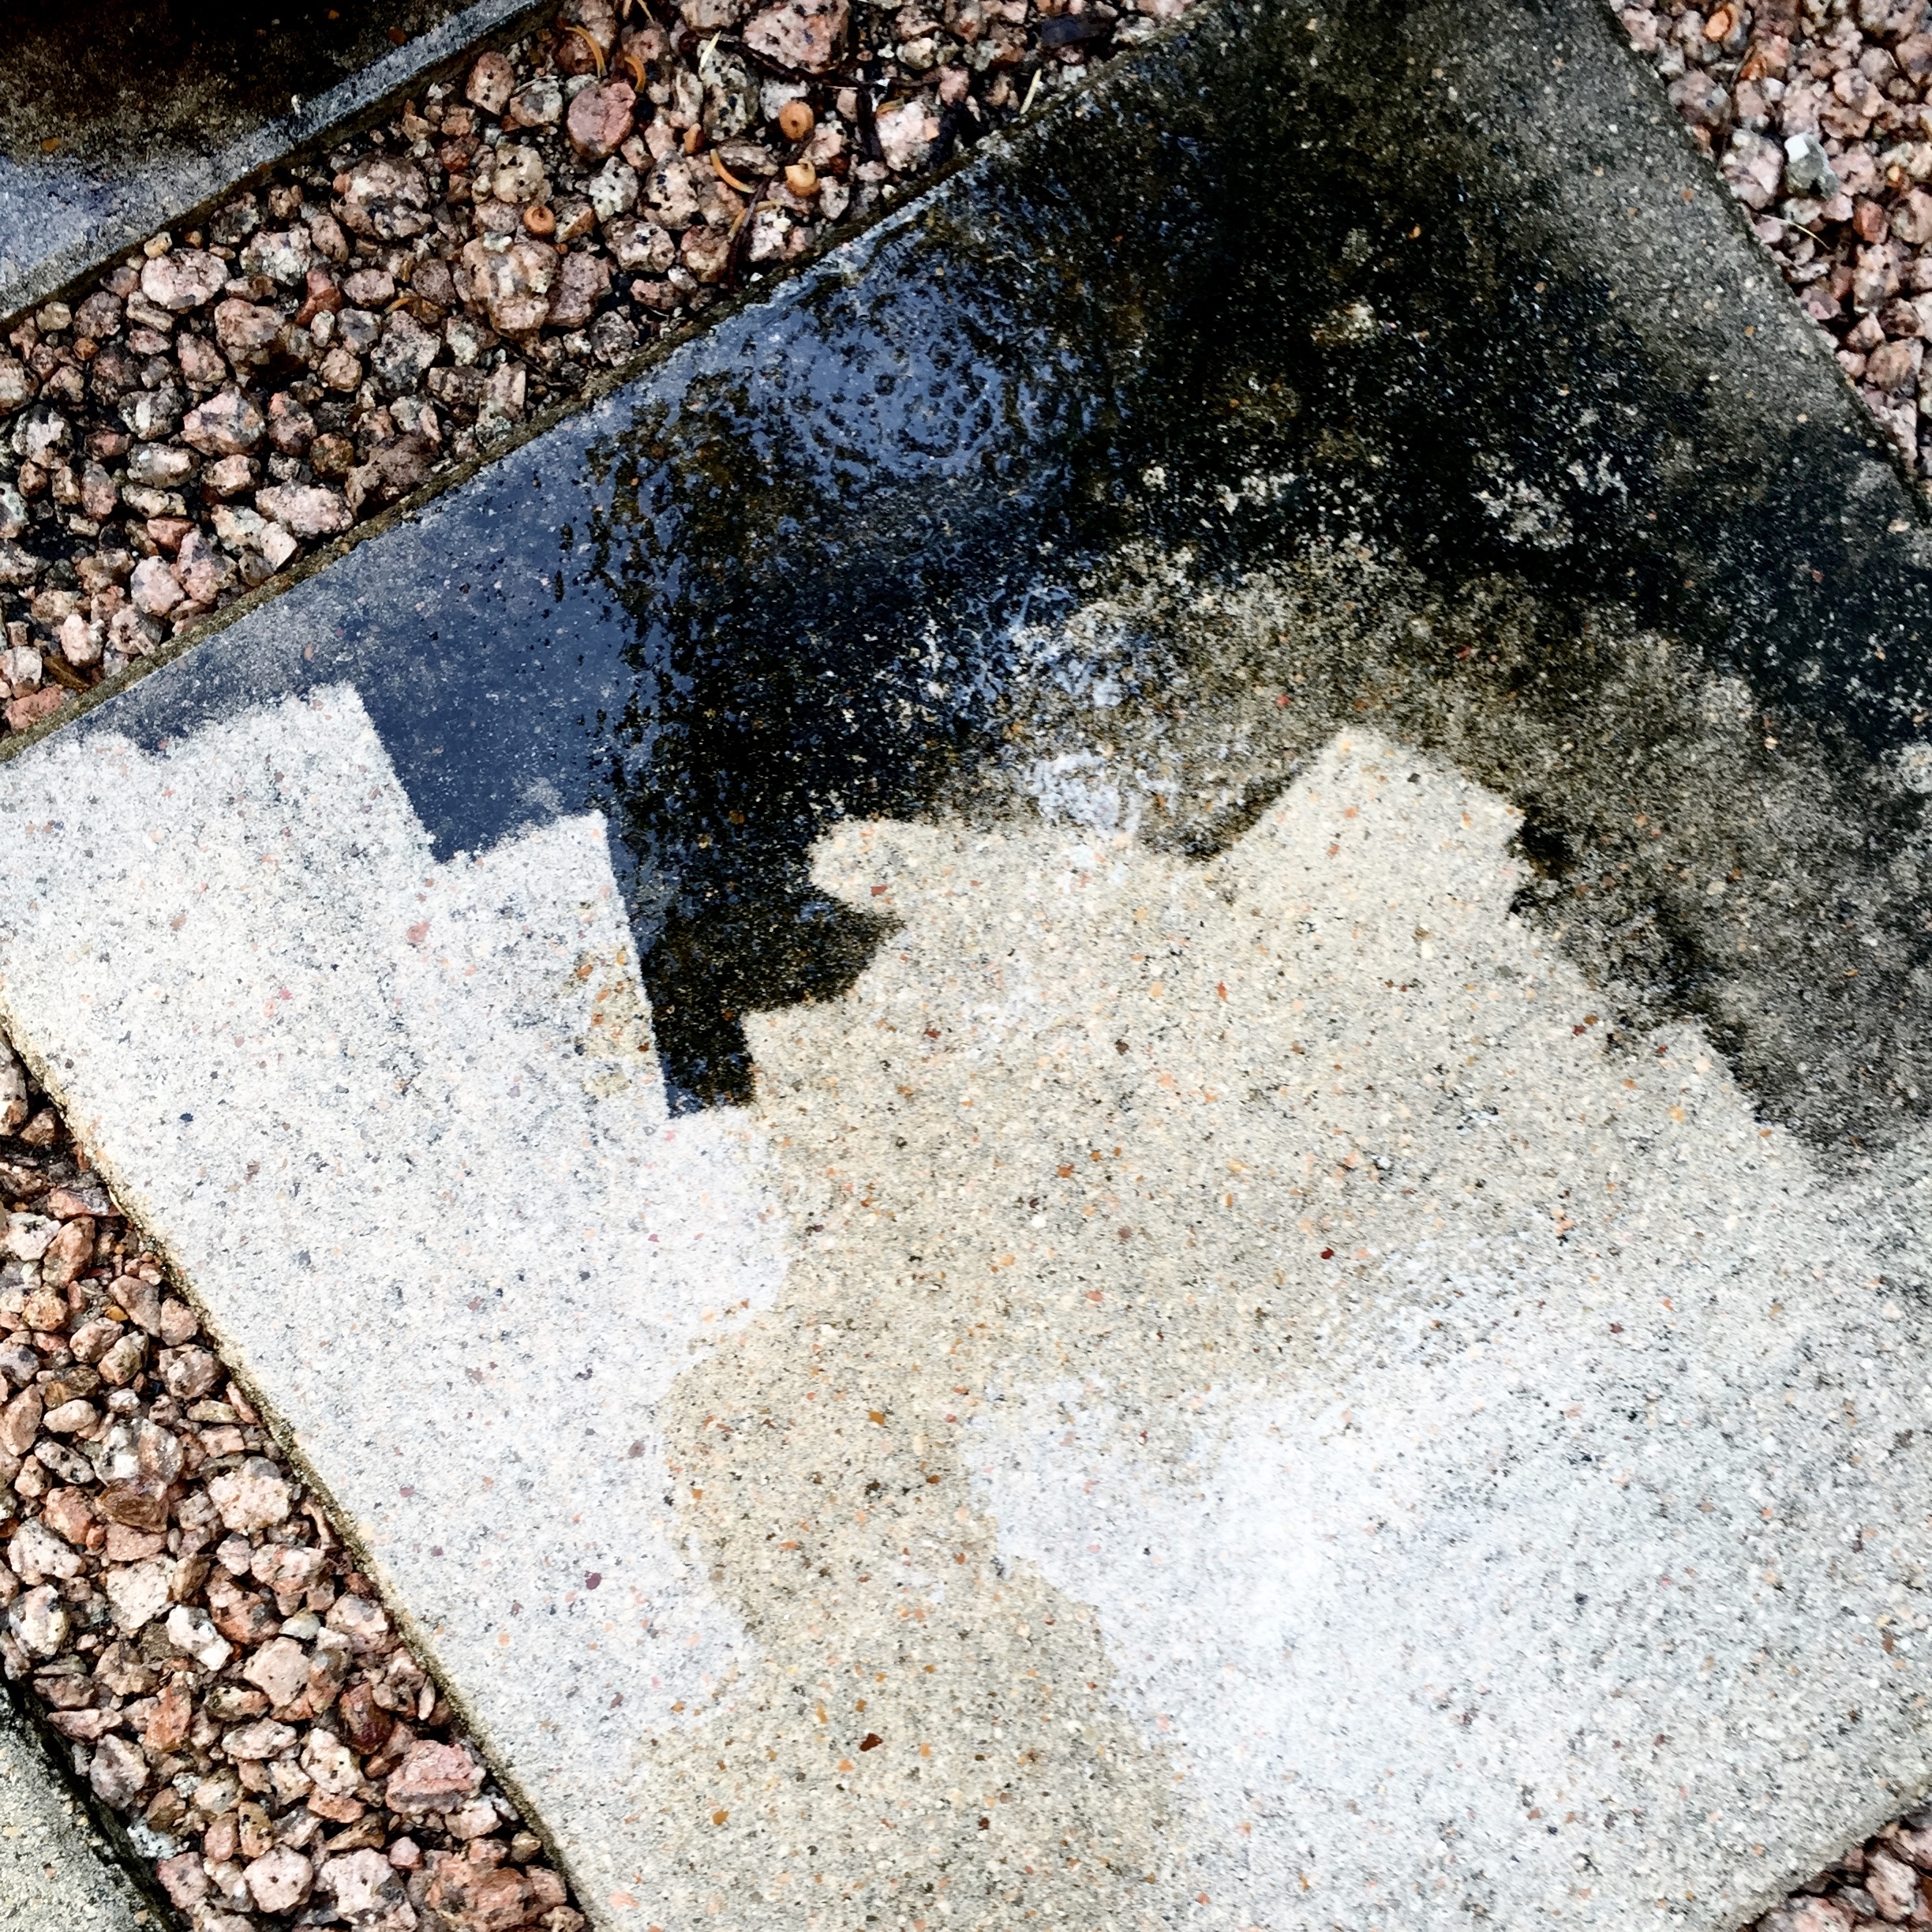
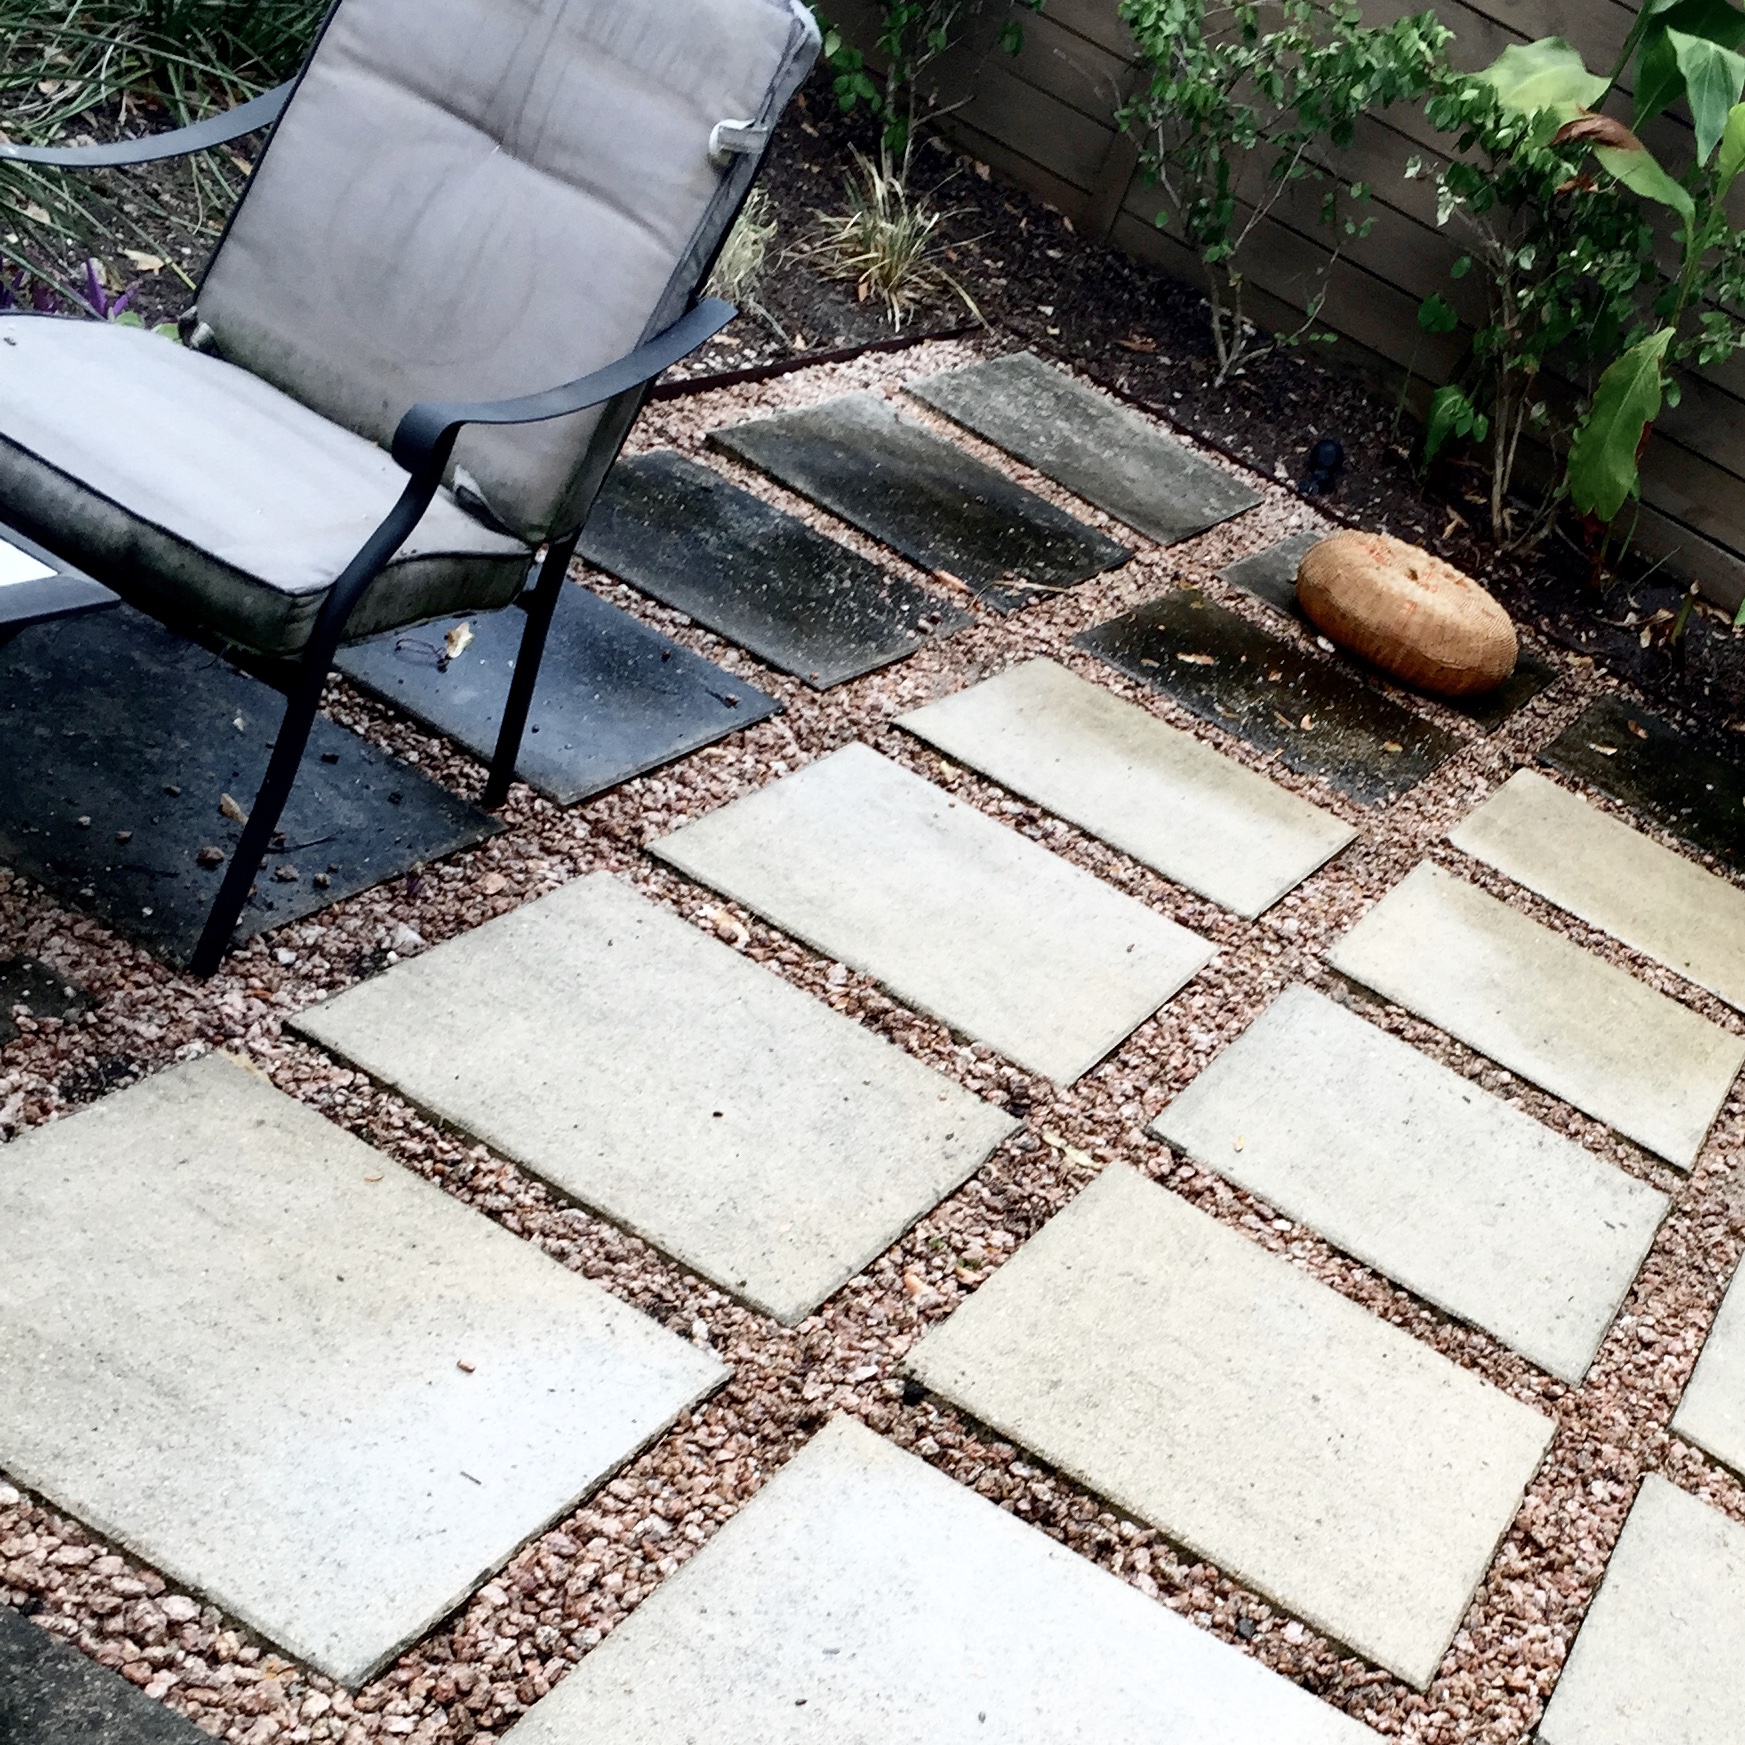
Let's chalk it up to Houston weather and/or the local flora... but I am sad/slightly ashamed to admit that my patio had not seen a lot of love from me these past few winters. Namely, mold seemed to had found its way onto my beautiful (well, used-to-be-beautiful) concrete pavers for what appeared to be an eternity...

This stunning "marble-like" feature on my pavers is not intentional. At all... Compare the above to my gorgeous pavers circa 2010:

Yeah, I miss those too. Granted, 5 years can make any outdoor feature feel unhappy and neglected, right? Indeed! Until this happened... 

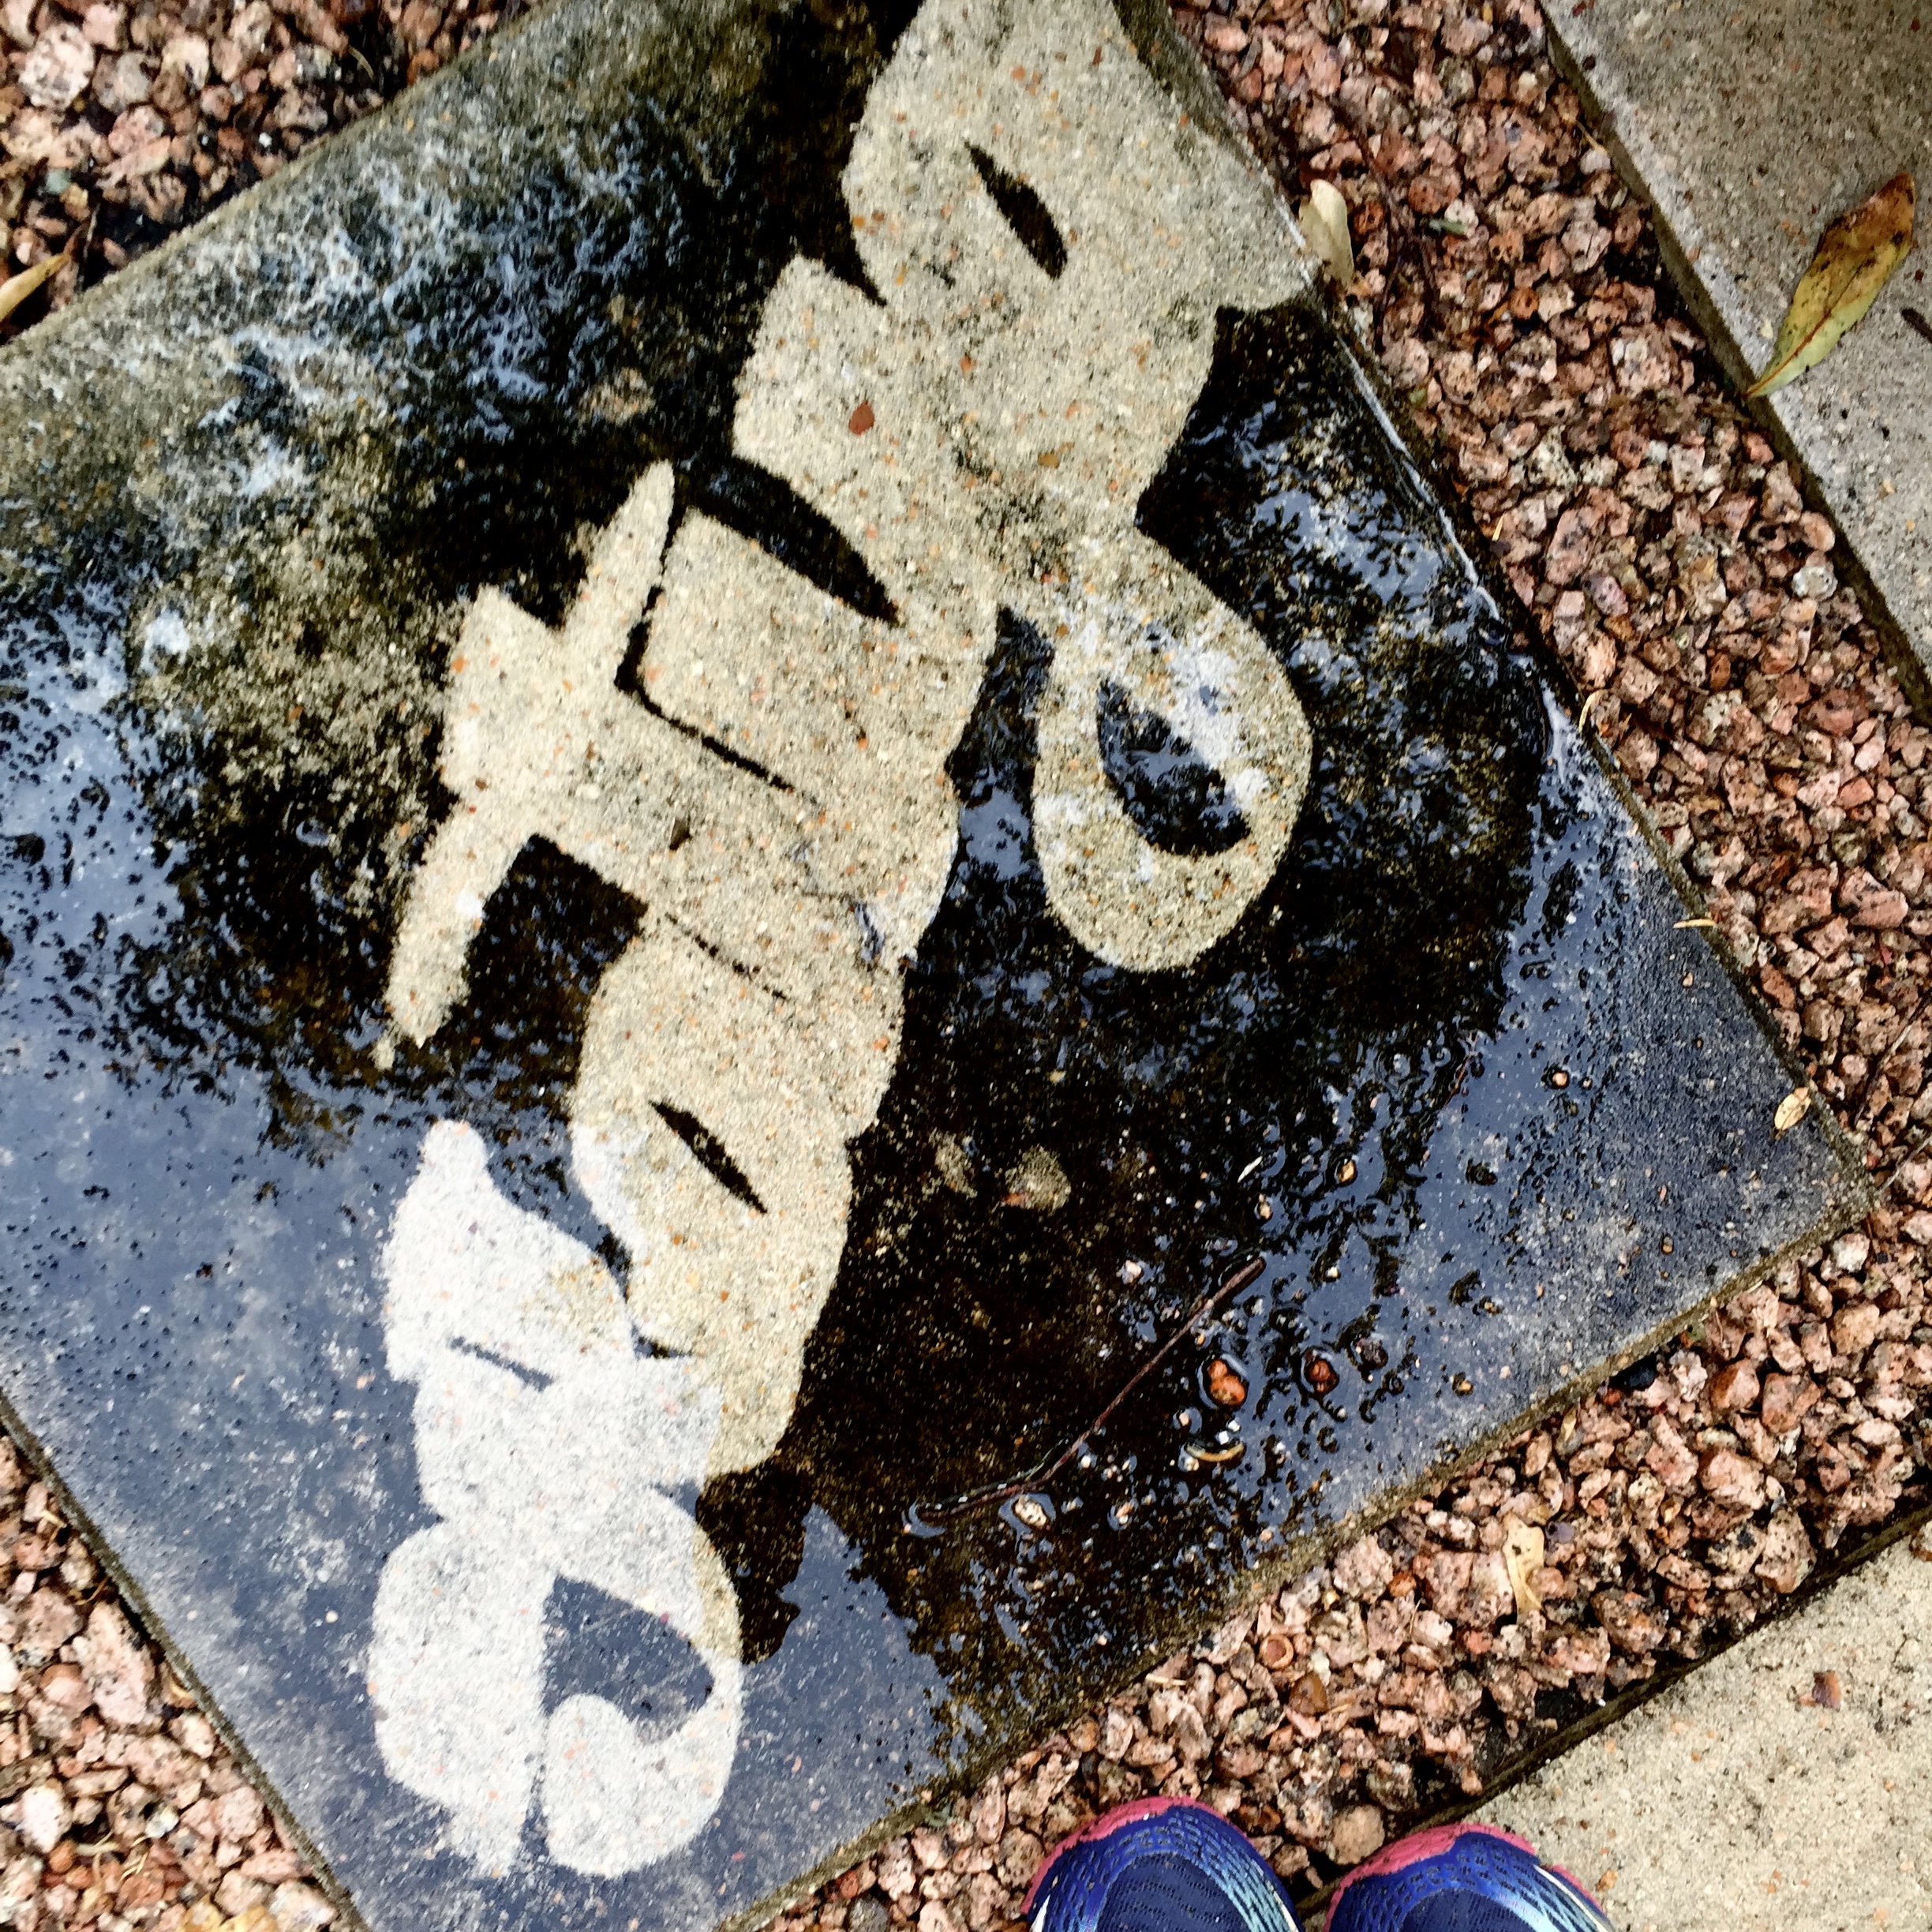
Bam! Hello, borrowed power washer! How mighty are you? Well, since you ask Katya, I am exactly 1,900 PSI mighty (is what my friend's power washer would have said). What a difference! And as I was washing each paver, inch by inch, a few things were flowing through my head (I had plenty of time to have things flow through my head: these took a good 2 hours to clean!)...

First? This stuff is addicting! Such instant gratification is rare to find. Ingenious ideas on what else I can power wash included... The outside of my brick house? The furniture? The plants? The dog? Just kidding. But I wanted to do it all. So much so, that I did end up power washing the entire common area of my HOA (e v e r y    s i n g l e    b r i c k). 

Second? I was wondering what would be the most efficient way to wash a 2'x2' paver... Straight line? Zig-zag? Circular motions? Random motions? Writing your name on it? I tried it all. I should have timed it all too but I feared that timing it would erase any time advantage I would gain from being efficient (I told you I had time to think). 

Third? I need to invest in one of these for a permanent use.. 

So... what does this exercise leave me with? One heck of a clean slate ;) But more on that soon! Happy Sunday!


Posted on August 9, 2015 and filed under Design + DIY.

The gift that keeps on giving...

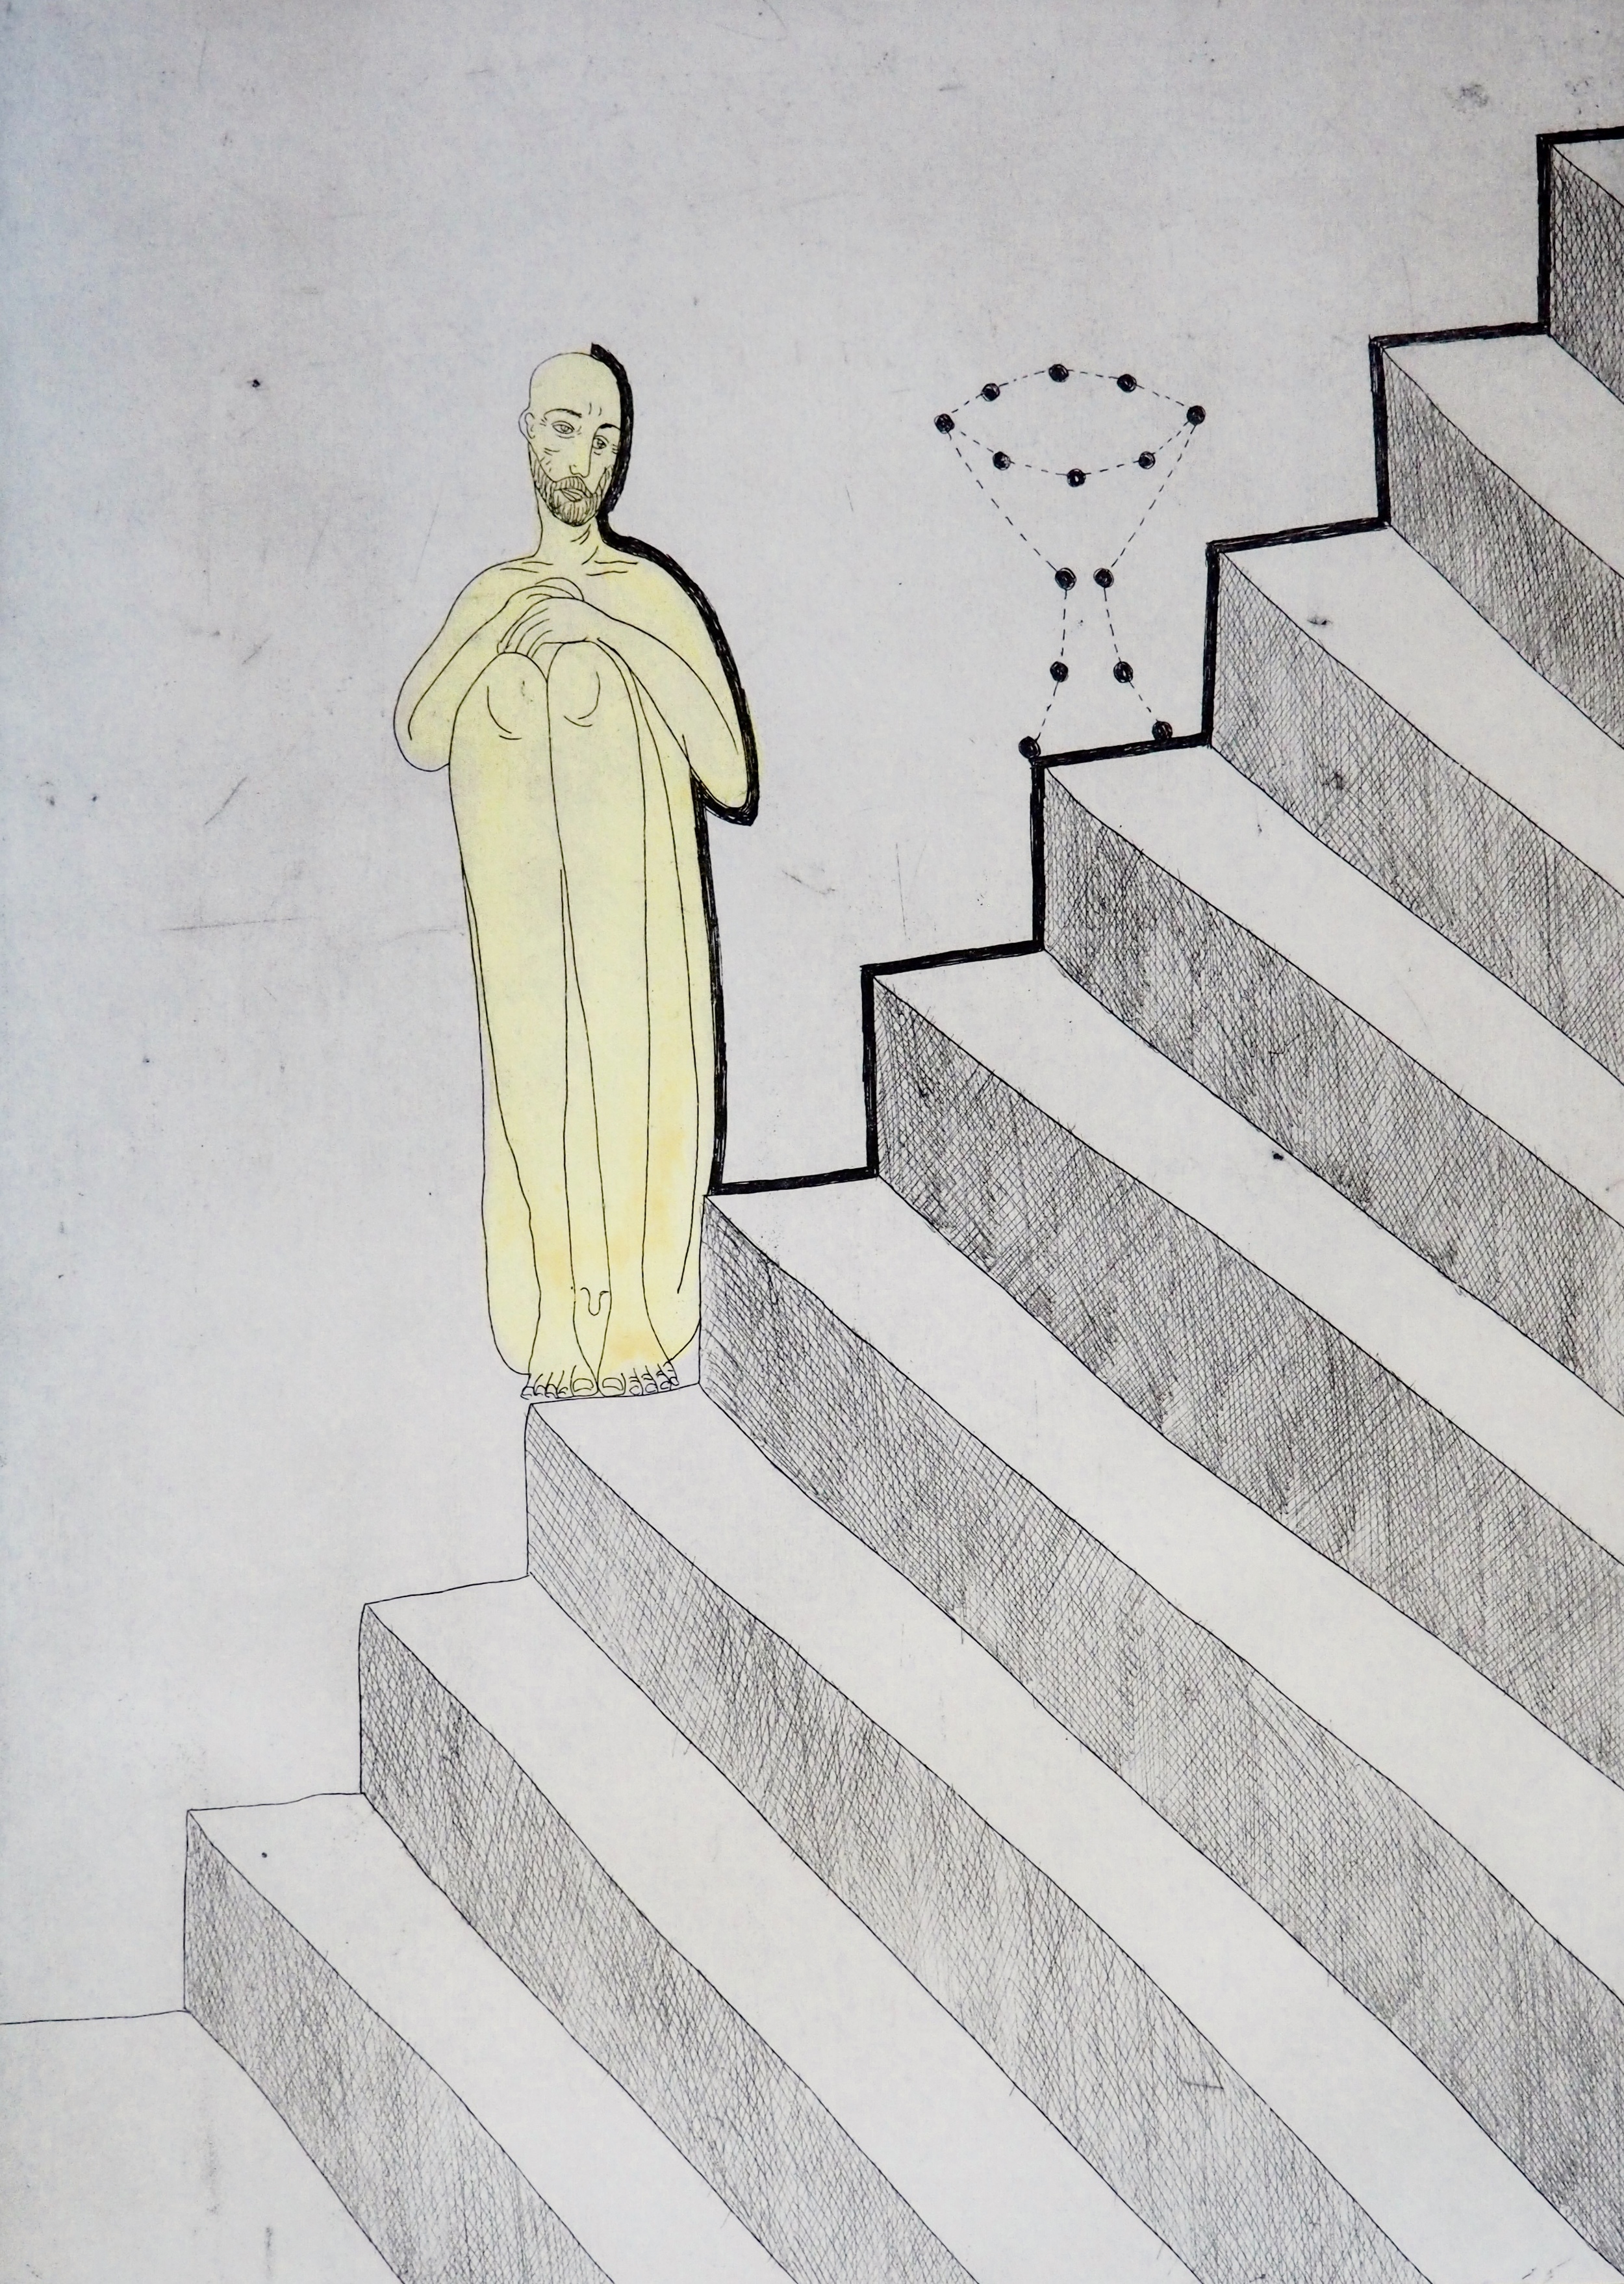
This year, my family shattered every record of thoughtfulness, selflessness, and generosity. Or, perhaps they just finally gave in to the years of constant and unashamed nagging and/or begging? My birthday gift (among other things) was a set of unique original prints by our favorite Bulgarian artist, Kolio Karamfilov. To many (most), this may not mean much. But my family knew exactly how incredibly meaningful this would be to me - we have been collecting his oil paintings and prints for years yet I have always been drawn to these particular prints because of their stunning color, texture, and storytelling. Not sure if they would speak to you as much...but here is a glimpse:

So what is one to do with such a precious gift? Display it, of course! Enter, challenge of the year - how to not spend an arm and a leg but still pay the deserved homage to these amazing pieces of art. Ordinarily, framing and matting 12 prints of this size can easily run north of $1,600. But sometimes, something as equally as respectful (I hope) would be to save some of your hard-earned cash and put plenty of sweat equity into it instead, right? Right.

First, there was the matter of purchasing 12 frames. Each print is a good 11"x15" so it required a substantially large frame too. As much as I liked CB2's picture frame for the humble price of $69.95ea (x12 = $720 + tax and shipping), I just knew that Ikea may have the answer instead. And boy was I correct! Look at what I found.. the perfect frames for a mere $14.99 ea! Those were quickly stacked into my cart. Next? Matting. Gulp. 

Here is where you are probably thinking... Katya, they all look the same. Well, perhaps it appears this way. And yup, this was merely the final selection! I must have gone through a good 100+ white/grey/beige colors and textures. But I was so very picky in order to make sure the matboard would not distract from admiring the art. Which was a fun exercise until I inquired about the price... The one I had picked (the last image above) would have cost me a good $80 per frame (doing some simple math again, x12 = $960).

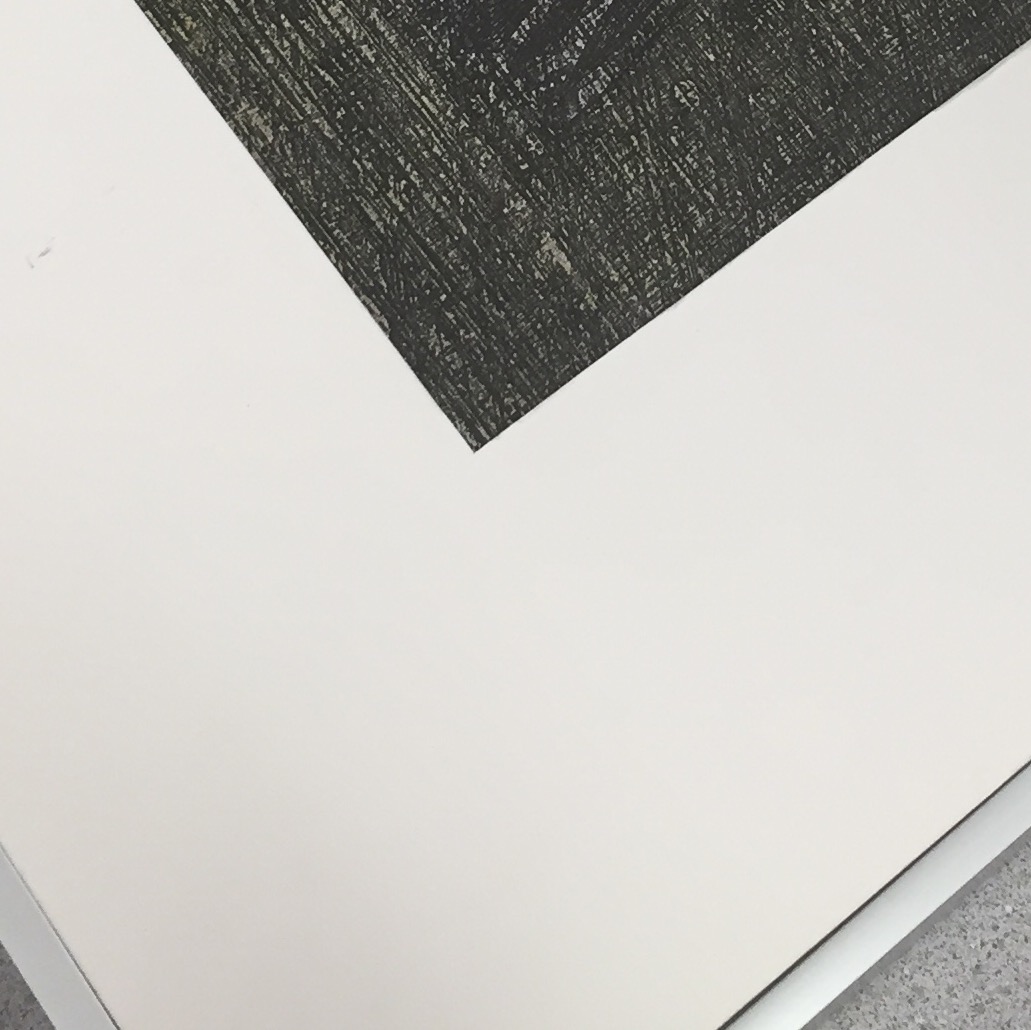
Well, I found that to be outrageous. So I went to an art supply store instead. The real kind of art supply store. Hello, Texas Art Supply! And how conveniently located are you... on my way home from a disastrous matboard shopping (non)spree! 12 gigantic sheets of matboard of the exact same color I had picked (at the insane price of $4.95 ea), a matboard cutter (for less than $80) and some non-acetic tape later (for a total of $146), I had the look on my face that must have read something along the lines of... "I may have not done my own matting since college, but that has never stopped me before!!" And to be fair, I did not have to sacrifice much to get this done - I only lost the feeling in my right hand for about a week. And check out this sharp professional edge!

And here are my lovely prints all nicely hanging and organized. Well, just kidding. If you were to count, you'd notice that there are only 10 of them on the wall. As it turns out, placing 12 prints together takes up a LOT of real estate. I did my best... 2 of these lovelies are now hanging on the wall lining my staircase. 

And because I find the technique and detail of these prints so astonishing, I wanted to share a couple of close-ups... Just stunning.

And, of course, what is a piece of art installation without its admirers...

I hope I did these prints justice. I cannot be prouder, luckier or happier to be able to display them in my home. And I get to enjoy them every singe day. Truly, the gift that keeps on giving! 

Posted on August 2, 2015 and filed under Design + DIY.