Posts filed under Design + DIY

The Early Spirit of Christmas

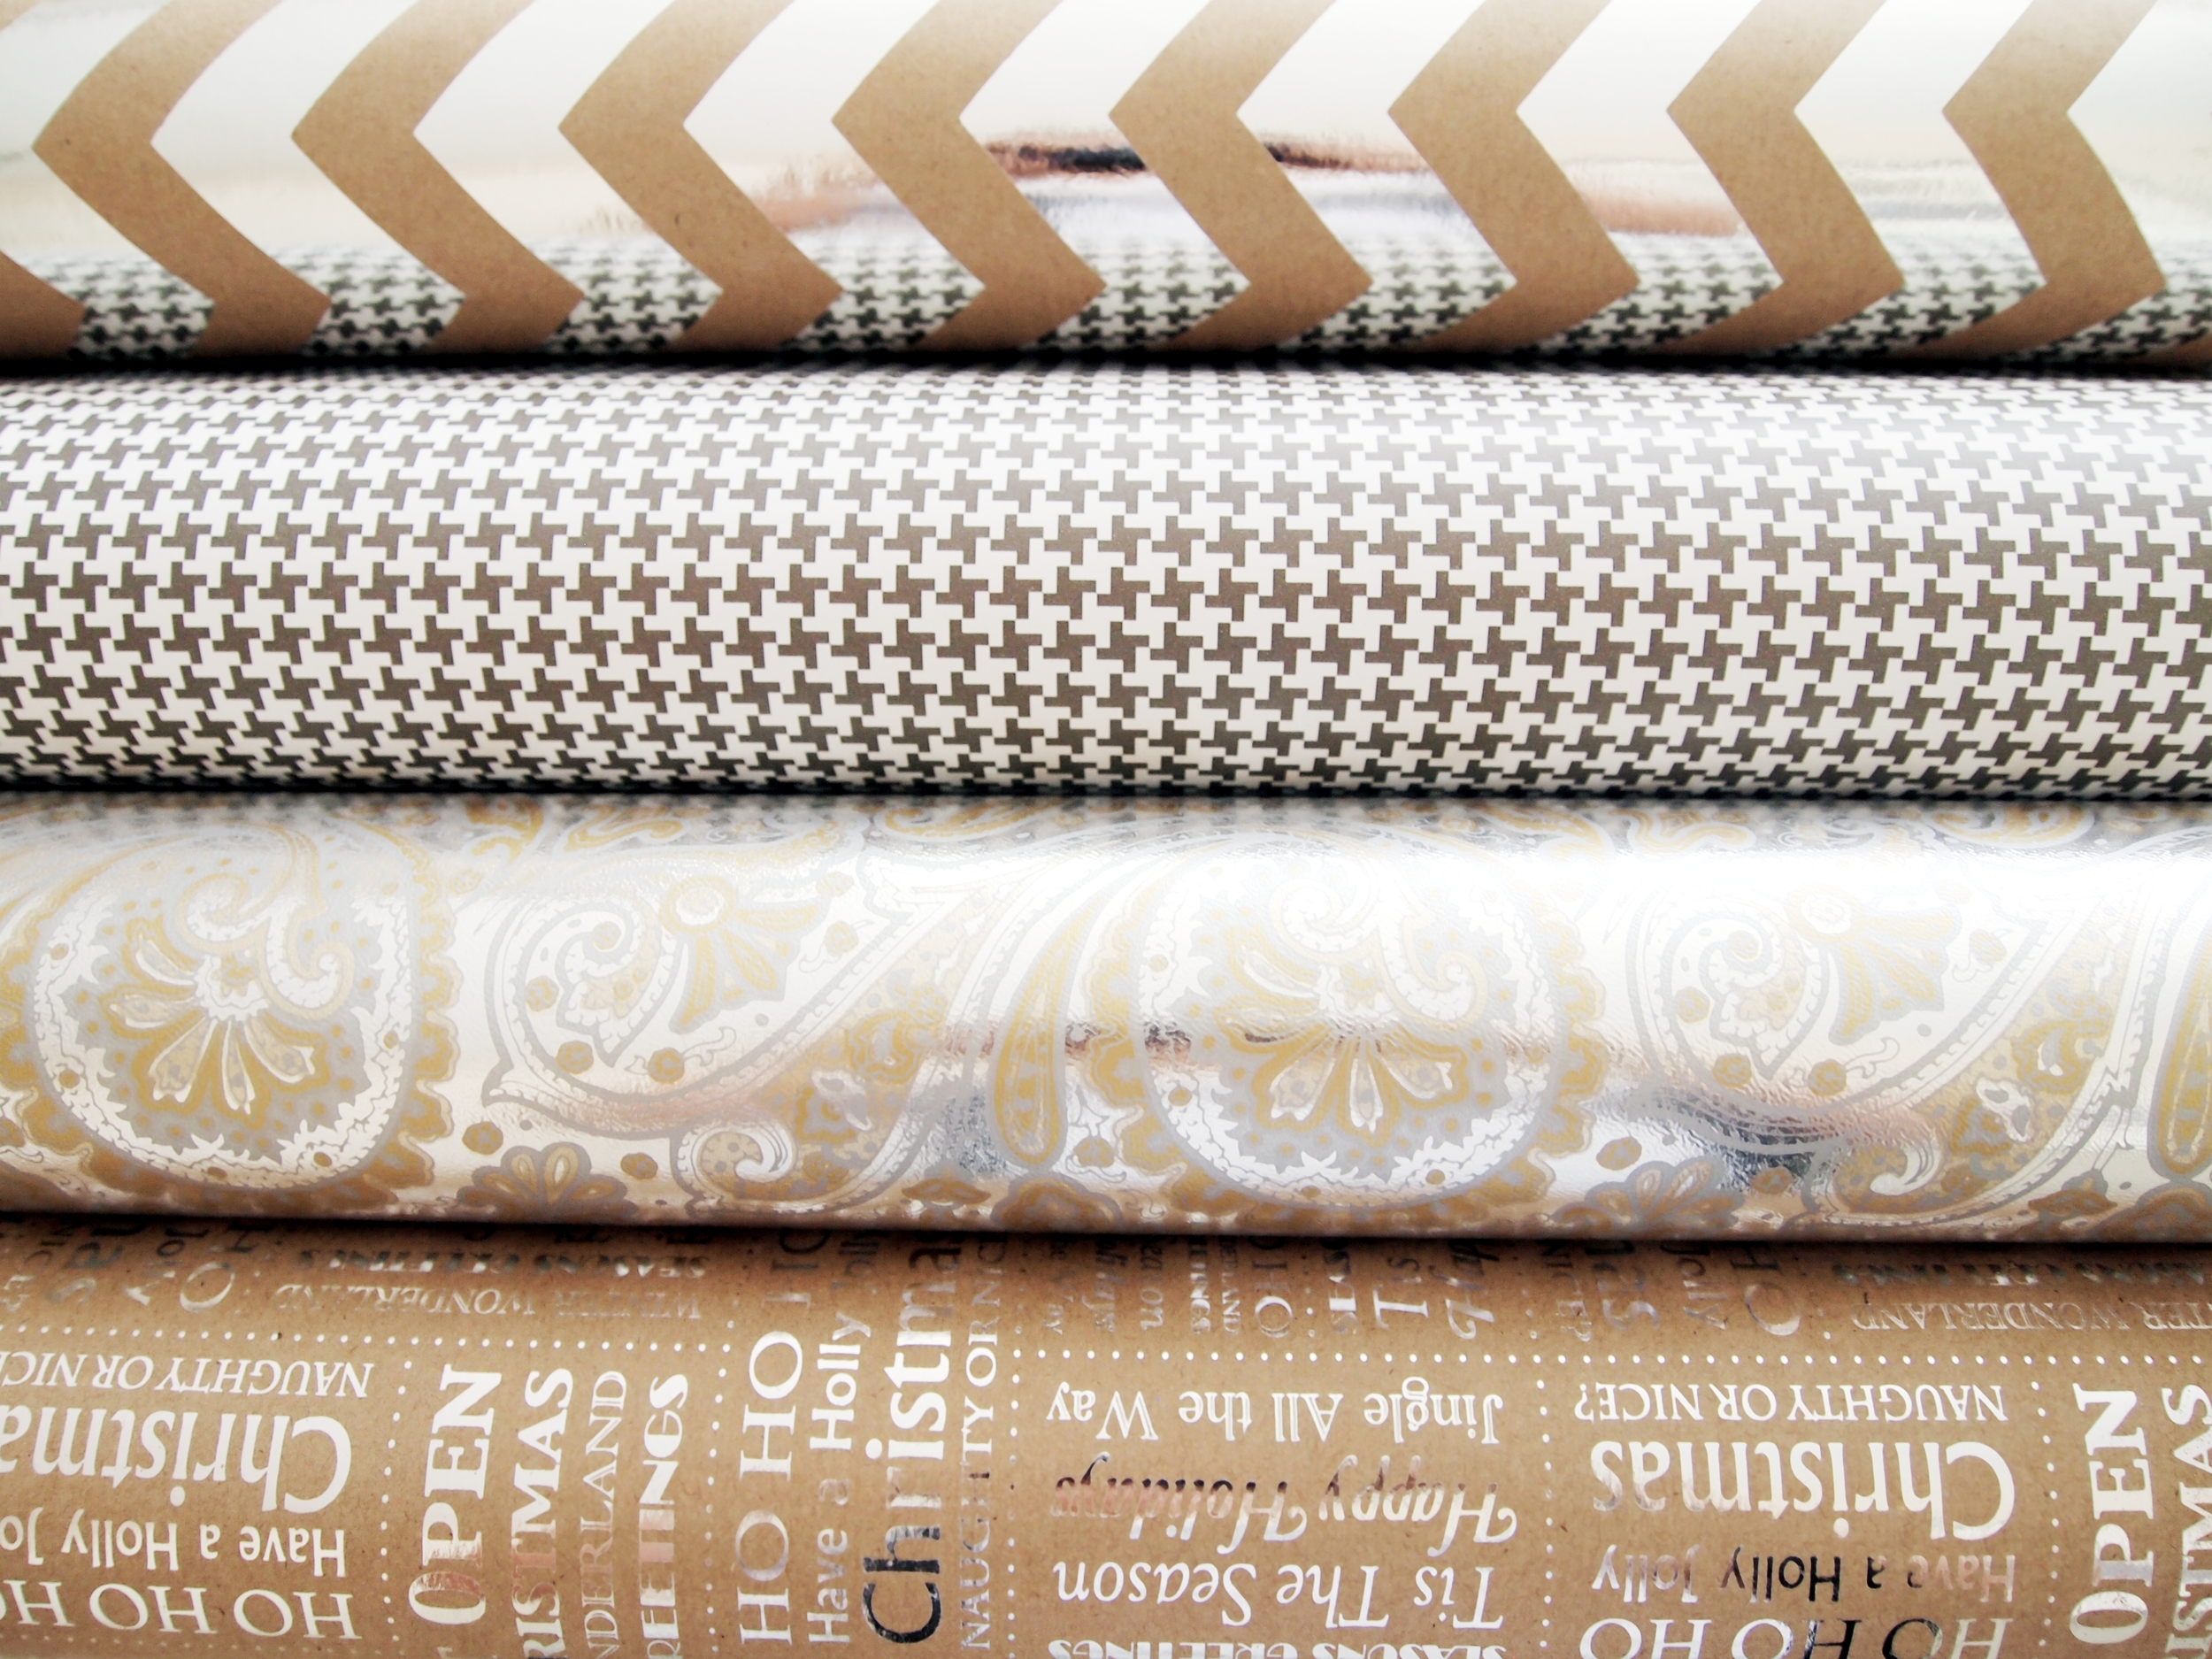
A Wrap List

  • Geometric Pattern Paper (2)
  • Classic and Solid Color Paper (1)
  • Pretty Tags
  • Crafting Cord
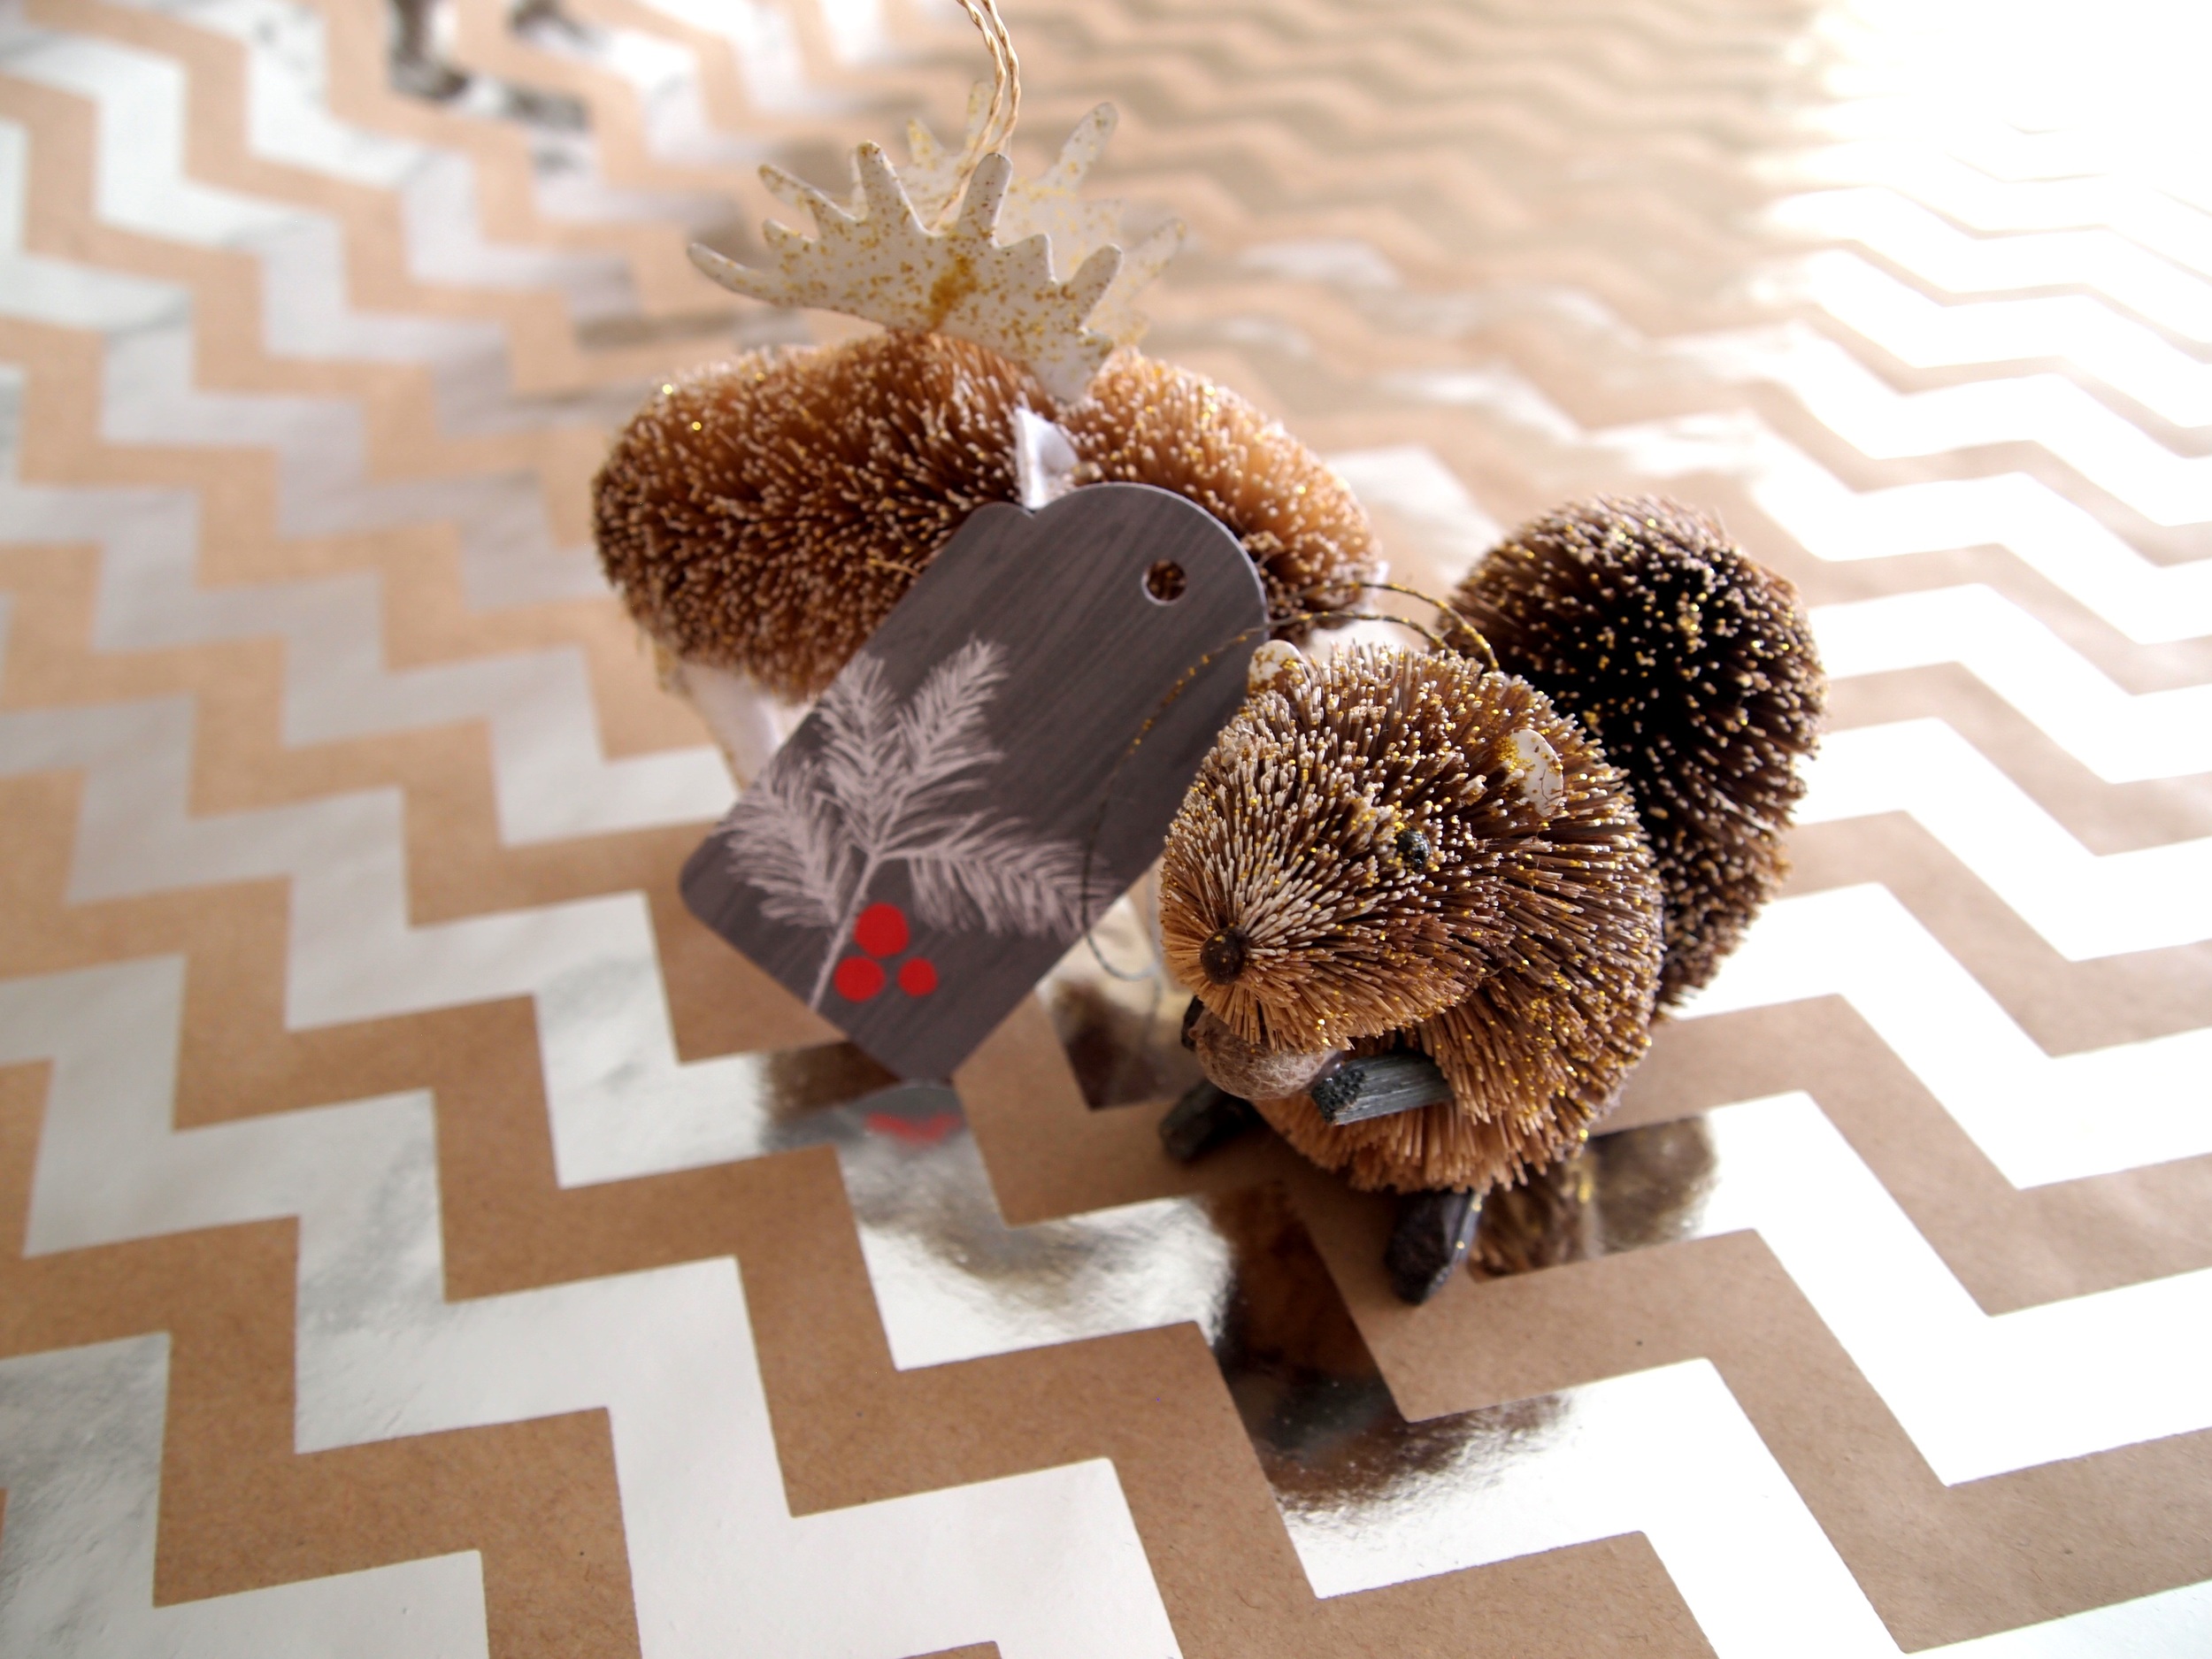
  • Christmas Ornaments

I Know It's Early but...

Have you started your Christmas shopping yet? I have... barely. And I have a confession to make. Usually, the thing that gets me going for Christmas is not the presents themselves but rather the wrapping they go into. And this year, like many others, I started the season by picking out the patterns and palette I will be using. 

Continuing with this modern kick I have had for Christmas this year, I decided to go with something a bit bolder, both in terms of patterns and palette. Let's start with the palette. Last year, I did a very traditional and ornate gold on beige on white palette for all presents. This year, I wanted something a bit more dynamic and something that pops more. And what better color to do that with than red? So, this year is the year of:

Muted Gold & Silver, White & Bold Red! 

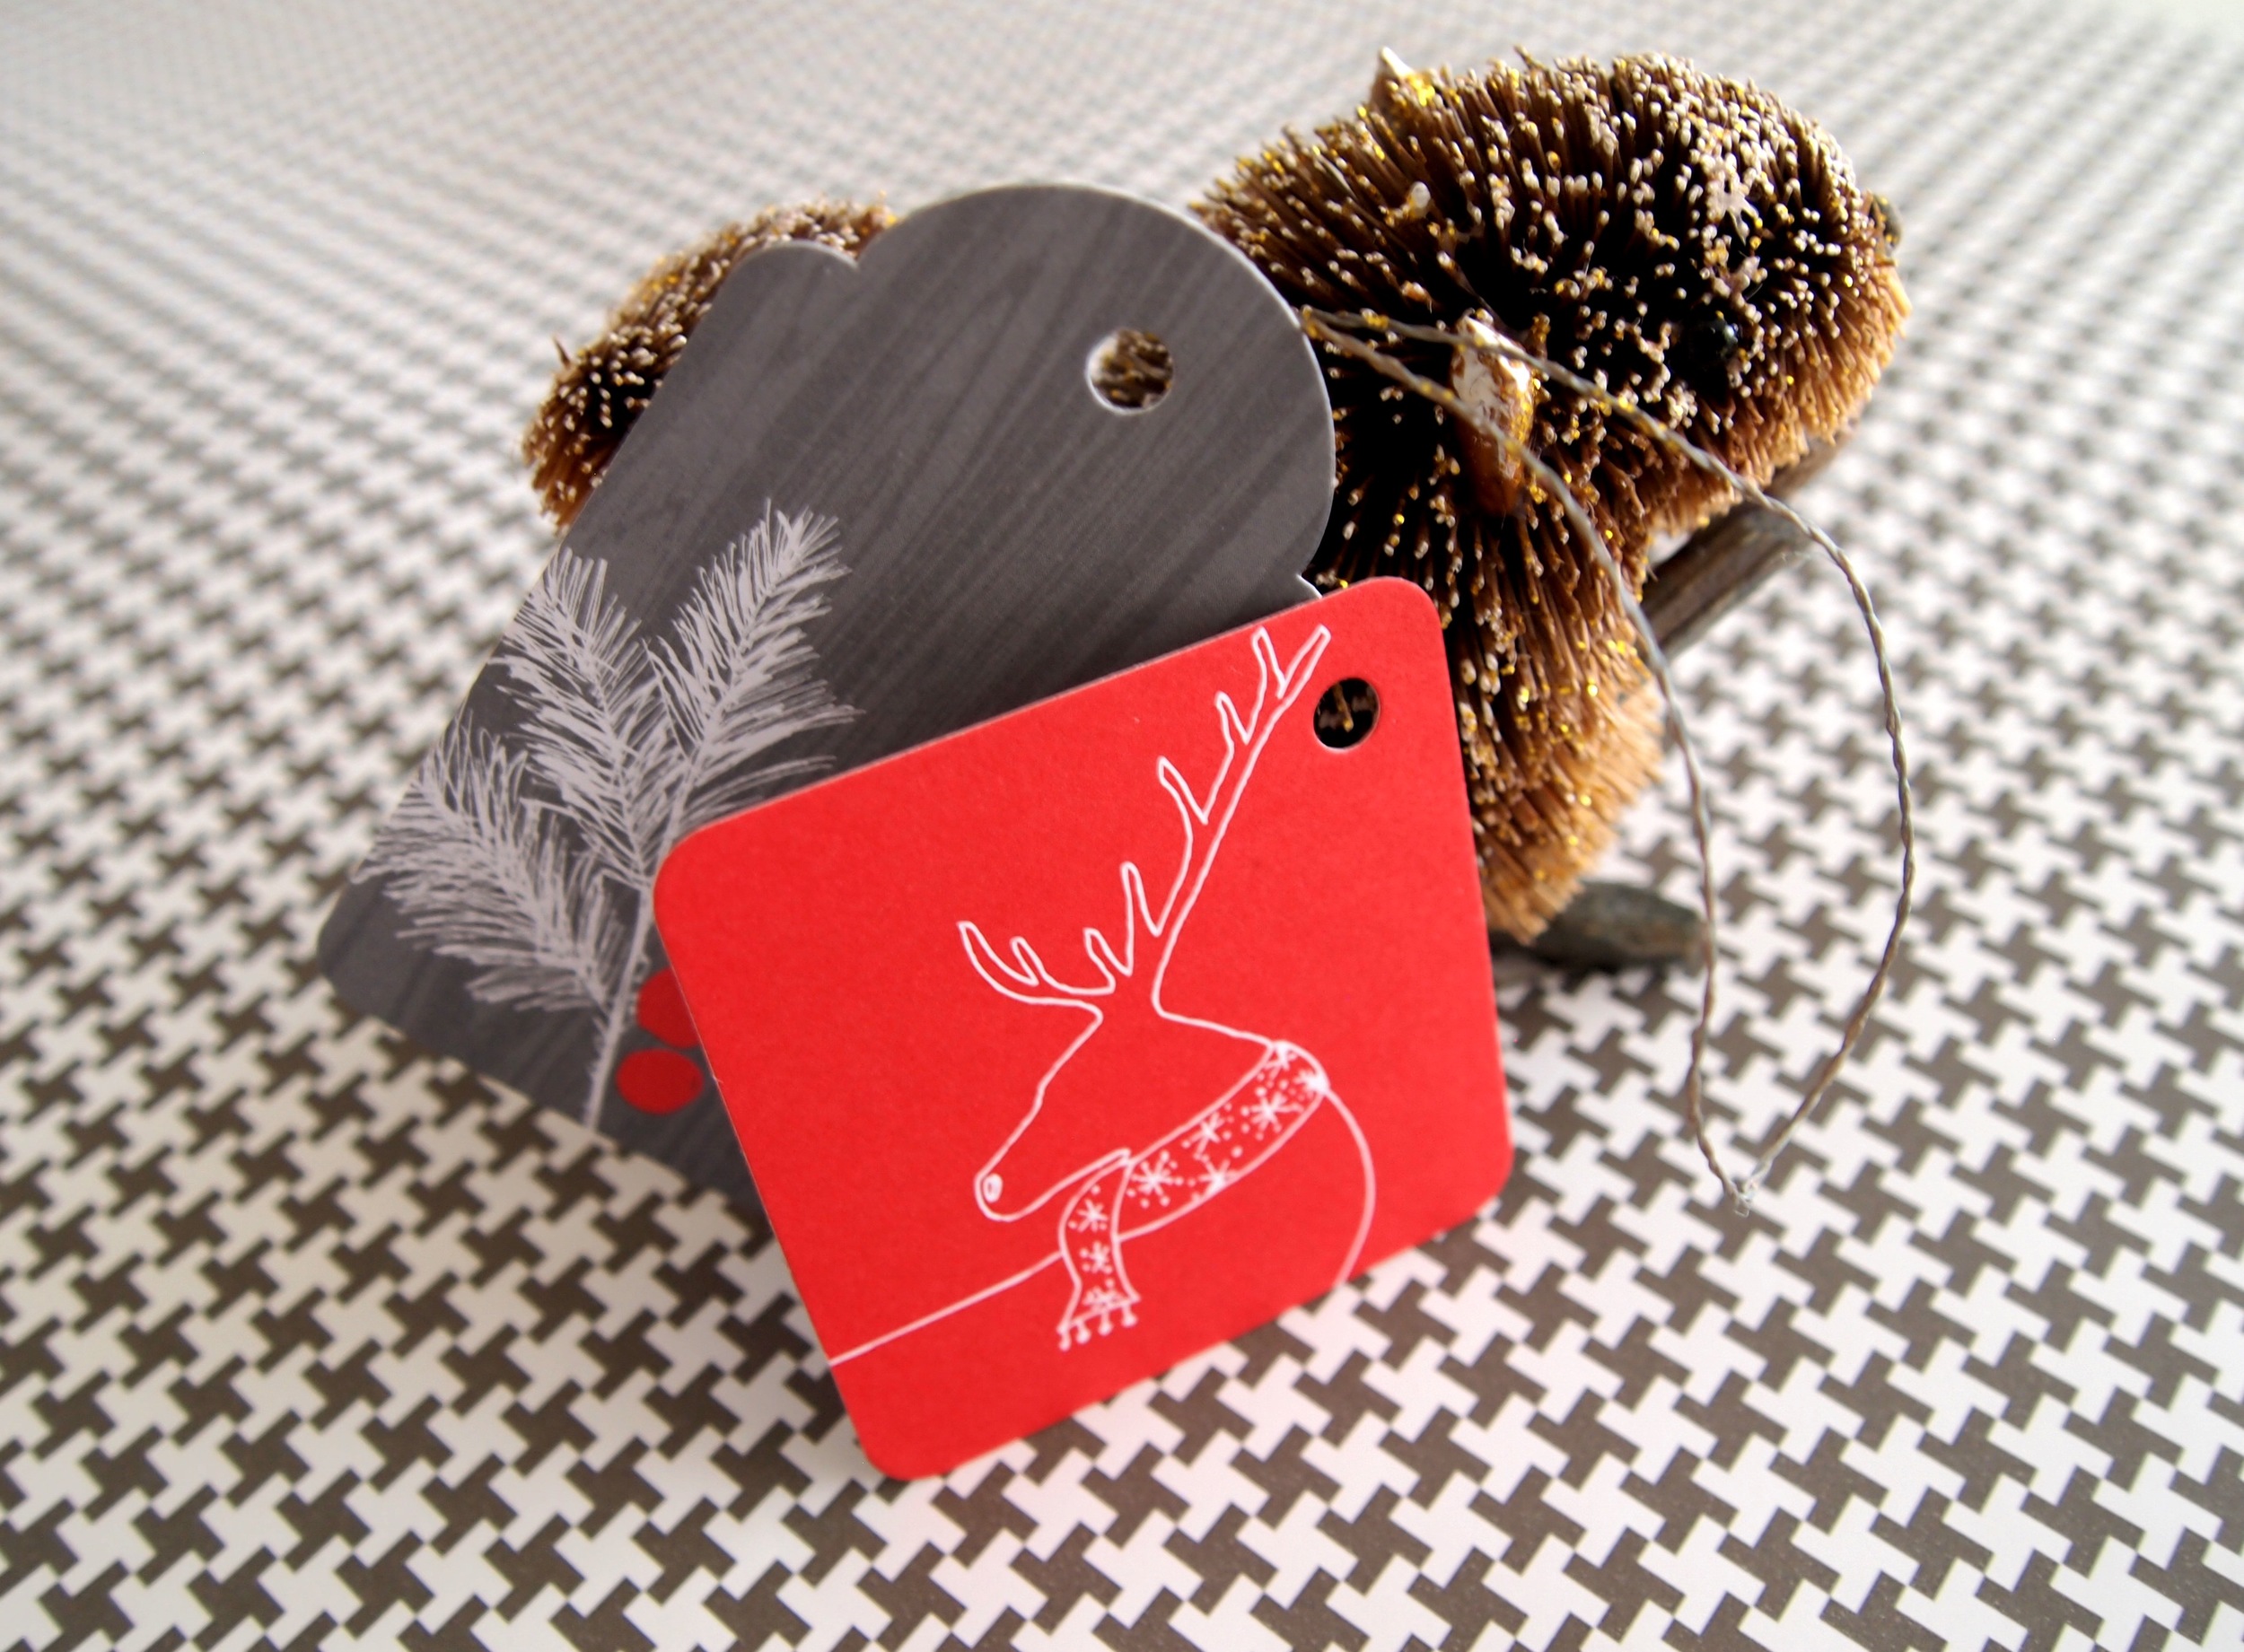
I absolutely love the way these colors work together. Better yet, the added contrast of each pattern is where all the real fun begins! I started my paper selection with the chevron paper because of its very bold pattern. I also loved the color combination of shiny silver against recycled paper beige. The next paper roll that made the cut was the traditional paisley pattern with the same color combination and a bit more of a traditional feel. The biggest statement of all, however, was the houndstooth paper. Even though it is not a typical Christmas wrapping paper, once you play it against all the other papers which are oh so Christmas, it makes absolute and perfect sense. Its brown/gray color was also absolutely the perfect addition to the rest of the colors.

And It's Affordable!

The best part of this exercise I went through is how affordable it was! Marshalls and TJ Maxx have a fantastic selection of wrapping paper that will probably not last long so get out there while you can! A roll of pretty paper like the ones I got runs at about $2.99 - $3.99 there. Compare that to a similar roll at, say, Paper Source or Crate and Barrel, and you have just saved yourself half the money you would have otherwise spent! The tags were also a great find at my local Marshalls. All in all, I spent less than $20 on all the wrapping supplies I will need this year.

So there it is, a whole blog post on wrapping Christmas presents... Sometimes, I even surprise myself with the things that inspire me!

Posted on November 21, 2013 and filed under Design + DIY.

A Modern Take on a Tradition

Oh, how I love Christmas time! Mostly because of my very fond memories of growing up in a family where traditions matter. But also because of the unlimited opportunities to get creative with the festivities! My every-day style is very clean, modern and uncluttered. Yet, in years past, I somehow always opted for very ornate, rich and traditional Christmas decorations. 

This year...

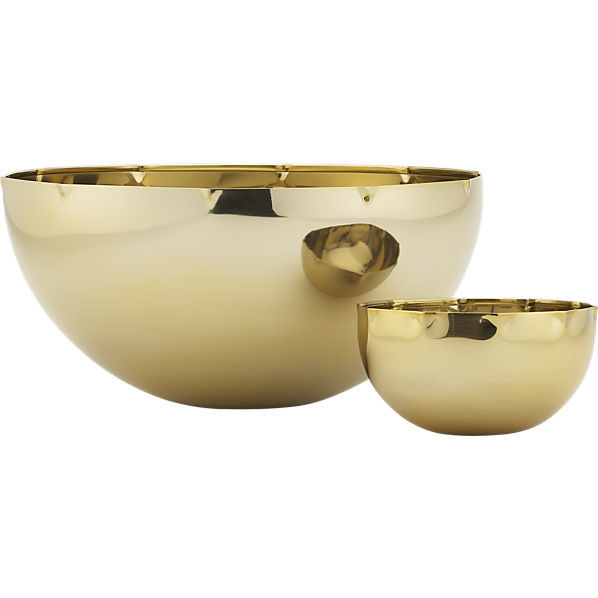
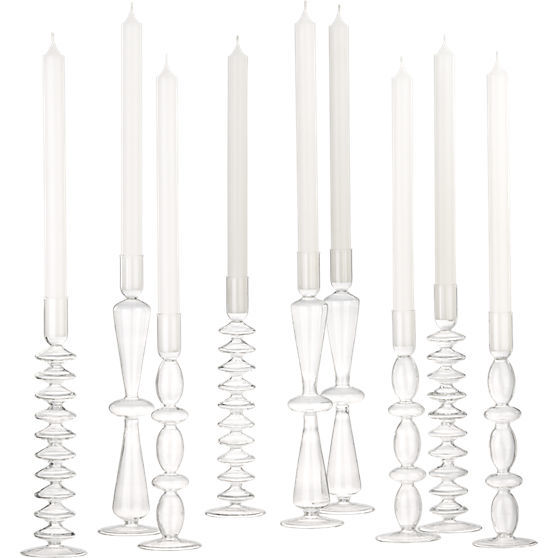
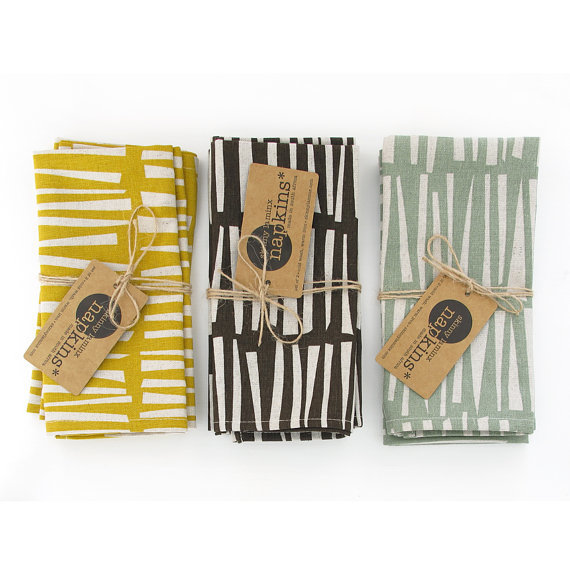
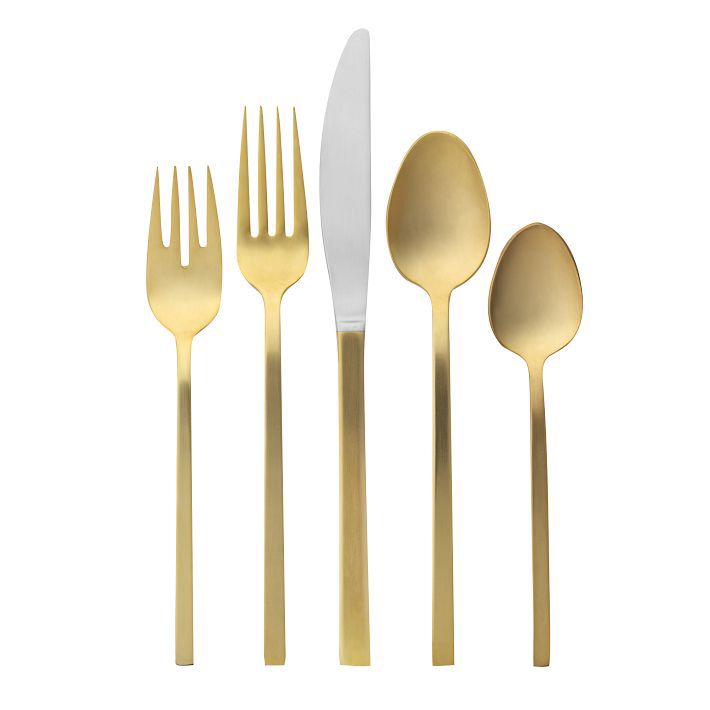
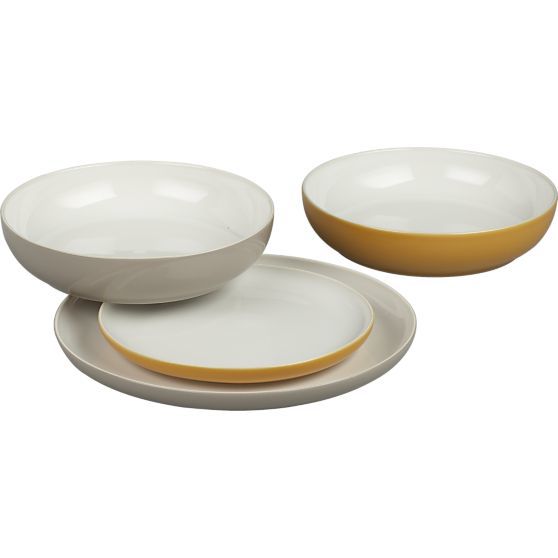
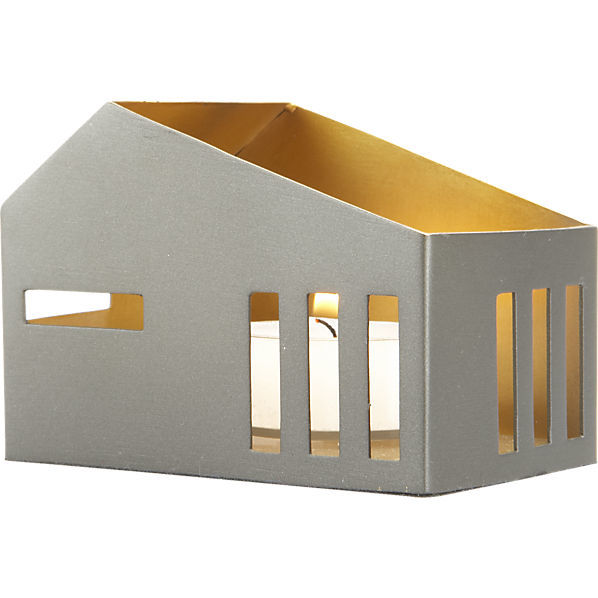
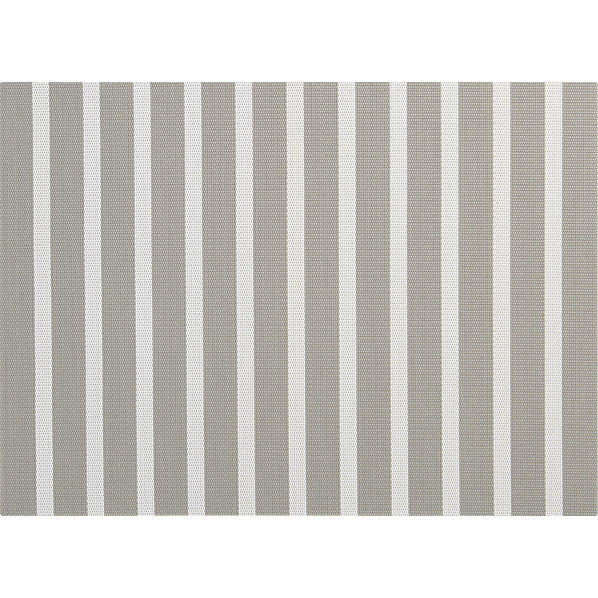
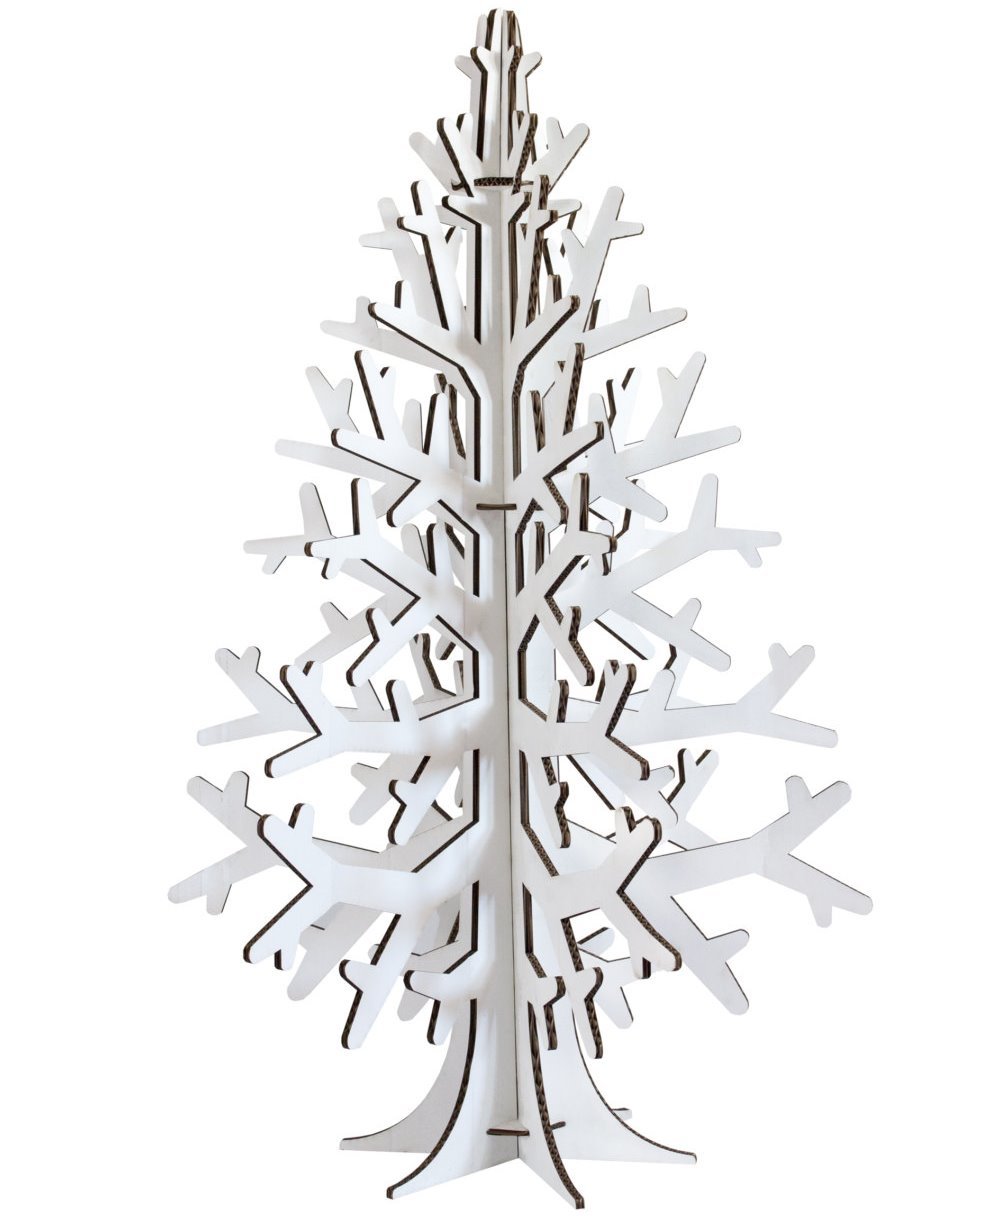
I wondered how to make my Christmas decorations and entertainment more aligned with the rest of my year preferences. At first, a modern, yet warm and cozy Christmas sounded like an oxymoron. But then I found these lovely treasures! I thought the best way of staying warm was to utilize sweet golden colors and contrast those with shiny silver tones. The added festive feel of clear glass gives a touch of glamour without going over-board!

I can already feel the excitement building!    

Shopping List

  • Christmas Tree: $158.20
  • Dinnerware: $8.95 - $9.95
  • Placemats: $2.95
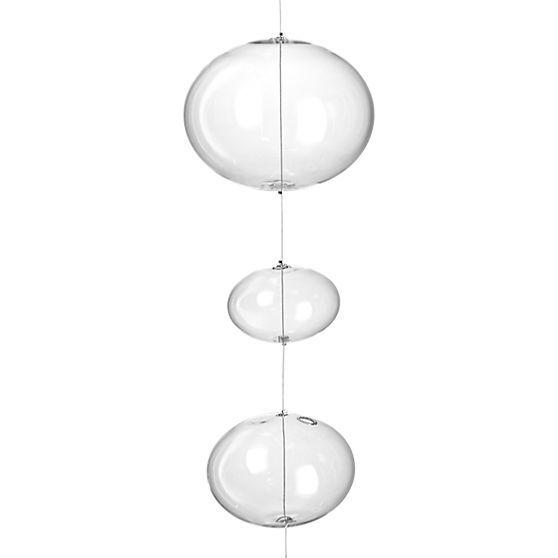
  • Glass Orb Garland: $49.95
  • Glass Candlesticks: $4.95
  • Festive Bowls: $4.95 - $14.95
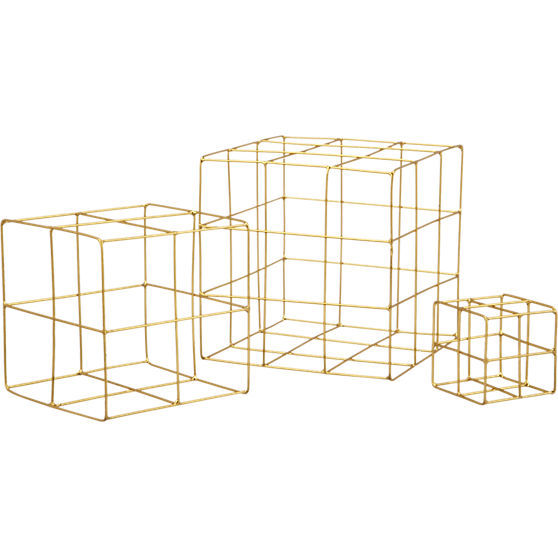
  • Wire Cube Set: $14.95
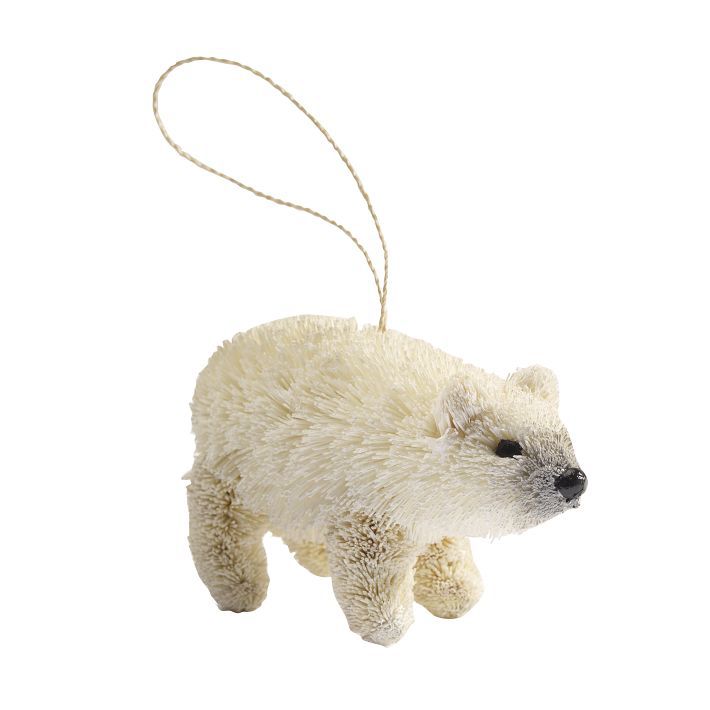
  • Animal Ornaments: $6
  • Gold Flatware Set: $23 – $84
  • Prefab Candleholder: $6.95

(Click on the images below to shop online)

Design Projects.gif
Posted on November 18, 2013 and filed under Design + DIY.

Home Tour

Home Stats

  • 1358 sq.ft. 
  • 2 Bedrooms
  • 2.5 Bathrooms
  • Spacious Yard
  • Loft

Designing on a Budget

My very first venture into interior design started with this lovely project - my home. I bought my house in 2009 (you can call me brave, it was indeed the bottom of the market). At the time of my purchase, I had merely spent a year out of college. Needless to say, I was not very rich on funds and therefore, I had to work with a tight budget to finish all spaces (bathrooms, bedrooms, dining room, living room and yard). I truly tried, or rather had to, find the best deal on every piece.

The end result is an unintentionally unique eclectic style. You can see some rustic influences, some very modern pieces, and quite a few mid-century and retro elements. Essentially, however, my home evolved throughout the years along with me and my taste.

And I often get asked where and how I was able to accomplish good design on a tight budget. I plan on starting a series of posts on how to design on a budget based on my experience decorating my house. I will take you through every room I have done and share with you my lessons learned and some ideas you may find interesting and inspiring. And, if you have any additional budget design tips or DIY ideas, I would love to read those, so please do share in the comments section!

Posted on November 18, 2013 and filed under Design + DIY.

It's a Baby's World

This weekend was a very special one: I got to help out my brother and my stunning sister-in-law prepare their nursery for their impending welcoming of their little baby boy. Due in about a month or so, they had done so much of the work already! They had purchased the crib (an amazing find on Orlando's Cragslist!), picked up the rug and the posters! And all we had to do, was paint, put together the furniture and be done! 

Well...

Things are never as easy as they seem! We managed to get a lot done for a two-day effort. Some of the funnier obstacles though included: having to put together and pull apart not one, but two pieces of furniture twice! (IKEA, you and I have a love-hate relationship...), installing a variety of frames to hang at the exact same height (IKEA, not to nag, but you know what I'm talking about), breaking screwdrivers, running short on paint... yet, despite all these obstacles, I laughed so hard throughout the entire project! Nothing compares to being surrounded by people you love. Thank you, Stefan and Jessica, for letting me help out with creating the first home of your firstborn!!


Posted on October 20, 2013 and filed under Design + DIY.